Matching Abrasive Media to Dental Finishing Processes: Vibratory, Centrifugal, and More
Why Process‑Media Alignment Is Critical for Dental Instruments
I’ve walked onto shop floors where the same ceramic cylinder media is dumped into a vibratory bowl for heavy deburring and into a drag finisher for final polish “because it’s what we have.” The result? Rounded cutting edges on orthodontic cutters and inconsistent Ra values across a batch of scalers. Matching the abrasive media to the finishing process isn’t a nice‑to‑have; it determines whether you can hold a 0.2 μm Ra surface requirement on a titanium abutment or produce a uniform matte on ligature wire. If you’re new to the overall categories of media, our Complete Guide to Abrasive Media for Dental Instrument Finishing lays out the full landscape; here I’m focusing strictly on the media‑process interface.
In dental manufacturing, the geometries are small, the tolerances tight, and the materials range from 316L stainless steel to cobalt‑chrome, titanium alloys, and even PEEK. The incorrect media‑process combination will cause one or more of these problems:
- Edge erosion – high‑energy centrifugal processes with overly aggressive shapes round functional edges on curettes or reamers.
- Media lodging – large cones or triangles wedge into hinge gaps on hemostats or into root elevator slots.
- Slow cycles – a vibratory bowl loaded with light‑cutting plastic media instead of a high‑density ceramic forces you to extend cycle times by 50 % or more.
- Inconsistent finishing – random media shape and size distribution leads to uneven roughness on mirror‑polished or anodized surfaces.
Getting the match right means picking the media material, shape, size, and binder that fits the energy input, the wet/dry environment, and the substrate’s hardness. I’ll walk through this process by process.
Vibratory Finishing: Best Media Types and Shapes
Vibratory bowls and tubs are the workhorses in dental instrument finishing. They generate a rolling, orbital motion that produces low‑ to medium‑intensity contact. This limited energy is both a constraint and an advantage: you can run delicate parts without distortion, but you must select media that cuts effectively within that energy envelope.
Ceramic Media for Deburring and Radiusing
For 300‑series stainless steel curettes, scalers, and pliers, I start with a high‑alumina ceramic angled triangle or cone in the 4 mm to 8 mm size range. The sharp edges of an angled triangle reach into corners, while cones provide a balance between surface contact and reach. A medium grit (220‑320 mesh equivalent) ceramic is aggressive enough to remove wire‑EDM recast or fine burrs but won’t gouge the substrate if the cycle is monitored. Wet processing with a 1–3 % compound solution keeps the media pores open and carries away swarf.
Avoid large (over 10 mm) ceramic cylinders in vibratory bowls. They’ll pound rather than slide, creating an orange‑peel effect on thin cross‑sections like extraction forceps. If you need more cut rate, raise the fill level and add a second pass with a finer grit rather than jumping to massive media.
Plastic Media for Pre‑Polish and Soft Metals
When I move to titanium abutments or gold‑based alloys, I switch to polyester‑based plastic media pre‑impregnated with silica or aluminum oxide. The lighter density imparts less impact, and the softer binder prevents work‑hardening of delicate surfaces. Cones and wedges (6 mm‑10 mm) are my go‑to shapes, run wet. I’ve seen shops push the same plastic batch far beyond its useful life—once the binder glazes over, it stops cutting and just burnishes. Replace when cycle time exceeds 130 % of the original baseline for the same Ra improvement.
Polishing and Drying Media
Dry organic media such as walnut shell or corn cob impregnated with a fine rouge is used after the wet stage for final dry polishing in vibratory equipment. Maize cob granules in the 0.5 mm‑1.5 mm range can reach undercuts on bracket bodies. However, this step works only after the surface is already homogeneous; it won’t remove machining lines.
Centrifugal Barrel and Disc Machines: Recommended Media for High Energy
Centrifugal finishing—barrel, disc, or planetary—delivers significantly higher pressure and speed than vibratory machines. A typical centrifugal disc can generate 5 g to 20 g, dramatically shortening cycle times but also magnifying any misalignment with media. I treat centrifugal as a high‑risk, high‑reward process for dental parts.
For stainless steel pliers and osteotomes that need aggressive deburring to a consistent 0.8 μm Ra in 15–25 minutes, I specify dense alumina‑ceramic media with a round or elliptical shape. Spherical media (3 mm‑6 mm) prevents sharp‑edge impingement while still transmitting enough force. The high‑density formulation (2.7–3.2 g/cm³) maximizes momentum transfer. Do not use standard vitrified ceramics; they break down into sharp shards in a centrifugal barrel and can cause deep scratches.
Media‑to‑parts ratio matters even more here than in vibratory. I maintain a minimum 4:1 volume ratio, often pushing to 6:1 for fragile components like anterior scissors. Too low a ratio and you’ll get dings; too high and the load-locking effect stops relative motion and stalls the finishing action.
For titanium instruments, use smaller (2–4 mm) ceramic spheres at a lower acceleration setting and a 1–2 % synthetic coolant to manage temperature. The risk of galling is real if media with embedded steel particles from previous runs contaminates the load.
Drag Finishing: Media Considerations for Complex Dental Geometry
Drag finishing machines rotate a fixture holding the instruments through a static or counter‑rotating media bed. This controlled tool path makes them ideal for dental files, reamers, and implant components with undercuts where random contacts from a vibratory bowl would miss zones or cause entrapment.
The media needs to flow around clamped parts, so I opt for small, high‑density pellets—usually 3 mm‑5 mm cylindrical or spherical zirconia‑toughened alumina. Sharp‑angle media (tri‑stars, quatrefoils) can be used for aggressive deburring of simple file blanks, but must be swapped out before the finish pass. I often layer two passes: first a dry pre‑finish with a cutting‑grade ceramic pellet, then a wet polish with the same shape in a finer grit, sometimes with an intermediate wash to avoid cross‑contamination.
Drag fixturing limits how much media surrounds each part; therefore the media must have high self‑lubrication to prevent stalling at fixture‑media interfaces. Porcelain‑bonded ceramic formulations work well. For final polishing of dental drills, I’ve seen dry polishing with 1–2 mm porcelain spheres achieve Ra below 0.1 μm, but this requires consistent pre‑finish roughness control.
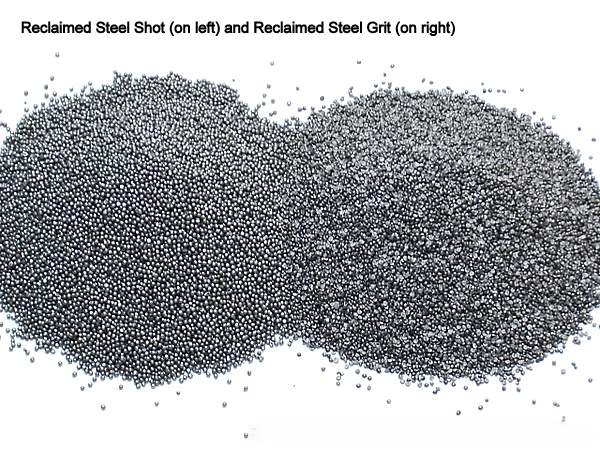
Shot Blasting and Air‑Polishing: Specialized Media Requirements
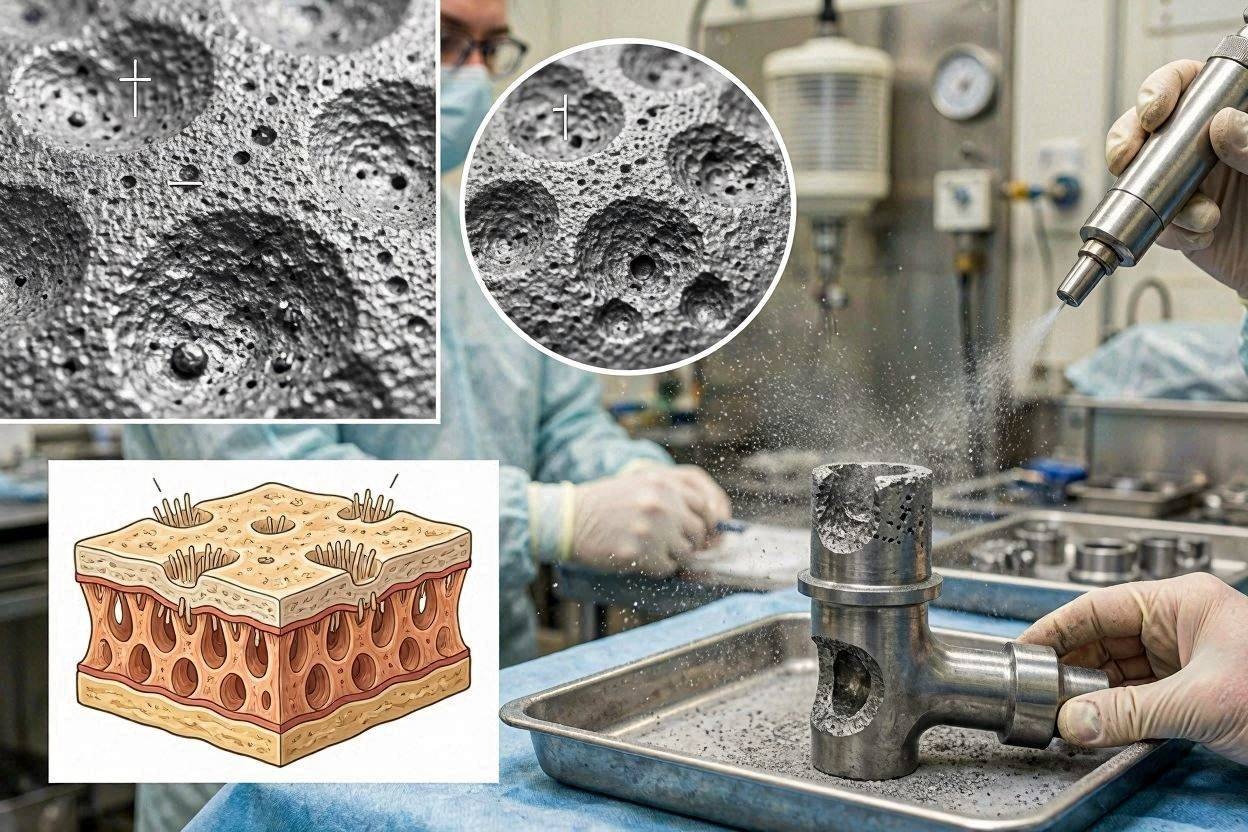
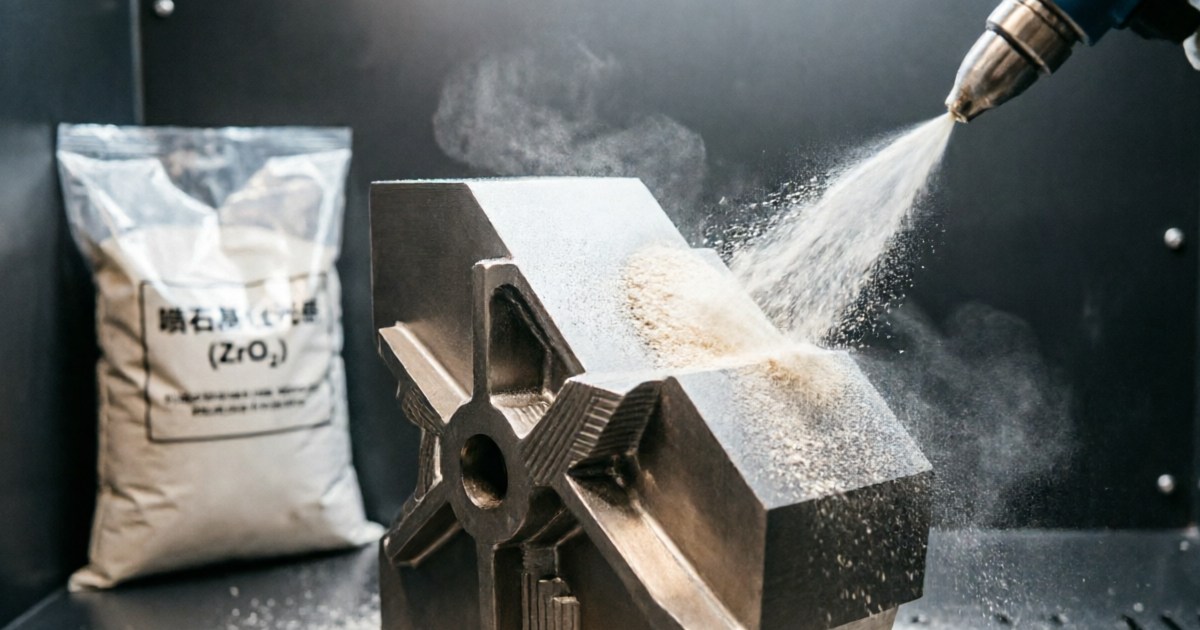
Shot blasting and air‑polishing don’t rely on bulk media baths; they project media at high velocity onto the part surface. In dental finishing, these processes are typically used for surface texturing (creating a satin finish on orthodontic brackets), removing oxide scale after heat treatment, or deburring internal threads of implant components.
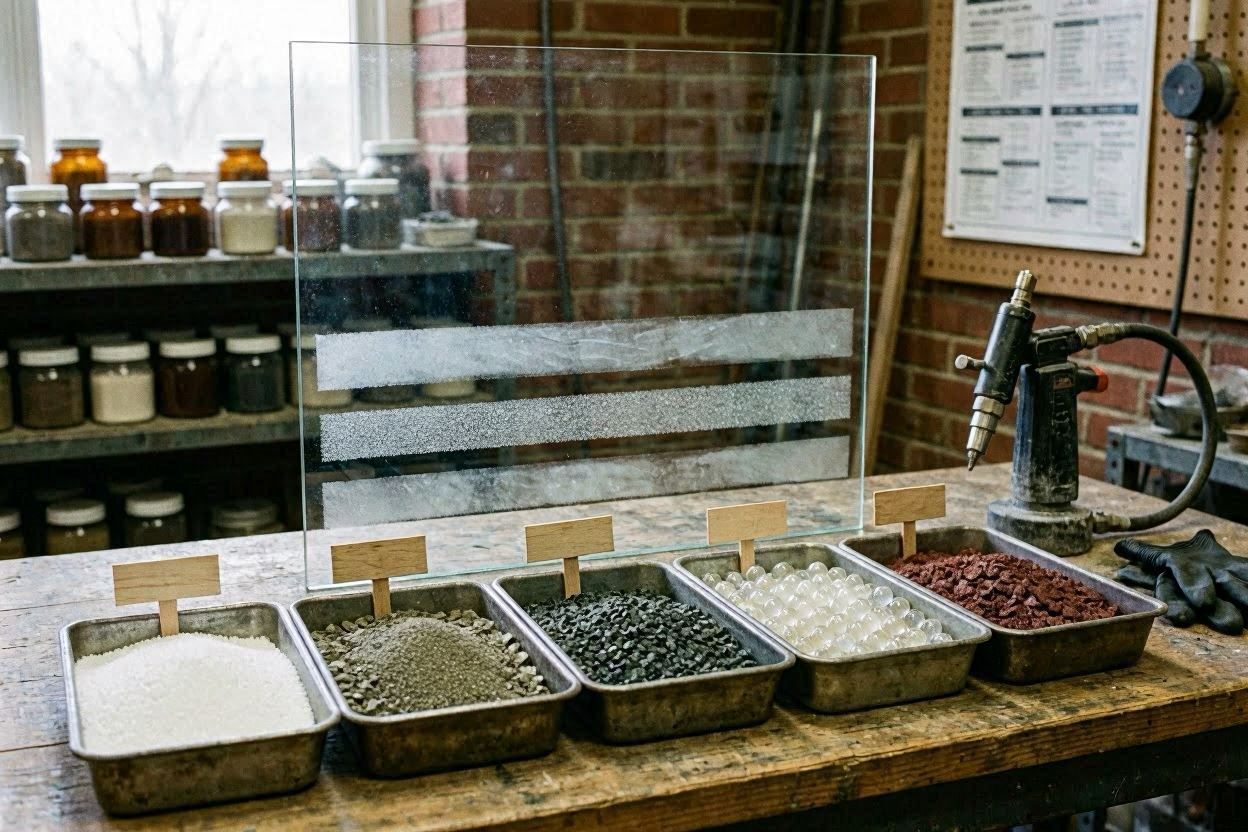
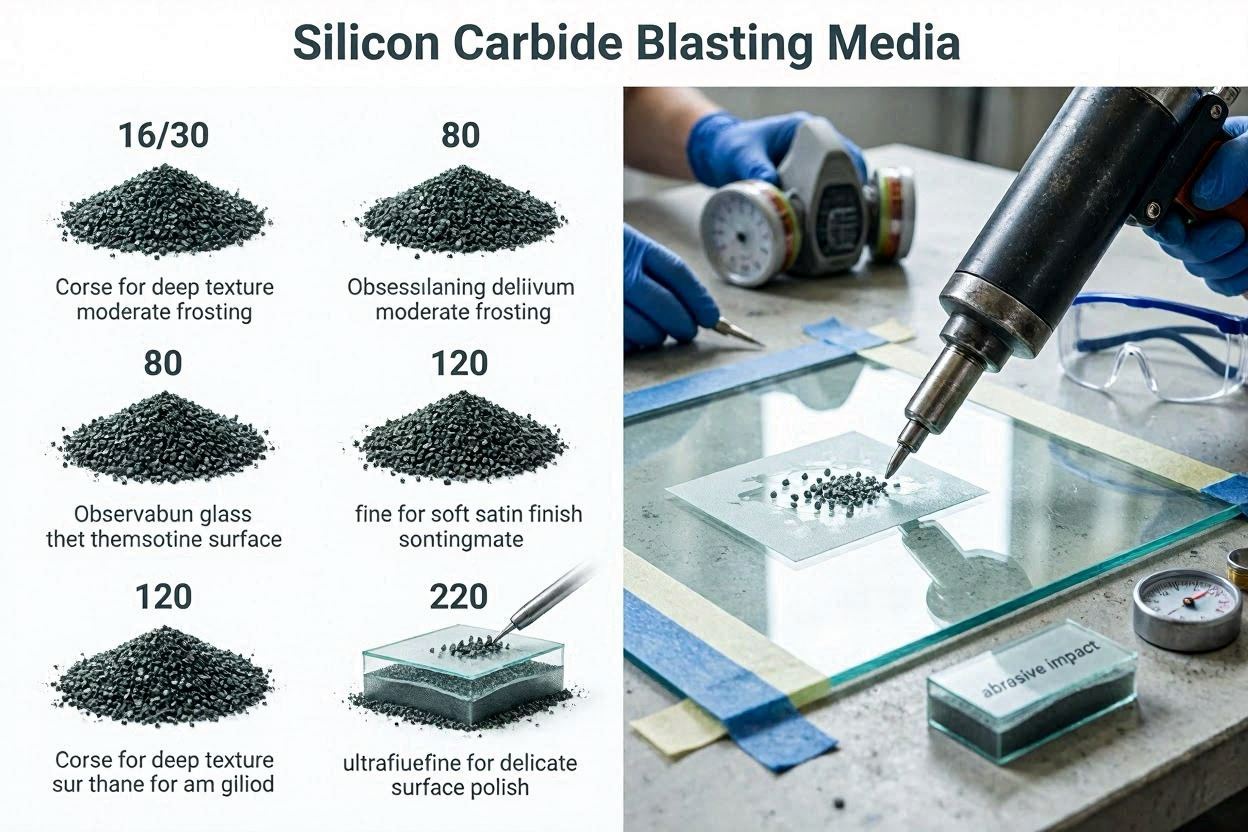
For air‑polishing with a hand‑held nozzle, glass beads (50–100 μm) produce a homogeneous, low‑stress matte. I avoid aluminum oxide unless the substrate can handle aggressive material removal, because it tends to embed if not cleaned thoroughly—a risk for biocompatibility. For deburring cobalt‑chrome denture frameworks, a mix of 125 μm spherical glass beads at 4–5 bar delivers consistent results without warping thin sections.
When I need a smoother, more cosmetic finish on titanium healing caps, I use 45–70 μm ceramic micro‑beads (zirconia‑silicate). These yield a slight luster without black residue. Shot blasting in a cabinet with automated turntable keeps the distance and exposure uniform, avoiding over‑etching on one side.
One non‑negotiable rule: separate blast cabinets for stainless steel and titanium media to eliminate cross‑contamination. Ferrous residue on titanium can lead to corrosion in sterilization.
Media recovery is critical. If the dust extraction isn’t balanced, fine particles build up and the blast intensity degrades. I check the sieving system and media replenishment rate every 20 operating hours.
Wet vs. Dry Processes: Media Selection Matrix
The table below summarizes media recommendations based on whether the process runs wet (compound solution) or dry. The matrix applies to the dental instrument categories discussed so far.
| 过程 | Wet Media Choice | Dry Media Choice | Typical Compound / Carrier | Best‑suited Part | Key Constraint |
|---|---|---|---|---|---|
| Vibratory (bowl/tub) | Ceramic cones/triangles, plastic wedges | Maize cob with rouge, walnut shell | 1‑3% alkaline cleaner or burnishing compound | Pliers, scalers, brackets | Dry organic media needs separate bowl; minimal heat generation |
| Centrifugal disc/barrel | Dense alumina spheres, oval cylinders | Not recommended for dry except light polishing | 1‑2% synthetic lubricant/coolant | Osteotomes, forceps, heavy deburring | Dry running risks overheating and media fracture |
| Drag finisher | Zirconia‑alumina pellets, porcelain spheres | Fine zirconia pellets (dry for final polish) | Wet + compound for cutting; dry for mirror polish | Dental drills, files, implant abutments | Dry must follow meticulous cleaning after wet pass |
| Shot blasting / air‑polishing | Glass beads (wet slurry), ceramic micro‑beads | Glass beads, aluminum oxide, plastic grit | Air only (or water‑rinse cycle) | Brackets, denture frameworks, healing caps | Alox risk of embedment; dedicate cabinets by material |
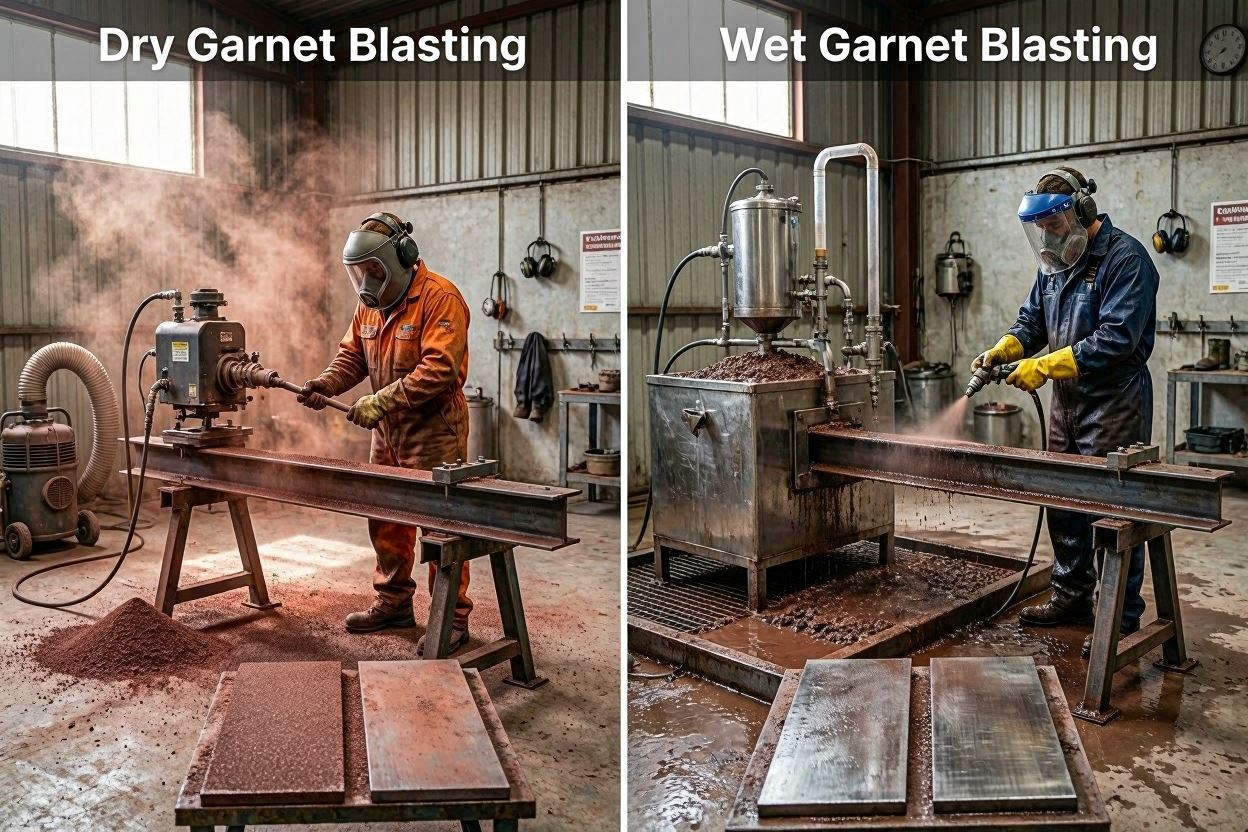
Wet processing dominates in dental because it provides better surface finish consistency, controls dust, and extends media life. Dry processes are reserved for final polish stages or where aqueous chemistry is incompatible with the substrate (e.g., certain composite polishing). If you switch a process from wet to dry, you must recalibrate both the media shape and the fill ratio—the lubrication change alters the friction coefficient significantly.
Media Size and Fill Levels for Different Equipment
Media sizing is often treated as an afterthought, yet it’s the variable that determines whether a part gets deburred in the inner radius of a forceps hinge or simply bypasses it. I use these rules of thumb:
Media‑to‑Part Clearance
- For vibratory: largest media dimension should be at least 1/3 smaller than the smallest slot or aperture, but no smaller than 1/10 of the smallest gap to avoid lodging.
- For centrifugal: a tighter fit is acceptable because higher energy forces media into recesses; I stay at a maximum dimension 1/2 the smallest slot width.
- For drag: use media 1–3 mm smaller than the tightest free path past the fixture.
Fill Level
In vibratory bowls, the media‑parts mix should occupy 70–80 % of the bowl volume. Lower fill reduces the rolling action and extends cycle time; higher fill chokes the motion and can double energy consumption. For tub vibrators, aim for 85–90 % because linear stroke needs mass behind it.
Centrifugal disc fill is usually 60–75 % of the working chamber to leave space for the orbital wave to develop. Barrel finishes work best at 50–65 % fill by volume, with a ratio of media to parts between 4:1 and 8:1.
Compound Flow Rate
For wet vibratory processes, I set the compound flow to turn over the sump volume every 15–20 minutes; for centrifugal, I use once‑through systems or recirculate with filtration at a rate that keeps the media uniformly wet but not flooded. A visible slurry film on the media surface indicates the right level. Dry processes demand no liquid anywhere, so check air extraction ducts for condensation before starting.
Real‑World Examples: Setup Parameters for Common Dental Tools
While every line has its own specific machines and cycle constraints, the table below gives starting‑point parameters that reflect what I’ve found effective in production environments. All numbers are nominal ranges; expect to fine‑tune.
| Dental Instrument | Substrate | 过程 | Media Type & Size | Approx. Cycle | Ra Target (post‑process) |
|---|---|---|---|---|---|
| Gracey curette | 420 stainless, HRC 48‑52 | Vibratory (wet) | 4 mm ceramic triangle, 220 grit | 3–4 h | 0.4–0.6 μm |
| Mosquito hemostat | 316L SS | Centrifugal disc (wet) | 5 mm alumina sphere, high‑density | 25–35 min | 0.3–0.5 μm |
| Endo file (NiTi) | Nickel‑titanium | Drag (dry/wet combo) | 2 mm zirconia tube pellets, fine | Wet 15 min + dry 10 min | <0.2 μm |
| Ortho bracket | 316L SS | Air‑polishing (dry) | 75 μm glass bead | 3–5 min per tray | Satin, uniform |
| Implant healing cap | Ti‑6Al‑4V | Vibratory + drag polish | 6 mm plastic cone (wet), then 3 mm porcelain sphere (dry drag) | Vibe 2 h; drag 1 h | 0.15–0.25 μm |
| Extraction forceps | 420 SS | Centrifugal barrel (wet) | 8 mm ceramic oval, med grit | 20 min | 0.5–0.7 μm |
These parameters assume a properly maintained machine, correct media‑to‑parts ratio, and fresh compound. I adjust by cutting a test batch of six pieces, measuring Ra at three consistent locations, and comparing to the target. If the spread exceeds ±0.1 μm of the median, I investigate fill, compound age, or media wear first.
Troubleshooting Inconsistent Finishes Due to Media‑Process Mismatch
When finishing results drift, the root cause is almost always in the media‑process interface. I use the diagnostic table below to quickly pinpoint likely culprits before touching machine settings.
| Symptom | Probable Cause | First Checks | Corrective Action |
|---|---|---|---|
| Areas of un‑finished surface (shiny spots) | Media too large or wrong shape to access recess | Measure smallest gap and compare to media dimension; check media tracking pattern | Switch to smaller or different shape; increase media‑to‑parts ratio |
| Edge rounding beyond tolerance | Excessive energy or overly aggressive media for the process | Look for sharp‑edged media (triangles); check centrifugal g‑force setting | Use spherical or oval media; reduce acceleration or shorten cycle |
| Deep random scratches | Media contamination, broken media shards, or cross‑material loading | Sieve media; inspect for fractured pieces; verify media segregation by material | Replace broken batch; dedicate media for titanium/stainless separately |
| Rough matte where gloss is wanted | Dry polishing with aged or glazed media | Check cycle time drift; feel media surface for smooth glaze | Resaturate organic media with compound, or replace |
| Media lodging in gaps | Media geometry too close to slot width | Review clearance rule; look for wedge‑shaped media | Use media at least 25% smaller than slot, avoid flat shapes |
| Longer cycle time for same Ra | Media wear, glazing, or insufficient compound flow | Compare media weight per volume to new; check compound concentration | Replace media if weight loss >15%; adjust compound or increase flow |
Another pattern I’ve encountered repeatedly: a shift operator notes “the finish isn’t right” and increases time instead of inspecting the media. That often just compounds the issue. Before adjusting cycle length, run the first two diagnostic checks in the table. In 70 % of cases, you’ll find the answer in media size, wear, or contamination.
Frequently Asked Questions
- How do I know if I’m using too fine a grit?
- If the cycle to reach the target Ra stretches beyond the economic cut‑off for your production line, and the media isn’t glazed or worn, you’re likely too fine. Compare to a known coarser batch and look for at least a 30 % reduction in deburring time as a meaningful step change.
- Can I use the same ceramic media for both vibratory and centrifugal processes?
- I avoid it. The high energy in centrifugal quickly fractures vibratory‑grade ceramics, generating debris. If you must share a formulation, verify it’s rated for both processes and screen the load after each centrifugal cycle to remove broken pieces.
- When should I switch from wet to dry finishing?
- Switch to dry only for final polishing after the surface already meets a uniform Ra (typically below 0.5 μm). Dry organic media won’t correct roughness or remove burrs; it burnishes and adds reflection.
- My media keeps sticking to the parts after finishing—what’s wrong?
- Static buildup in dry processes, especially with plastic media or fine organic granules. Add an anti‑static additive to the dry compound or install an ionizing bar near the unloading station. Also ensure parts are completely dry before the dry step—residual moisture creates adhesion.
- What’s the fastest way to test a new media‑process combination?
- Run a design of experiments with three media shapes and two sizes, keeping ratio and compound constant. Measure Ra at defined points before and after, and use the cycle time to reach target Ra as your key metric. A 45‑minute screening trial usually points to the right direction.
Pre‑Run Media‑Process Alignment Checklist
Before you commit a full batch to a new process‑media combination, walk through this checklist. I use it to avoid the most common missteps I’ve caused or witnessed over the years.
- Media size verified against smallest slot/hole on the part (clearance ≥ 30 % of smallest aperture).
- Media shape (cone, sphere, triangle, wedge) matches intended cutting or polishing mechanism for the process energy level.
- Media material selection (ceramic, plastic, zirconia, organic) confirmed compatible with the substrate and process (wet vs. dry).
- Media‑to‑parts volume ratio documented and within process‑specific range (e.g., 4:1 for centrifugal, 3:1 for vibratory).
- Fill level in the machine checked against manufacturer range; visible wave or roll pattern present during run.
- Compound/lubricant type and concentration appropriate for media and substrate; pH and temperature stable.
- Dedicated media bins for different material families (stainless, titanium, cobalt‑chrome) to prevent cross‑contamination.
- Media condition inspected: no glazing, excessive wear (>15% weight loss), fracture, or embedded contaminants.
- Test coupons or six‑piece sample run completed with Ra measurements at three critical locations consistent within ±0.1 μm.
- Cycle time benchmarked and logged; replacement threshold defined for media when cycle time increase exceeds 25 % of baseline.
Get this alignment right and you stop chasing surface finish variations and start shipping predictable quality. The finishing process then becomes a repeatable step, not a daily fire drill. If you need to go deeper into media formulations, see the Complete Guide to Abrasive Media for Dental Instrument Finishing, but apply the process‑specific lessons here first—you’ll save more time on the bench.
过滤器