Silicon Carbide Blasting Media for Glass Etching: Grit Selection & Technique
A complete practical guide to glass etching with SiC abrasives — choosing the right grit, setting pressure and standoff, masking techniques, deep carving vs. frosted etch, and common troubleshooting issues.
SECTION 01Why Silicon Carbide for Glass Etching?
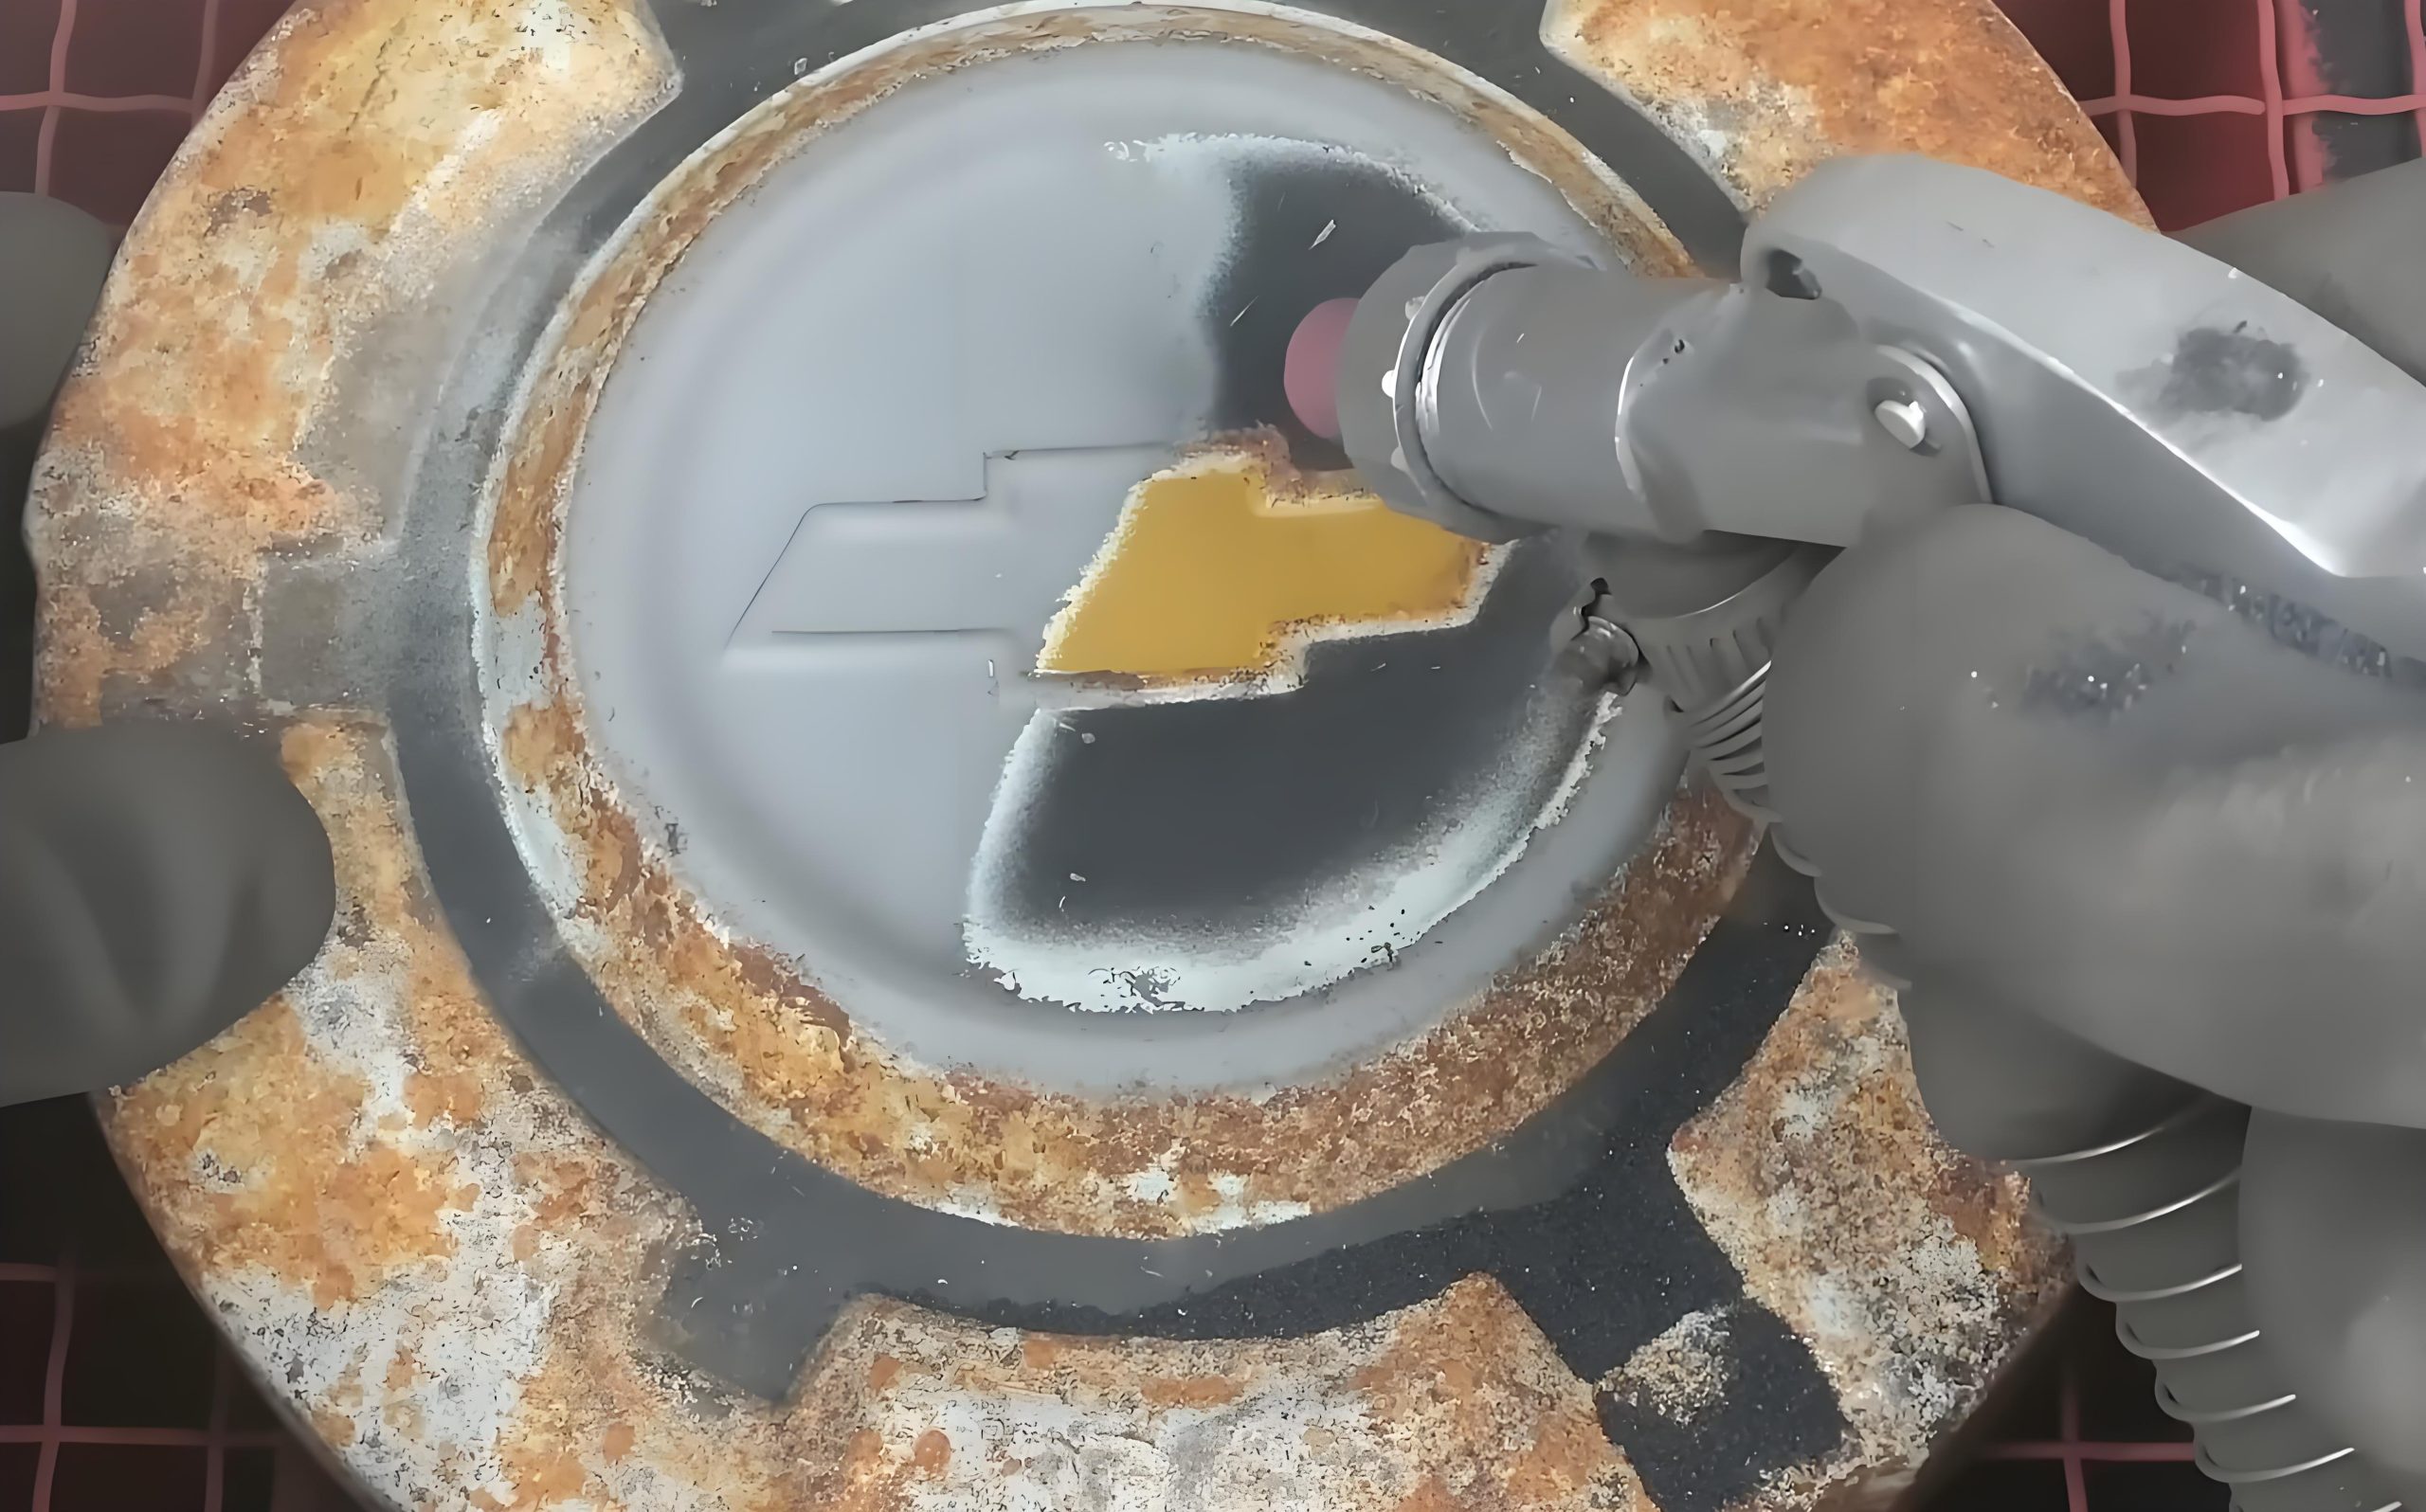
Glass etching using abrasive blasting works by propelling hard, angular particles at the glass surface at high velocity, creating micro-fractures in the surface layer that scatter light — producing the characteristic frosted or matte appearance. The quality of the etch — its uniformity, depth, edge definition, and texture — depends critically on the abrasive media chosen.
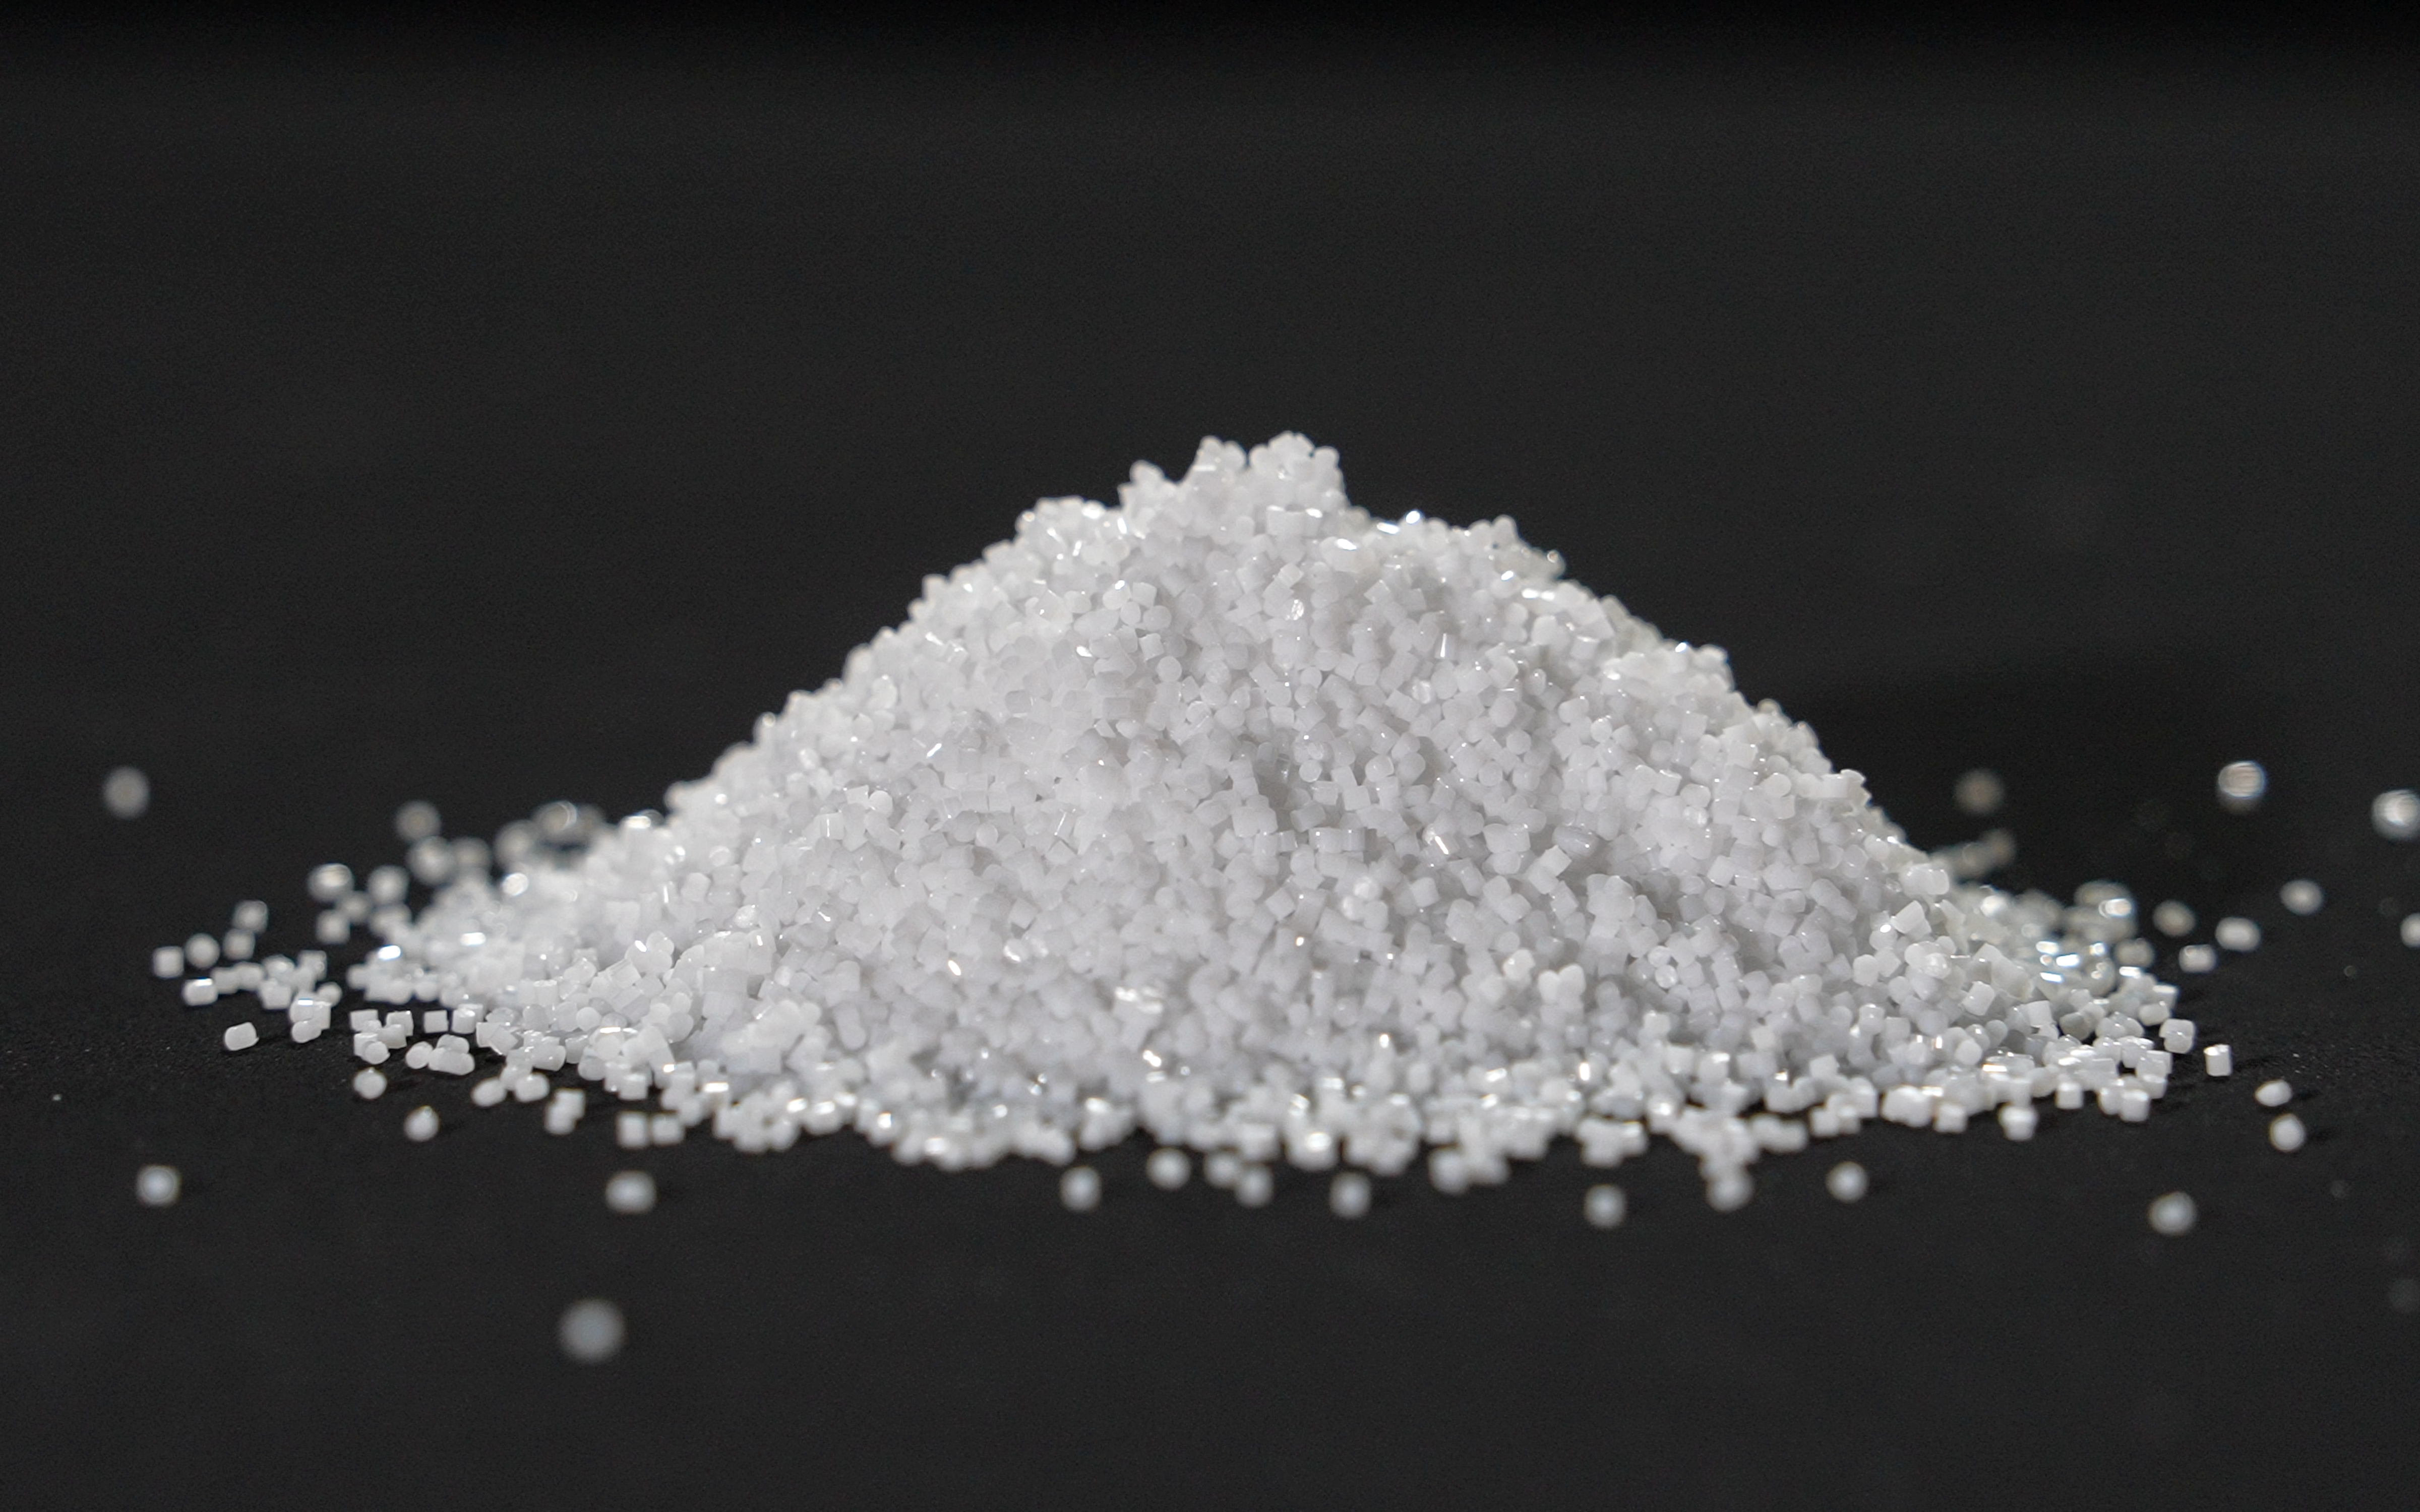
Silicon carbide is the preferred abrasive for glass etching for three specific reasons. First, its Mohs 9.5 hardness is substantially greater than glass (Mohs 5.5–7.0 depending on type), ensuring efficient material removal without excessive pressure required. Second, its sharp angular particle morphology creates cleaner, more defined micro-fractures with crisper edge transitions than rounded media like glass bead. Third, its chemical inertness means no surface contamination or reaction with the glass chemistry — critical for optical-quality work.
For a broader overview of SiC blast media properties: Complete Buyer’s Guide to SiC Abrasive Blasting Media.
SECTION 02Glass Types and SiC Compatibility
| Glass Type | Dureza Mohs | SiC Compatibility | Notes |
|---|---|---|---|
| Soda-lime glass (windows, bottles) | 5.5–6.0 | Excelente | Standard etching glass — responds predictably to all SiC grits |
| Borosilicate glass (Pyrex, lab ware) | 6.5–7.0 | Very Good | Harder — requires slightly coarser grit or higher pressure for equivalent etch depth |
| Fused silica / quartz | 7.0–7.5 | Bien | Harder substrate — use Green SiC for highest precision; slower cutting |
| Crystal / lead glass | 5.0–5.5 | Excelente | Softer — reduce pressure for fine detail; very responsive to SiC |
| Tempered / safety glass | 5.5–6.5 | Use caution | Pre-stressed — concentrated impact can cause spontaneous fracture. Use diffuse, low-pressure technique only |
| Laminated / insulated glass | N/A | Not recommended | Etching only outer lite; inner PVB interlayer cannot be blasted |
Tempered glass warning: Tempered (toughened) safety glass contains internal stress from the thermal tempering process. Concentrated abrasive impact at a single point can initiate spontaneous fracture of the entire panel — a safety hazard. If etching tempered glass is required, use only very fine grit (#180–240), low pressure (25–40 PSI), large nozzle-to-glass distance (400+ mm), and keep the nozzle constantly moving. Never dwell on a single point. Consider chemical etching cream as a safer alternative for tempered glass.
SECTION 03Grit Selection for Glass Etching
Grit size is the primary determinant of etch texture, depth, and edge definition. Selecting the correct grit for the application is the single most important setup decision.
| Grit Range | Etch Type | Texture | Best Application | Typical Pressure |
|---|---|---|---|---|
| #60–80 | Bold / deep | Coarse, highly visible | Exterior signage, architectural panels, bold decorative work | 60–90 PSI |
| #100–120 | Standard decorative | Medium-coarse, clearly frosted | Residential decorative glass, door panels, shower screens | 50–80 PSI |
| #150–180 | Fine decorative | Fine, soft frost | Fine art glass, portraiture detail work, light frosting | 40–65 PSI |
| #220–320 | Ultra-fine frost | Very fine, near-translucent | Subtle privacy frosting, optical glass surface conditioning | 30–50 PSI |
| #80–120 (stage carve) | Deep carving | Coarse on carved areas | 3D relief carving, trophy glass, deep sculptural work | 70–100 PSI |
Quick rule of thumb: For every-day decorative glass etching on standard soda-lime glass (windows, mirrors, picture frames), SiC #120 en 50–70 PSI is the most versatile starting point. Adjust coarser for more visible texture; finer for softer, more subtle effects.
For the complete grit size reference with FEPA/ANSI/JIS cross-reference and Ra values: SiC Grit Size Chart
SECTION 04Process Parameters for Glass Etching
| Parámetro | Frosted Etch | Deep Carving | Notes |
|---|---|---|---|
| Air Pressure | 35–65 PSI | 70–100 PSI | Start at lower end; increase only as needed |
| Nozzle Standoff | 150–300 mm | 100–200 mm | Farther = softer impact, broader pattern |
| Nozzle Angle | 80–90° to glass | 70–90° to glass | Perpendicular for maximum cut depth |
| Nozzle Movement | Constant sweeping motion | Controlled dwell + sweeping | Never stop moving — prevents uneven etch |
| Nozzle ID | 6–8 mm bore | 8–10 mm bore | Larger ID = higher volume flow |
| Grit | #120–220 | #60–120 | See grit table above |
| Compressor CFM | 10–15 CFM min | 15–25 CFM min | Undersized compressor causes pressure drops mid-blast |
Air quality: Always use an inline moisture separator and oil-water separator on the air supply. Wet air causes SiC media to clump in the pot, producing inconsistent flow and uneven etch texture. On humid days, run the compressor for 10 minutes to purge moisture from the lines before starting a project.
SECTION 05Masking and Stencil Methods
The quality of glass etching is determined as much by masking technique as by abrasive selection. The mask protects the areas of the glass that should remain clear while exposing the areas to be etched. Choosing the right mask material for the application is critical — SiC’s hardness and sharp edges will rapidly penetrate inadequate masking materials.
Mask Materials by Application
Vinyl Blast Mask (60–100 mil / 1.5–2.5 mm thickness)
The industry standard for SiC glass etching. Available in pressure-sensitive adhesive rolls or pre-cut sheets. Cut the design with a vinyl cutter or craft knife, apply firmly to clean glass, and squeegee out all air bubbles before blasting. Minimum 60-mil vinyl for SiC — thinner vinyl will be cut through by SiC before the glass underneath is fully etched. For deep carving with coarse grit and high pressure, use 100-mil (2.5 mm) blast mask for extended durability.
Rubber Blast Mask (1.5–3 mm thickness)
Superior durability to vinyl for high-pressure deep carving. Provides 3–5× longer service life than vinyl under SiC at 80+ PSI. More expensive and harder to cut detailed designs, but essential for production glass etching where the same stencil will be used for multiple pieces. Photopolymer rubber masks offer the best combination of fine detail resolution and SiC resistance.
Contact Paper / Shelf Liner (light use only)
Acceptable for SiC etching at low pressure (#150–220, 30–45 PSI) for very short-duration frosted etching. Will not withstand coarse grit or extended blasting time. Not suitable for deep carving or production work. Use only for hobbyist / one-time projects where investment in proper blast mask is not justified.
Photoresist Film (precision work)
UV-cured photoresist films (similar to PCB photoresist) can be used for high-resolution, photographic-quality stencil work on glass. Requires UV exposure equipment and development chemistry, but allows photographic image reproduction with fine detail resolution (<0.2 mm line width). Used in the optical industry and high-end decorative glass studios. SiC at fine grit (#180–240) and low-medium pressure (40–60 PSI) is compatible with most photoresist film systems.
SECTION 06Frosted Etch Technique
Frosted etching creates a uniform, light-scattering surface on the exposed glass areas — the classic privacy glass or decorative frosted panel look. The objective is even, consistent frosting across the entire etched area with no hot spots (darker, deeper areas from over-blasting) and clean edges at the mask boundary.
Step-by-Step Frosted Etch Process
- Clean glass surface thoroughly with isopropyl alcohol. Remove all fingerprints, grease, and dust — any contamination under the mask will cause mask lifting and etch bleed.
- Apply vinyl blast mask (minimum 60 mil) to dry, room-temperature glass. Squeegee firmly, starting from the center and working outward to eliminate all air bubbles.
- Cut design with sharp craft knife or vinyl cutter. Remove the mask from areas to be etched, leaving the surrounding clear areas masked.
- Load SiC #120–150 into blast cabinet or pressure pot. Set air pressure to 45–60 PSI and confirm air is dry (no moisture).
- Hold nozzle 200–250 mm from glass at 90° angle. Begin sweeping pass across the exposed glass — keep nozzle moving at all times. Work in overlapping horizontal passes, maintaining consistent speed and distance.
- Check frosting uniformity after first pass. Areas with consistent frosting appear evenly white/gray. Hot spots (dark areas) indicate the nozzle dwelled too long — reduce dwell time on subsequent passes.
- Complete 2–4 passes until full, even frosting is achieved. Do not over-blast — once glass is uniformly frosted, additional blasting only deepens the profile without improving uniformity.
- Remove mask carefully. Clean glass with compressed air or soft brush to remove any media residue before inspecting final result.
SECTION 07Deep Carving (Stage Carving) Technique
Deep carving creates a three-dimensional sculptural relief in glass by selectively blasting different areas to different depths using a multi-stage masking process. This is the most technically demanding glass etching technique but produces the most visually striking results — the kind seen in trophy glass, architectural glass panels, and museum-quality decorative work.
The principle is sequential: design elements intended to appear in the foreground are protected by mask and blasted last (receiving the least depth), while background elements are exposed first and blasted deepest. Multiple mask layers are progressively removed between blasting stages, creating depth differentiation of 0.5–5 mm or more depending on glass thickness and number of stages.
Key parameters for deep carving: SiC #80–100 grit · 80–100 PSI direct pressure · 100–150 mm standoff · 100-mil rubber or heavy vinyl mask · Boron carbide nozzle (standard nozzles wear rapidly at these parameters) · 3–7 masking stages for complex multi-depth designs
Glass thickness guide: Deep carving is practical on glass 6 mm and thicker. For 6–10 mm glass, limit carving depth to 1–2 mm per stage. For 12 mm+ glass, full sculptural relief to 3–5 mm is achievable with 5–7 stages. Never carve deeper than 40% of glass thickness — structural integrity risk increases significantly beyond this point.
SECTION 08Troubleshooting Common Glass Etching Problems
| Problem | Likely Cause | Solución |
|---|---|---|
| Uneven frosting / hot spots | Inconsistent nozzle speed or too-slow sweep | Practice consistent, faster sweeping motion; maintain uniform standoff distance |
| Etch bleeding under mask edge | Mask not adhered firmly; air bubble at edge | Squeegee all edges firmly; use mask application fluid; reduce air pressure |
| Mask cutting through before etch complete | Mask too thin for grit/pressure used | Upgrade to heavier vinyl (100 mil) or rubber blast mask; reduce pressure |
| Irregular, patchy etch texture | Media clumping from moisture in air supply | Add inline moisture separator; purge lines before starting; check media is dry |
| Sharp edges chipping at design boundary | Nozzle angle too low (grazing angle) | Increase nozzle angle to 85–90°; reduce pressure slightly at boundaries |
| Etch too shallow after multiple passes | Grit too fine or pressure too low | Switch to coarser grit (#80–100); increase pressure; verify grit is not degraded to fines |
| Glass cracking during etching | Tempered glass; thermal shock; excessive pressure | Never etch tempered glass at high pressure; verify glass type before starting |
SECTION 09PREGUNTAS FRECUENTES
SECTION 10Related Guides
Source Glass Etching SiC Direct from Manufacturer
Jiangsu Henglihong Technology Co., Ltd. supplies silicon carbide abrasive in #60 to #400 grit — ideal for decorative glass etching and deep carving. Black SiC, full FEPA grit range, consistent particle size distribution.
Request a Quote →Filtros