Surface Polishing Guide – Industrial Finishing Techniques
Primary keyword: polissage de surface · Secondary: mechanical polishing, vibratory polishing, chemical polishing, surface finish
Introduction to Surface Polishing
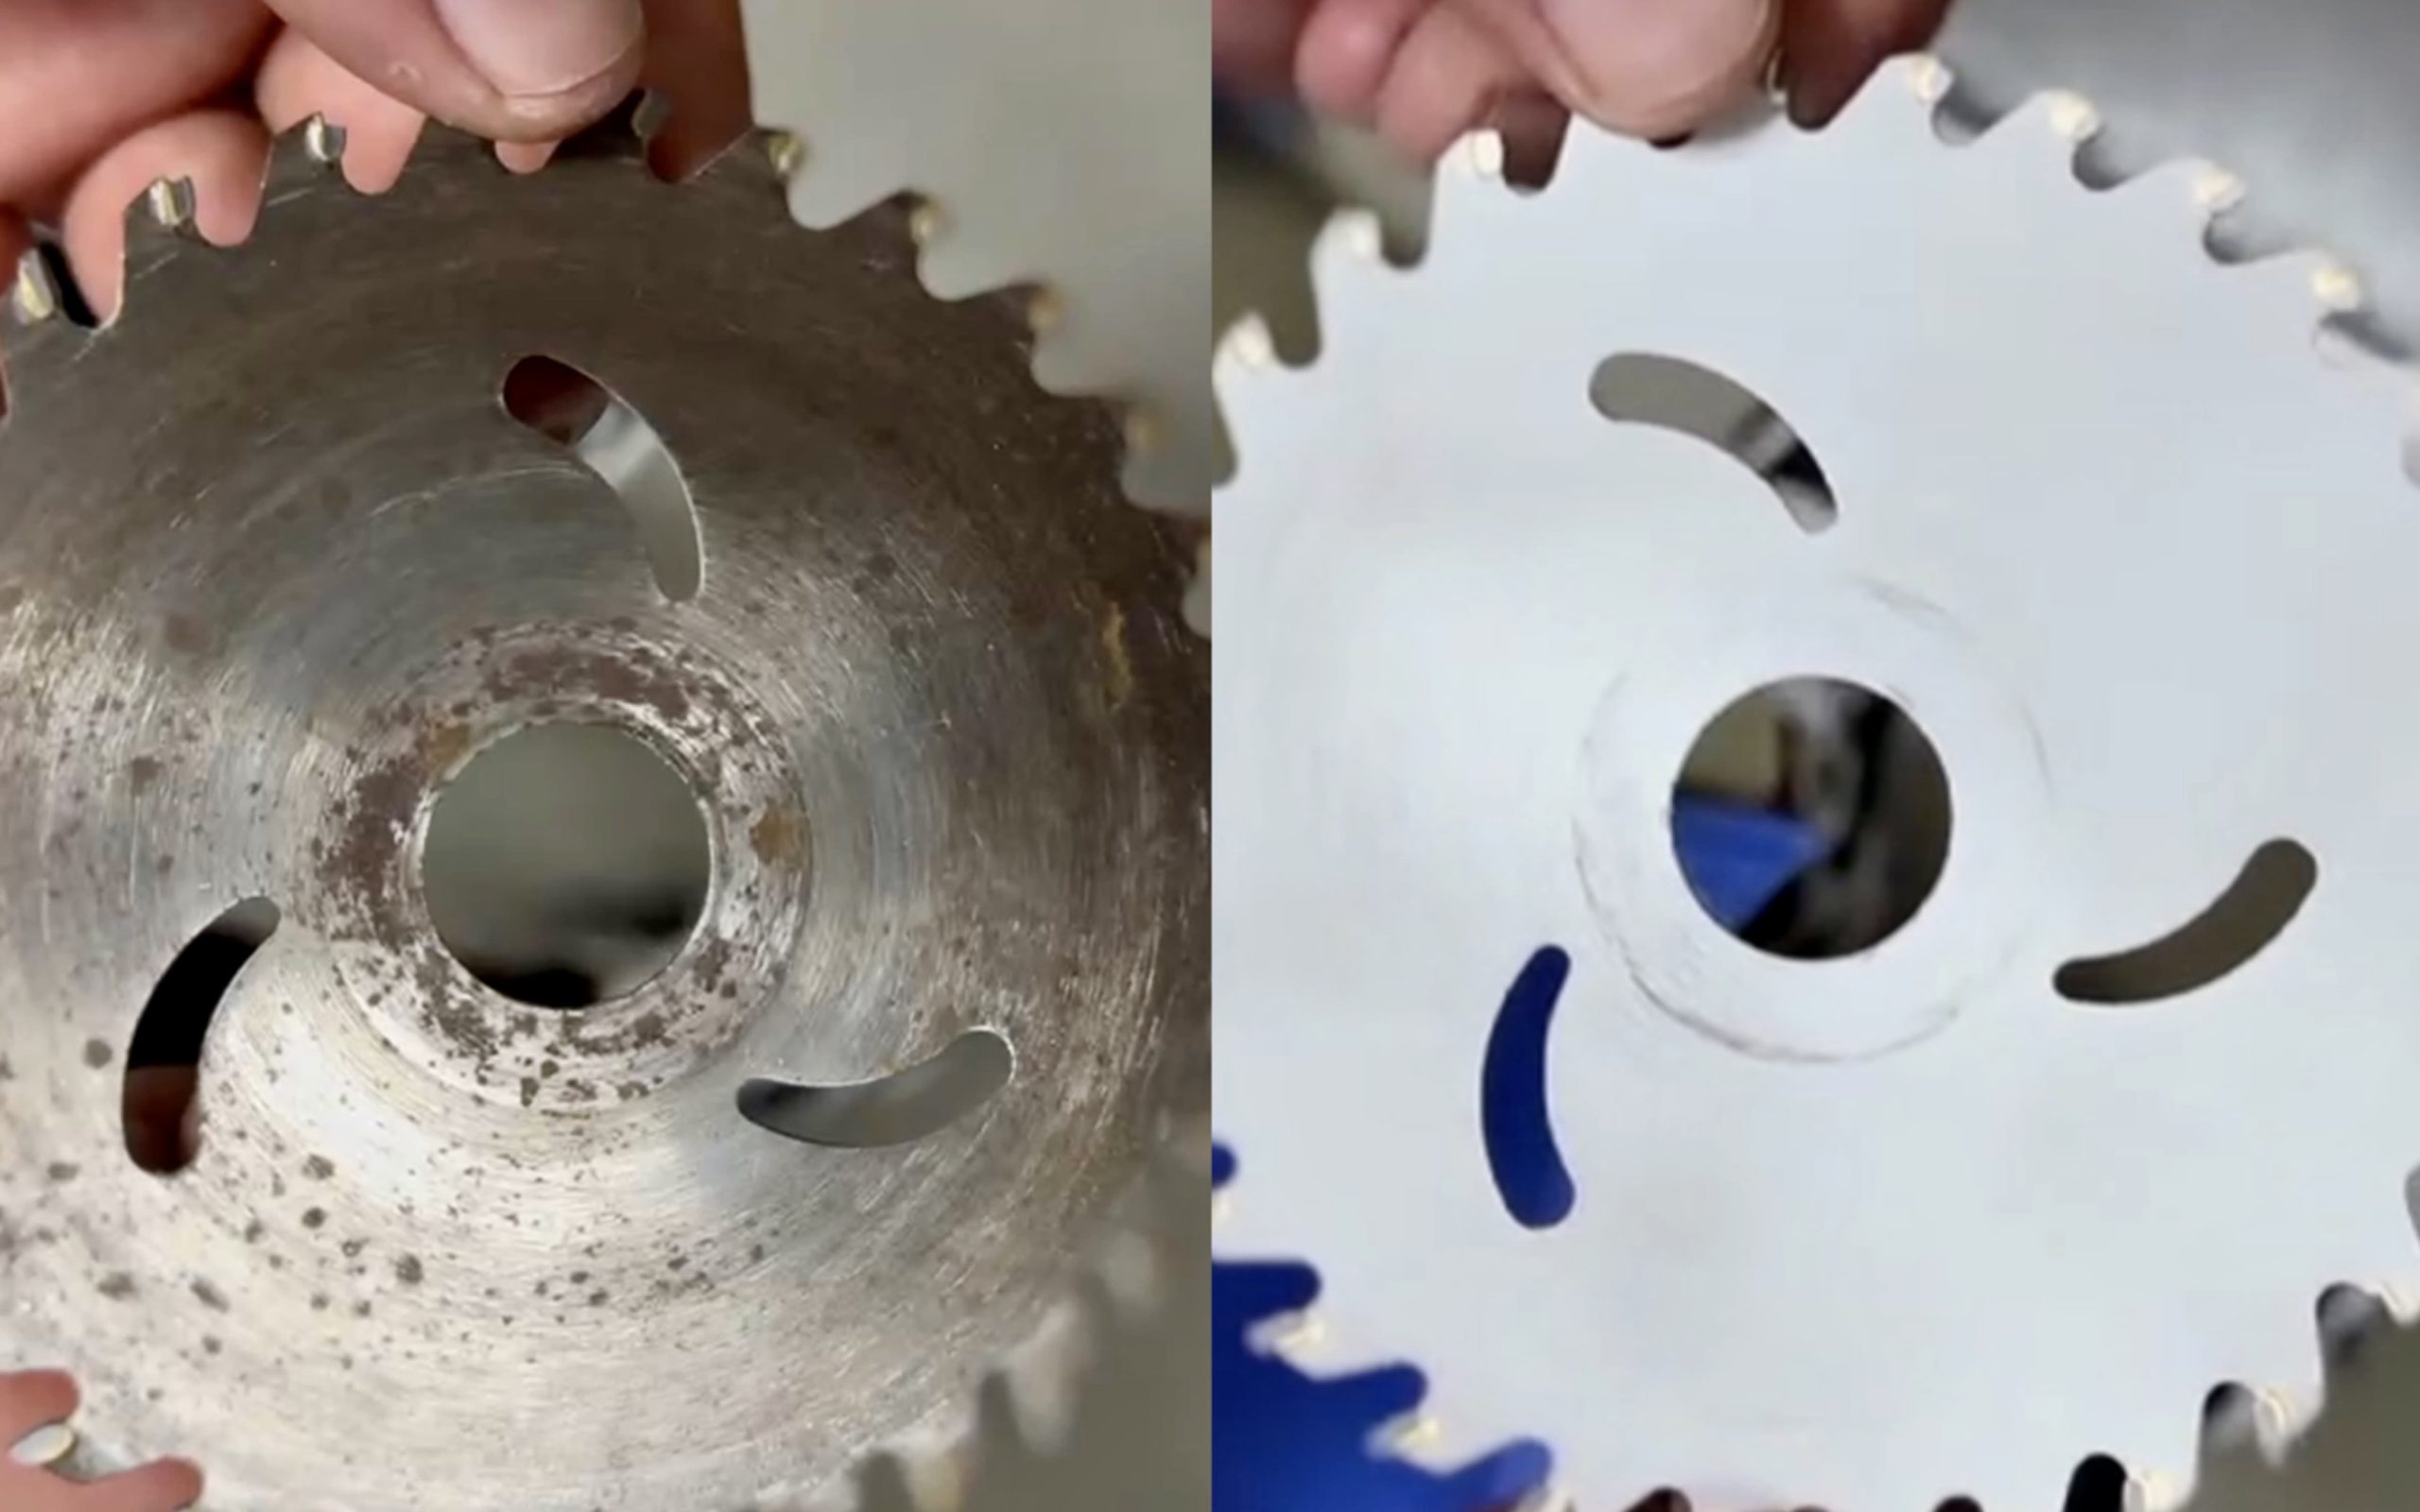
Surface polishing is the process of smoothing and enhancing a component’s finish by removing microscopic irregularities. Proper polishing improves aesthetics, reduces friction, prevents corrosion initiation, and prepares surfaces for coatings.
Polishing is typically part of broader surface treatment processes and should be integrated carefully to avoid over-removal or uneven surfaces.
Mechanical Polishing Techniques
Mechanical polishing is performed with abrasives, wheels, or pads. Key methods include:
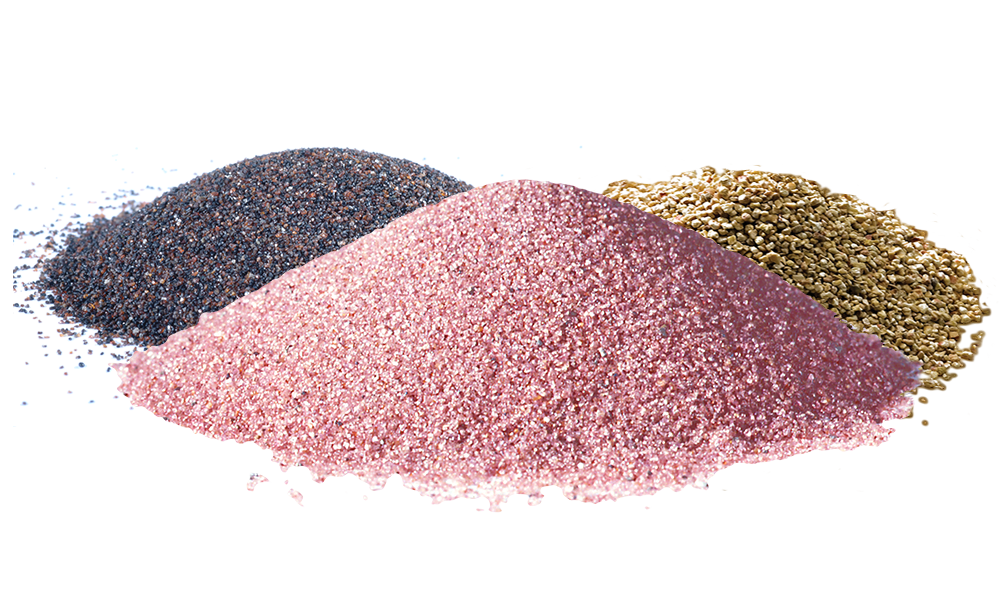
- Rotary polishing with bonded or loose abrasives
- Belt polishing for linear edges and flat surfaces
- Precision micro-polishing for optical or medical components
Selection depends on material hardness, part geometry, and surface finish target (Ra).
Vibratory Polishing
Vibratory polishing is a mass finishing method where components are vibrated with abrasive media and compound. Key parameters:
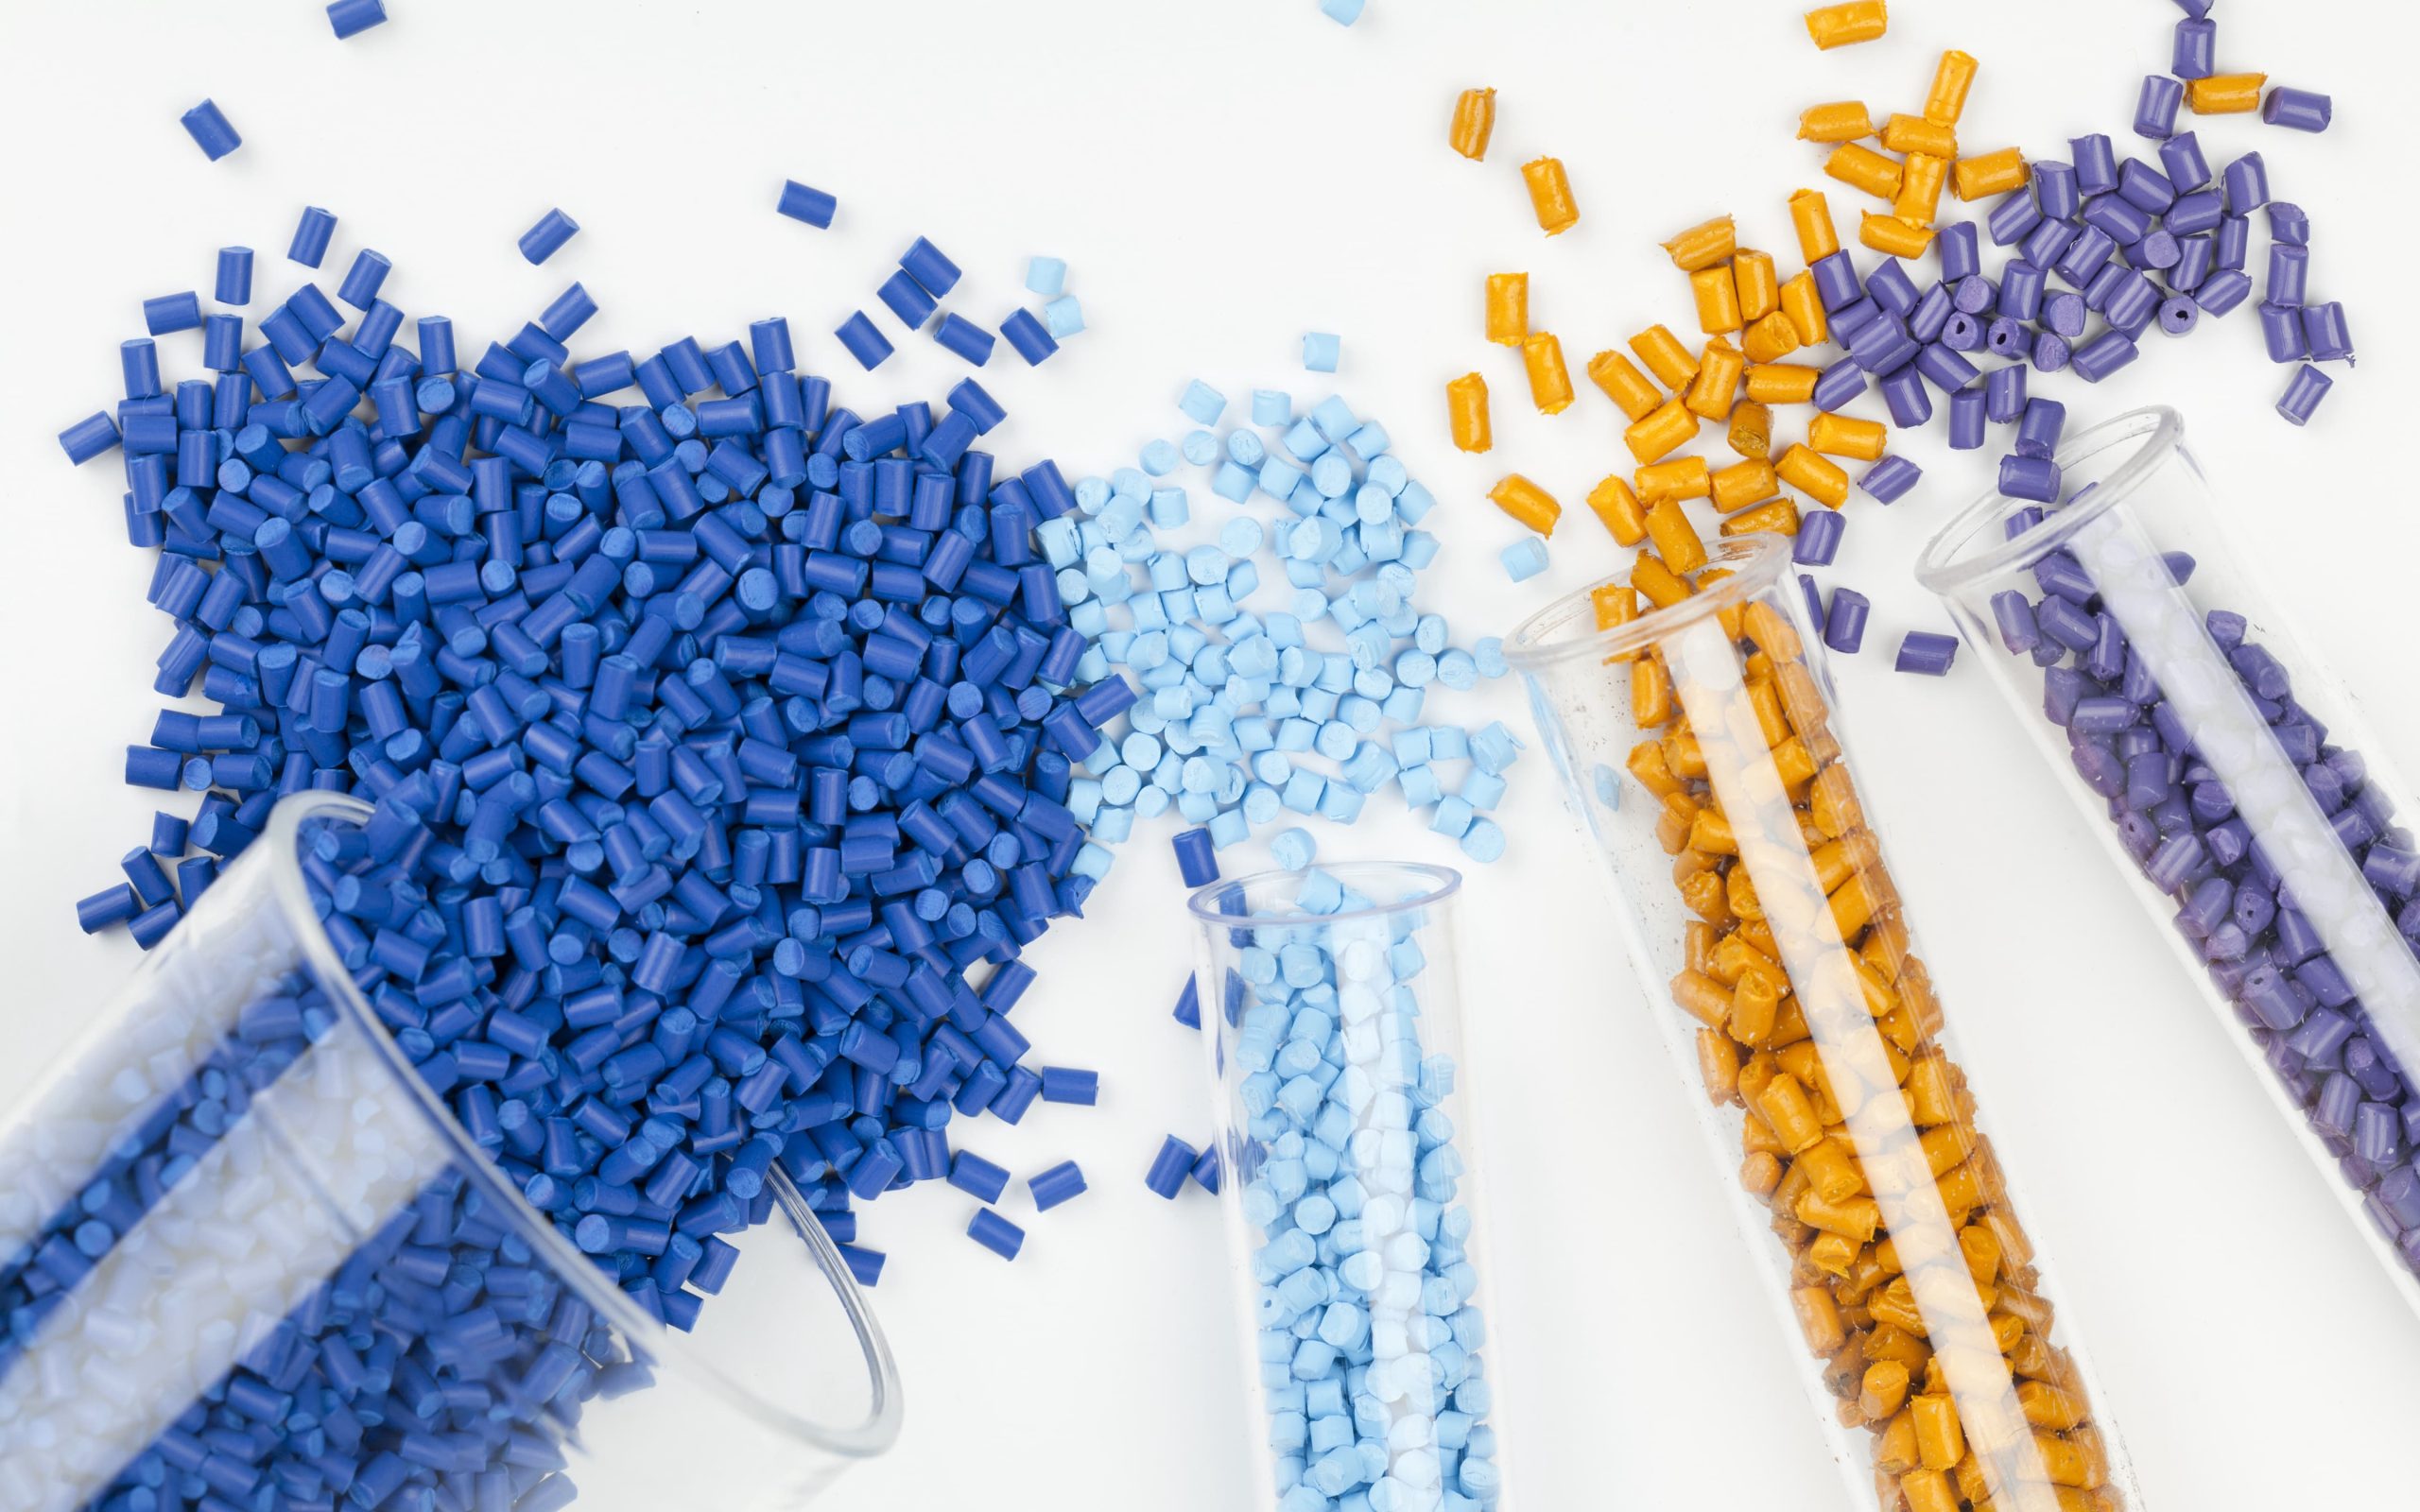
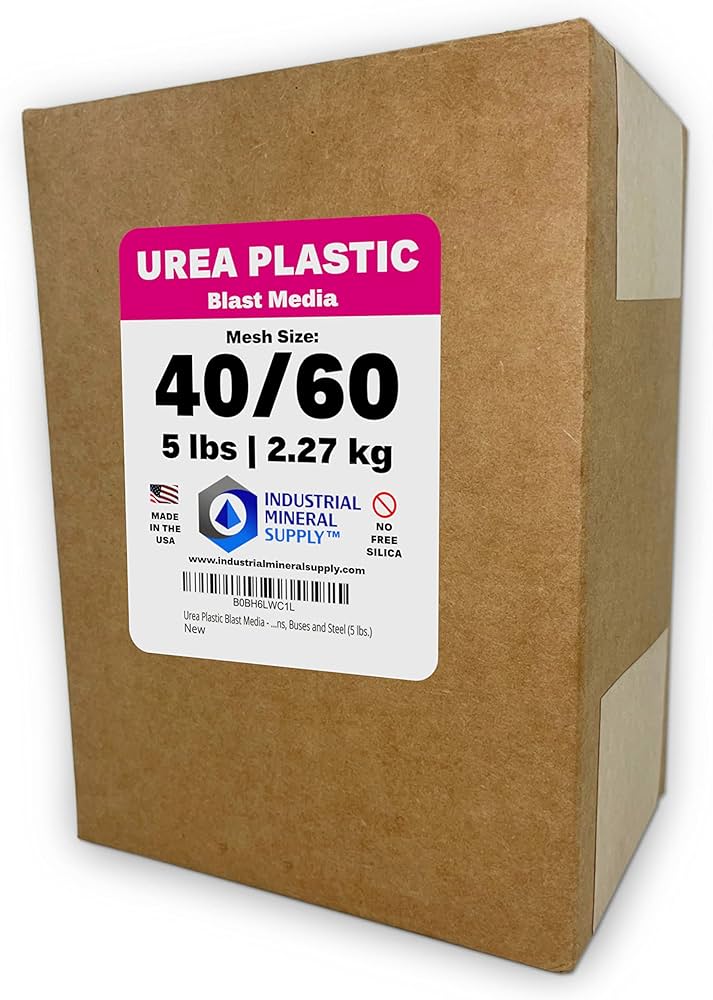
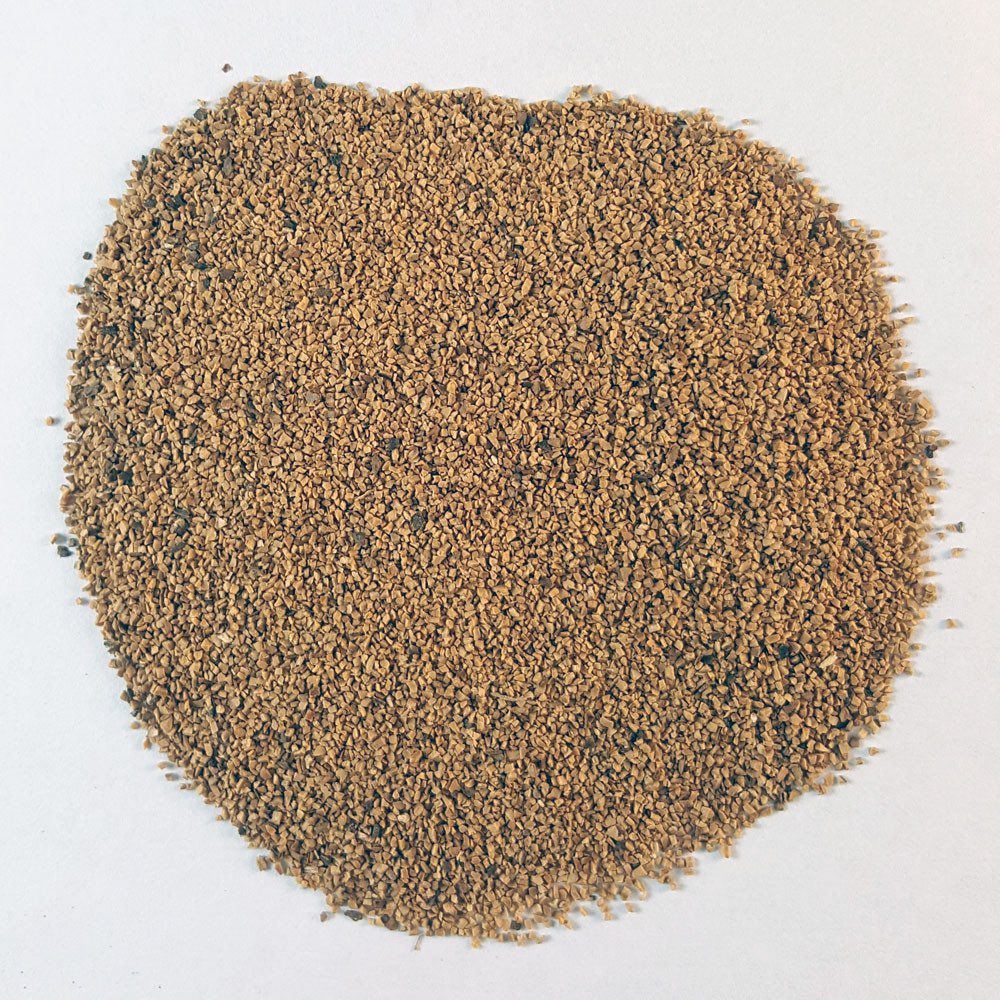
- Media type: ceramic, plastic, or organic for delicate parts
- Media-to-part ratio: typically 2:1 to 4:1
- Compound: 0.1–0.5% by volume depending on finish required
- Cycle time: 15–120 minutes depending on burrs and roughness
Chemical Polishing
Chemical polishing (electropolishing or acid-based) selectively removes surface material to achieve a smooth finish. Process considerations:
- Solution composition: acid concentration, additives, and temperature
- Temperature control: typically 25–50°C for stable material removal
- Time: adjusted to reach target Ra without undercutting features
Process Parameters
| Processus | Key Parameter | Fourchette recommandée |
|---|---|---|
| Polissage mécanique | Abrasive grit | 400–2000 mesh |
| Vibratory polishing | Frequency | 1200–2200 rpm |
| Vibratory polishing | Cycle time | 15–120 min |
| Polissage chimique | Acid temp | 25–50°C |
| Polissage chimique | Dwell time | 5–30 min |
Pilot Protocol
- Run small batch with selected polishing method
- Measure surface roughness (Ra) at multiple points
- Adjust media, compound, or dwell time as needed
- Verify dimensional change is within tolerance
- Document findings and finalize production parameters
Quality Control Metrics
- Surface roughness (Ra): target 0.2–1.0 μm depending on application
- Gloss: measured using a reflectometer (optional for aesthetic parts)
- Dimensional deviation: maintain <0.05 mm
- Visual inspection: ensure uniform finish, no over-polishing or edge rounding
Applications & Case Studies
1. Automotive trim: vibratory polishing removed minor burrs and achieved consistent Ra 0.6 μm.
2. Medical instruments: mechanical micro-polishing achieved mirror finish with minimal dimensional change.
3. Aerospace components: chemical polishing improved fatigue performance by reducing micro-notches.
Safety Considerations
- Wear chemical-resistant gloves, eye protection, and face shields for chemical polishing
- Ensure dust extraction for vibratory/mechanical polishing
- Monitor temperature and chemical concentration to avoid burns or over-etching
Filtres


