Blasting Sand for Automotive Restoration: Media Selection Guide for DIYers
The wrong abrasive media on a car body panel warps thin metal, leaves profiles too deep for primer to fill, or introduces media into seams that corrodes from the inside. This guide covers exactly what media to use on every part of a vehicle restoration project — and what to avoid at all costs.
Why Automotive Blasting Is Different
Structural steel blasting — the kind done on bridges, ships, and industrial equipment — uses aggressive media at high pressure to achieve maximum material removal. Automotive bodywork operates under completely different constraints. Vehicle body panels are typically 18–22 gauge steel (0.7–1.2 mm thick). At standard blast pressures with coarse media, this thin sheet metal warps, develops deep pits that resist filling, and can be permanently distorted in a single careless pass.
The automotive restorer’s core challenge is achieving bare metal (removing all rust, paint, and filler) without dimensional change to the panel. This requires a combination of the right media type, the correct grit size, careful pressure control, and an understanding of which parts of the vehicle can tolerate more aggressive treatment (the frame, subframe, suspension components) versus which cannot (door skins, bonnets, roofs, quarter panels).
For a full understanding of the media options available before making your selection, see: Blasting Sand Types Explained. For sourcing guidance, see the main guide: Where to Buy Blasting Sand: The Complete Buyer’s Guide.
Media Selection by Vehicle Component
| Vehicle Component | Recommended Media | Grit / Mesh | Pressure | Notes |
|---|---|---|---|---|
| Body panels (doors, bonnet, roof) | Glass beads or fine garnet | 80–120 mesh | 50–70 PSI | Keep moving; avoid dwelling in one spot |
| Quarter panels & fenders | Fine garnet or glass beads | 60/80–80/100 mesh | 60–75 PSI | Inspect for filler before blasting |
| Floor pans & wheel arches | Medium garnet or coal slag | 30/60 mesh | 80–95 PSI | Heavier gauge — can tolerate more aggression |
| Chassis / unibody frame | Medium garnet or coal slag | 30/60 mesh | 90–110 PSI | Heavy sections tolerate standard industrial settings |
| サスペンション・コンポーネント | Garnet or aluminum oxide | 30/60 mesh | 90–100 PSI | Inspect for cracks after blasting |
| Engine block & cast iron | Glass beads or aluminum oxide | 80–120 mesh | 60–80 PSI | Protect bores and threaded holes first |
| Fibreglass body (GRP) | Walnut shells or plastic media | Medium grade | 40–60 PSI | Never use mineral abrasives on fibreglass |
| Aluminium panels | ガラスビーズ | 80–120 mesh | 40–60 PSI | Extremely low pressure; test on hidden area first |
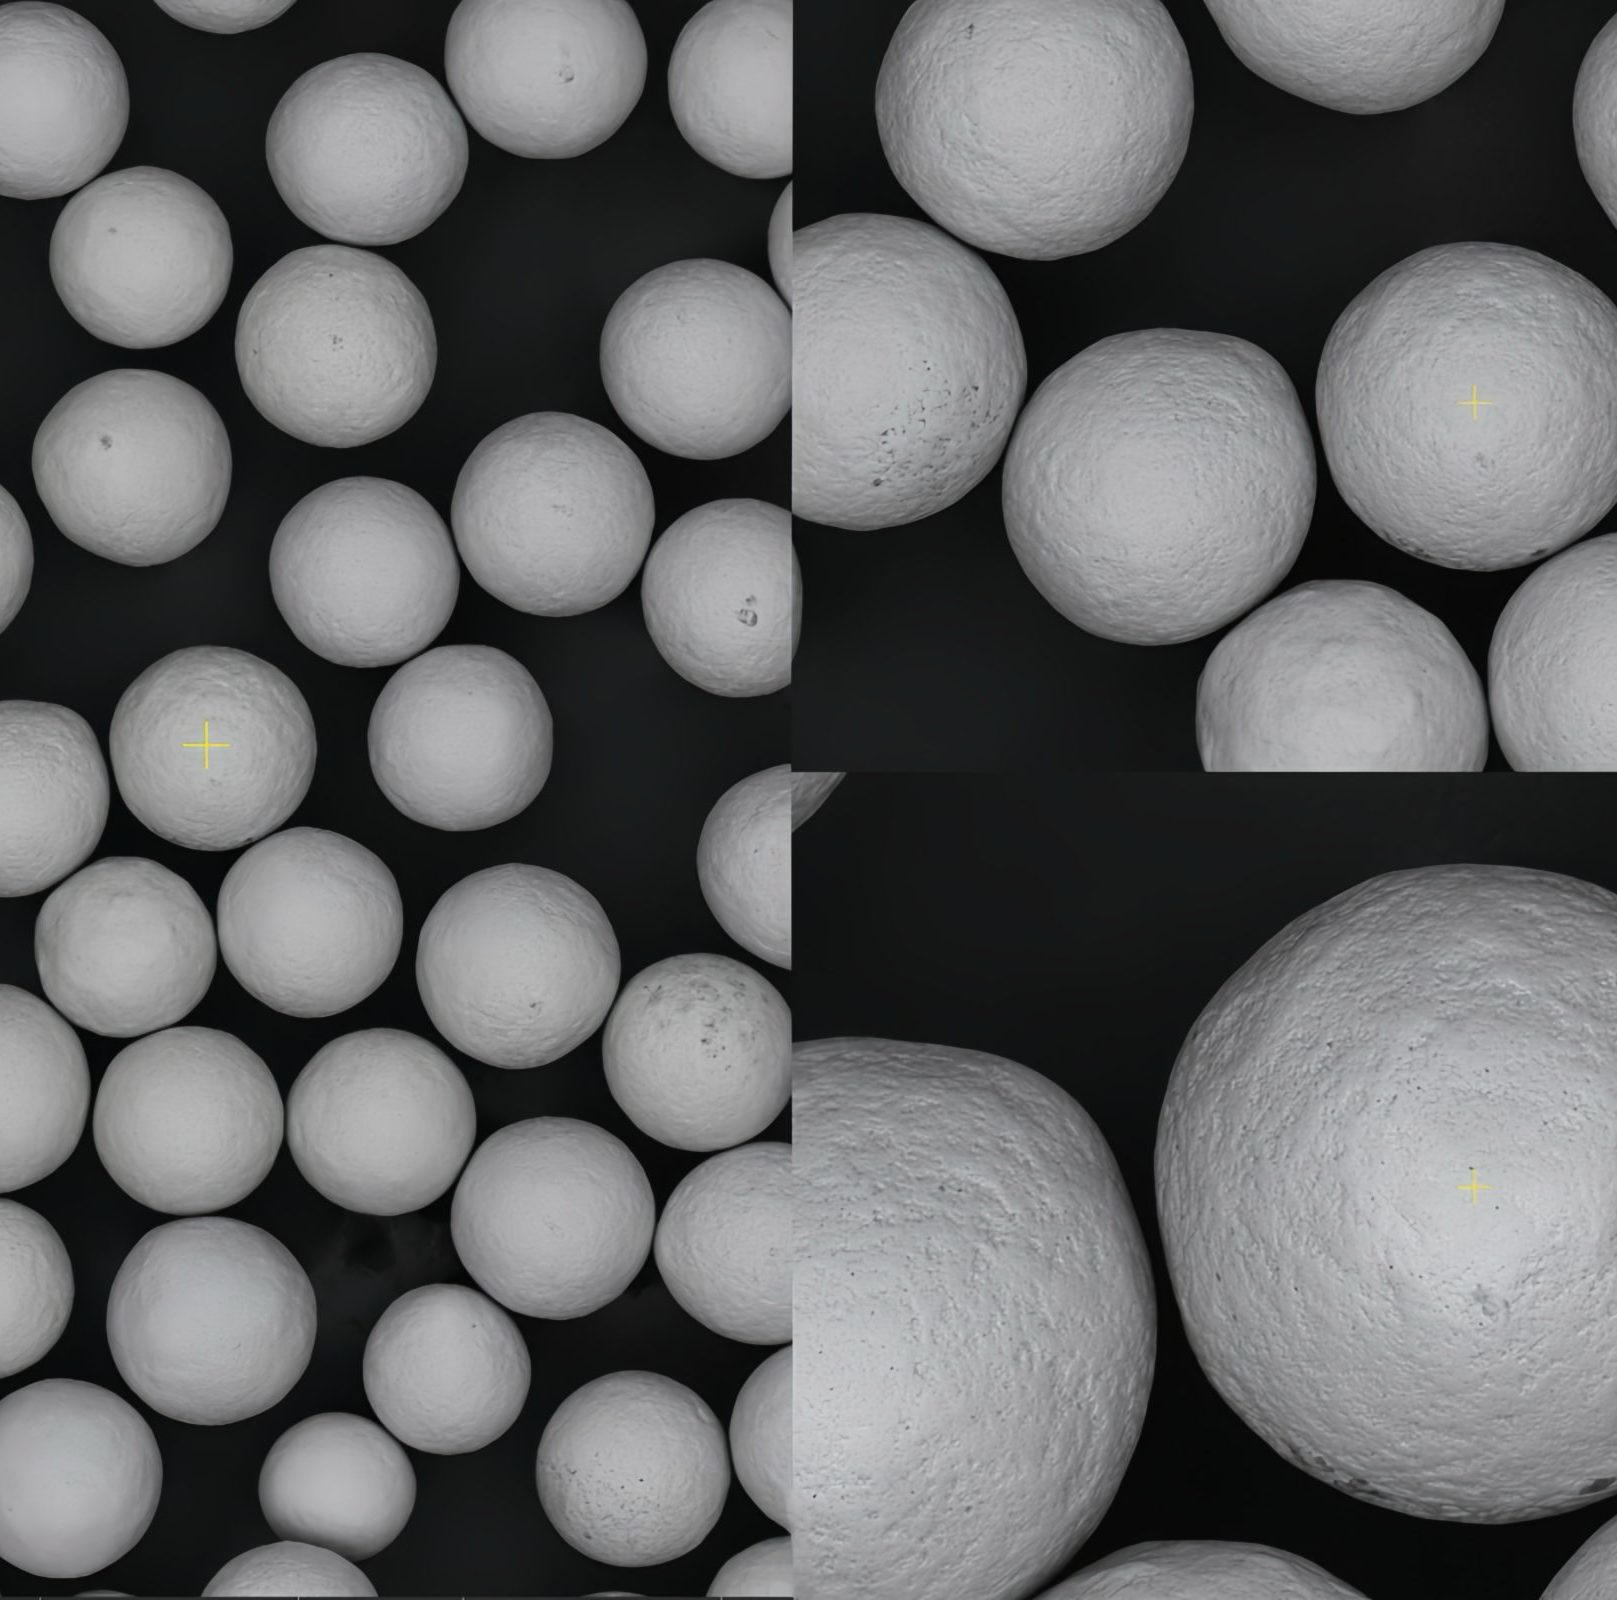
Glass Beads for Body Panels
Glass beads in the 80–120 mesh range are the professional standard for blasting thin steel body panels. Their spherical shape peens rather than cuts, producing a uniform, bright surface without the aggressive angular profiling that warps thin metal. The surface they leave — a fine matte with 0.5–0.8 mil profile — is ideal for direct-to-metal primers in automotive finishing systems.
In a well-maintained blast cabinet, glass beads recycle 20–30 times — making them economical despite their higher purchase price. A 50 lb charge of 100-mesh glass beads in a floor cabinet can last an entire vehicle restoration project with proper maintenance. Between uses, run the media through the cabinet’s separator to remove fines and check for contamination.
Henglihong’s glass beads for sandblasting are available in mesh sizes suited for automotive finishing work, with consistent sphericity ensuring even peening action across the panel surface.
Panel Warping Risk
Even with the correct media, dwelling the blast nozzle on one spot heats the panel through repeated particle impact and causes thermal warping. Keep the nozzle moving constantly in overlapping passes. If you see colour change or feel heat on the panel surface, stop and allow it to cool before continuing.
Fine Garnet for Rust Removal
When rust penetration requires more cutting power than glass beads can provide — surface rust that has converted the steel surface but not caused deep pitting — fine garnet (60/80 or 80/100 mesh) at 60–80 PSI is the recommended media. It is harder and more angular than glass beads, cutting more aggressively through rust while still being fine enough to avoid the warping risk of medium garnet on thin panels.
A practical two-stage approach for heavily rusted body panels: first pass with fine garnet to achieve bare metal and remove all rust products, second pass with glass beads to clean the surface, reduce the profile depth slightly, and produce the bright, uniform finish that premium primers adhere to best. This approach adds cost but produces consistently superior results to a single media pass.
For purchasing guidance on garnet in the mesh sizes appropriate for automotive work, see: How to Buy Blasting Sand in Bulk, or source directly from Henglihong’s garnet media product range.
Walnut Shells for Fibreglass & Delicate Parts
Fibreglass body panels, plastic trim, and soft aluminium components require the gentlest abrasive available for stripping without substrate damage. Walnut shells (Mohs 3–4) are the correct choice. They are hard enough to strip paint and gel coat from fibreglass without cutting into the underlying glass fibre mat — which mineral abrasives at virtually any pressure will do.
Walnut shell media is available from specialist abrasive suppliers and some online retailers. It is not available at standard retail chains. Use with a siphon or suction blast gun at 40–60 PSI; pressure blast systems at full pressure will fracture the shells too aggressively, reducing reusability. Keep blasting distance at 8–12 inches and maintain constant nozzle movement.
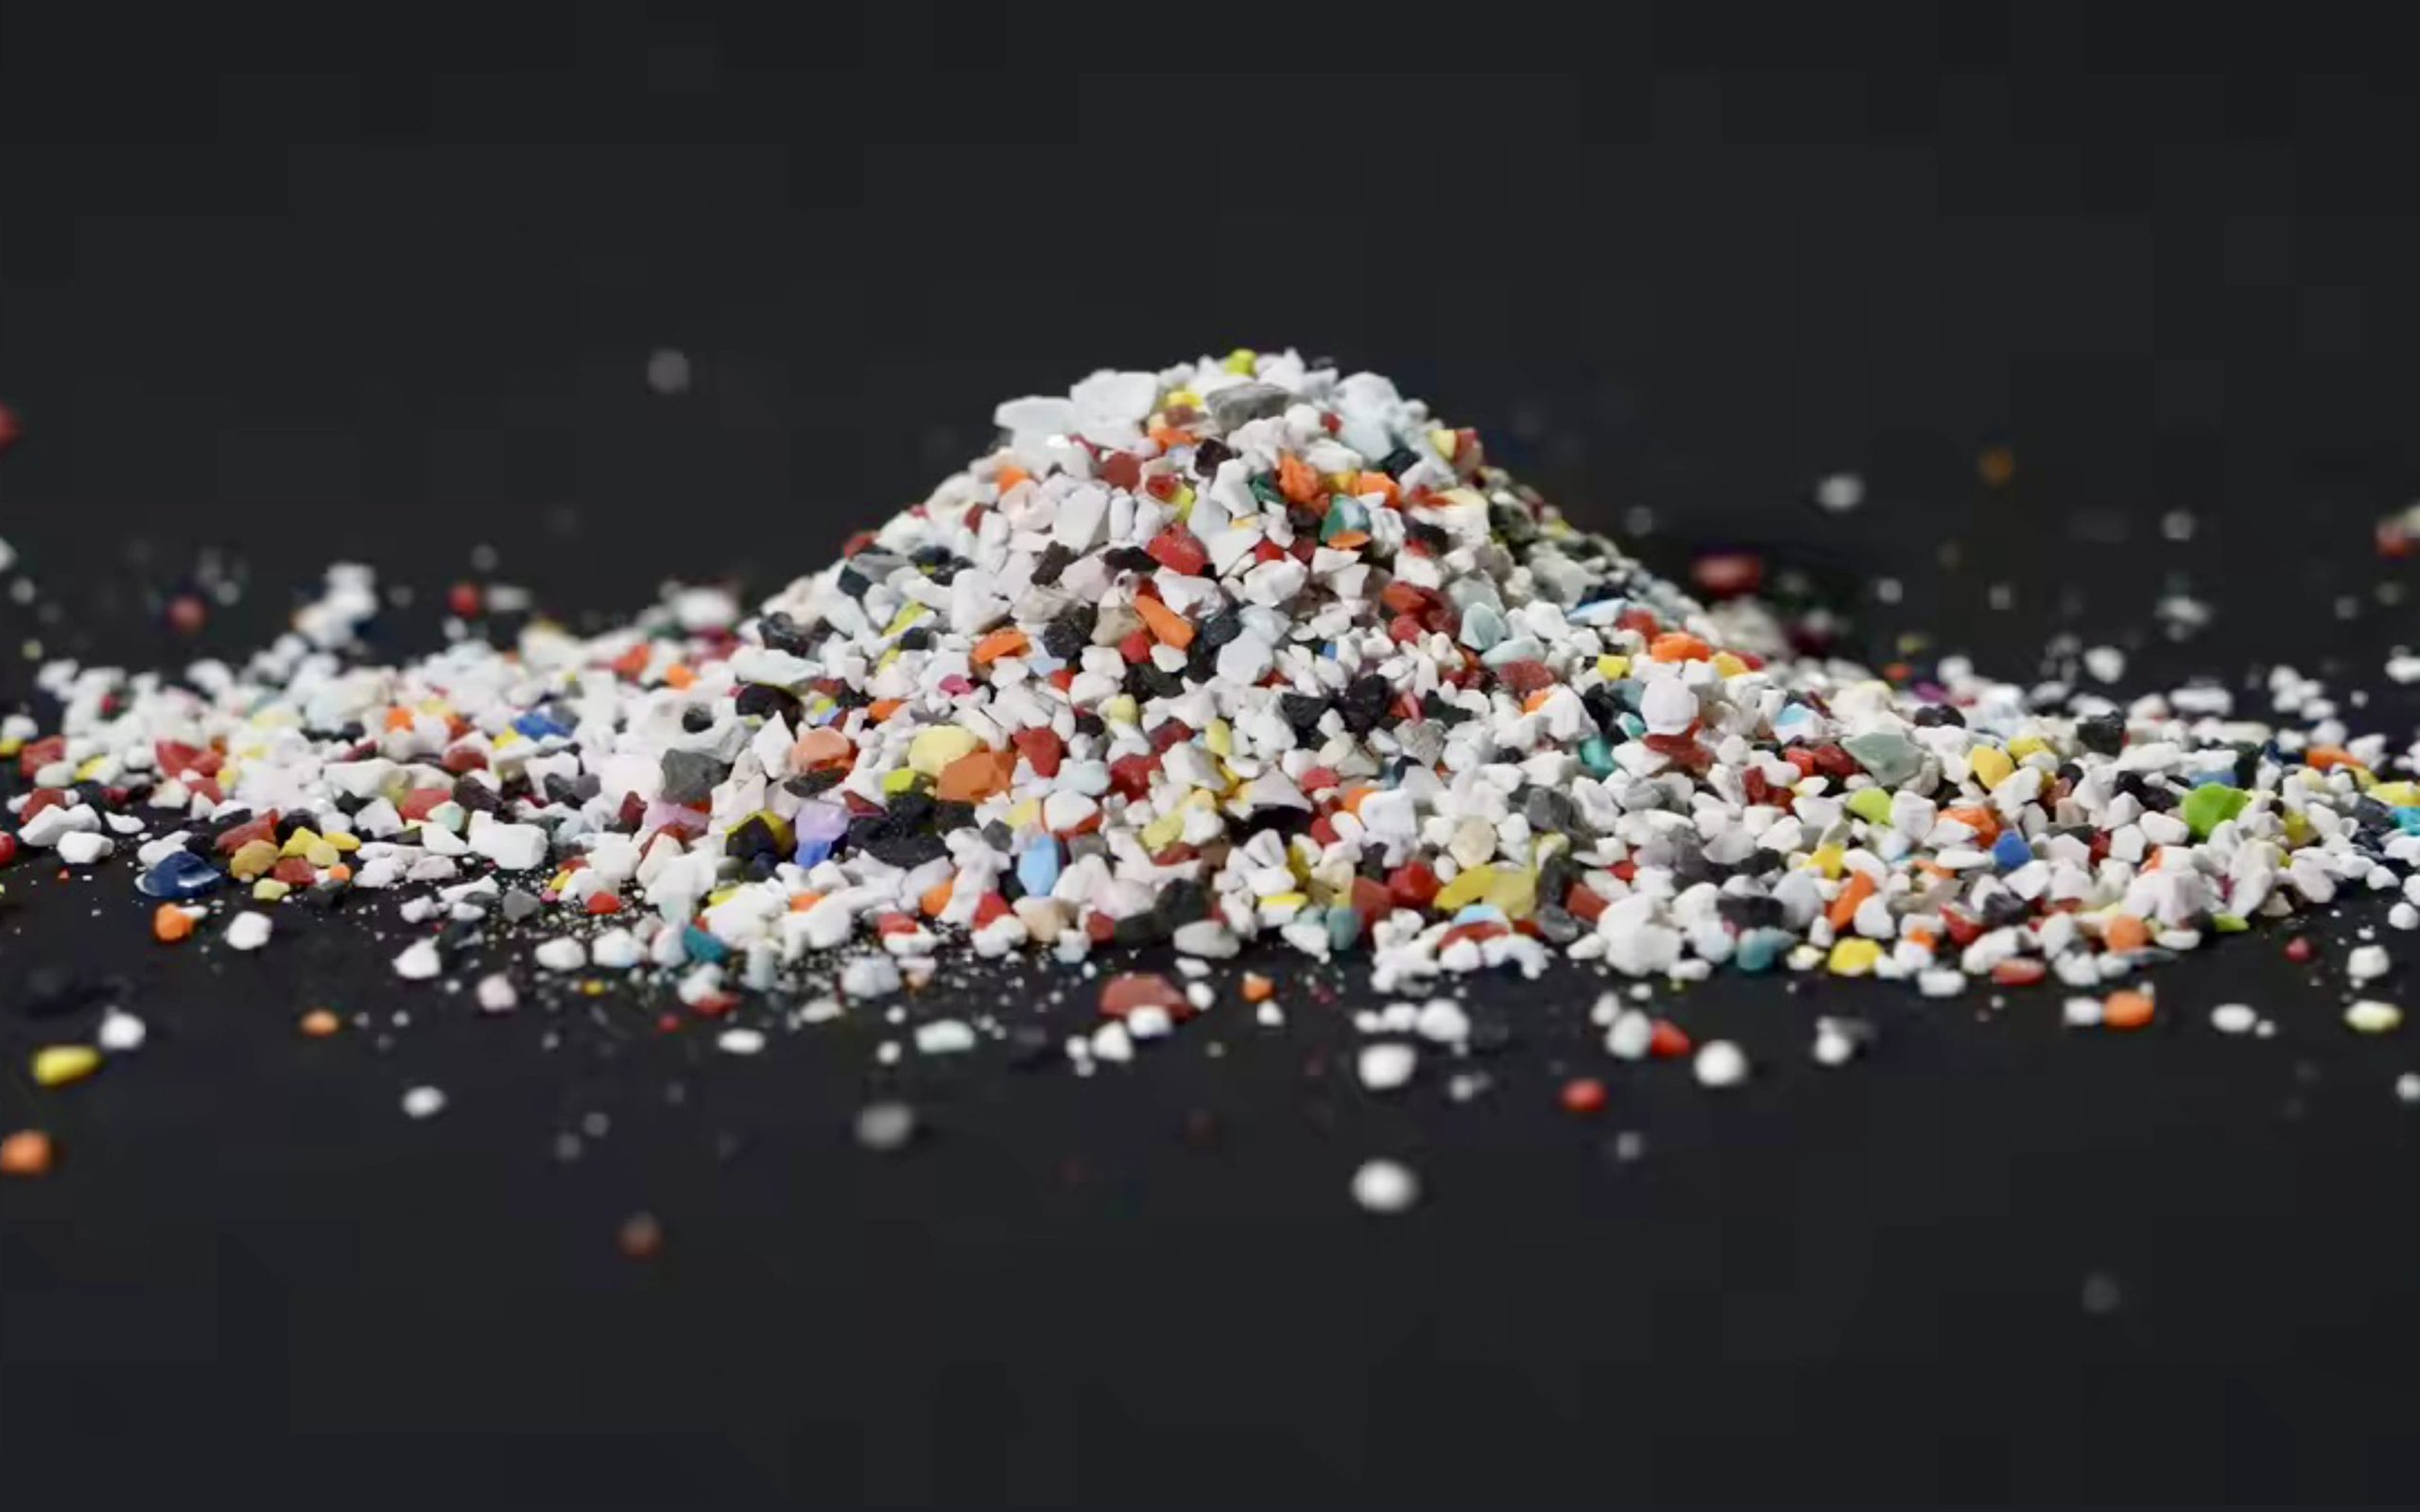
What Media to Avoid on Vehicles
❌ Coarse Silica Sand
Far too aggressive for body panels. Will warp 18–22 gauge steel in a single pass, leave deep pits impossible to fill with standard primer coats, and create health liability. Never use on automotive bodywork.
❌ Medium Coal Slag
Acceptable on chassis and frame sections but too coarse for body panels. Also generates significant dust which contaminates fresh paint prep. Use only on thick structural sections if no better option is available.
❌ Coarse Garnet (20/40 mesh)
Excellent for structural steel rust removal but too aggressive for automotive panels. Fine garnet (60/80+) is appropriate for bodywork; coarse garnet is not.
❌ Steel Grit
For blast rooms and industrial applications only. Steel grit on a vehicle body panel will cause severe warping, deep angular profiling, and potential perforation of thin sections. Not suitable for any automotive use.
Equipment Setup for Automotive Blasting
The right media choice is undermined by incorrect equipment setup. For automotive bodywork, the following equipment configuration is recommended.
Blast Cabinet (Preferred for Body Panels)
A floor-standing or bench-top blast cabinet provides the controlled environment needed for panel blasting. It contains media for recycling, filters dust, and prevents contamination of surrounding work areas. For full vehicle panels, a floor cabinet with minimum 24×24 inch work area is required. Ensure the cabinet’s separator and dust collector are functioning properly before charging with glass beads — fine contamination reduces the roundness and effectiveness of the bead charge quickly.
Pressure Blast Pot (Open Blasting)
For chassis, subframe, and undercarriage blasting where the part cannot be placed in a cabinet, a portable pressure blast pot with 5–20 lb capacity is appropriate. Connect to a compressor capable of sustaining 90+ PSI at the nozzle (minimum 60 CFM for a 3/8-inch nozzle). Use a 1/4-inch nozzle at reduced pressure for panel sections to limit cutting aggression.
Compressor Requirements
Air supply is the most commonly under-specified component in DIY blasting setups. A standard workshop compressor rated at 20–30 CFM cannot sustain adequate pressure for efficient blasting with a 3/8-inch nozzle — pressure drops immediately and blasting speed halves. For automotive blasting, a minimum 60 CFM compressor is needed for a 1/4-inch nozzle; 100+ CFM for a 3/8-inch nozzle. Renting a larger compressor for the blasting phase of a restoration project is often the most practical approach for home shops.
Step-by-Step: Blasting a Vehicle Body
Strip the vehicle to bare shell
Remove all glass, rubber seals, wiring, interior trim, and mechanical components before blasting. Media penetrates every gap and seam — anything left in the car will trap media that causes future corrosion and mechanical problems. Tape over all threaded holes and orifices with high-temp tape.
Select media and set pressure
For body panels: 80–120 mesh glass beads or 60/80 fine garnet at 50–70 PSI. For chassis and structural sections: 30/60 medium garnet or coal slag at 85–100 PSI. Test on an inconspicuous area first and inspect for warping before proceeding to visible surfaces.
Blast in overlapping passes — keep moving
Work in consistent overlapping passes, maintaining a 6–10 inch standoff at a 45–75° angle. Never hold the nozzle in one position — keep moving at a rate of approximately 1 foot per second on panel sections. Dwell time is the primary cause of panel warping in amateur automotive blasting.
Blow out all cavities and seams
After blasting, blow out every seam, fold, and enclosed cavity with compressed air. Media trapped in body seams is one of the most common causes of premature corrosion return after restoration. Follow with a vacuum to extract loosened media from enclosed sections.
Apply primer within 2–4 hours
Freshly blasted steel re-rusts within hours in normal humidity. Apply a zinc phosphate or epoxy primer within the window specified by your paint system — typically 2–4 hours in normal shop conditions. In high humidity, this window shortens significantly. Do not leave bare blasted steel overnight without primer protection.
How Much Media Do You Need?
Quantity planning for a full vehicle restoration depends heavily on whether you are using recyclable media in a cabinet or single-use media for open blasting. The figures below assume a full body shell (no engine, no interior).
Open blasting with fine garnet (60/80 mesh): Body panels and chassis combined consume approximately 100–200 lb for a full shell to bare metal, depending on rust severity and technique. Recyclability reduces this by 60–70% if screening equipment is available.
Open blasting with coal slag (medium): 150–300 lb single-use for a full shell. No recycling. Higher consumption than garnet due to faster breakdown rate. Use only on chassis sections, not body panels.
For cost comparison across all media types, including cost per bag and per-use economics, see: How Much Does Blasting Sand Cost?
よくある質問
Bottom Line
Automotive blasting is a precision task. Glass beads (80–120 mesh) at 50–70 PSI are the correct choice for thin body panels — consistently used by professional restoration shops for their combination of cleaning effectiveness, minimal warping risk, and recycleability. Fine garnet (60/80 mesh) is the step up for rusted panels that need more cutting power. Medium garnet or coal slag handles the chassis and structural sections. Never use coarse media or silica sand on body panels — the results are difficult or impossible to correct.
For the full guide to sourcing these media types and comparing costs across all purchasing channels, see: Where to Buy Blasting Sand: The Complete Buyer’s Guide.
フィルター
")