Surface Treatment Processes — Comprehensive Guide to Industrial Surface Finishing Techniques
Primary keyword: surface treatment processes · Secondary: industrial surface finishing, surface preparation
Introduction to Surface Treatment
Why it matters: Surface treatment is not cosmetics — it determines fatigue life, corrosion resistance, friction behavior, coating adhesion, and ultimately product warranty costs. A poorly selected or poorly controlled process can reduce component life by orders of magnitude or introduce contamination that ruins downstream assembly.
What we mean by surface treatment: the set of processes used to clean, modify, or texturize part surfaces prior to their intended function. Typical families covered here are: surface cleaning, rust removal, surface preparation (for coating), shot peening, coating removal, バリ取り, 表面研磨そして etching.
This guide focuses on industrially actionable parameters: pressures, media choices, grit sizes, rotational speeds, energy densities, cycle times and acceptance criteria — not just marketing slogans.
Benefits of Proper Surface Treatment
Improve product performance
Controlled surface finishing reduces stress concentrators and can increase fatigue life. Example: shot peening with specified Almen intensity can improve fatigue limit by 30–50% for spring steel when coverage ≥ 98%.

Extend component life
Removing corrosion, embedding protective textures, or smoothing micro-notches reduces crack initiation. Correct pre-treatment can extend time-to-failure in corrosive environments.
Optimize downstream processing
Proper surface prep increases coating adhesion and reduces rework. Typical targets: surface cleanliness S2.5 (ISO 8501-1 visual) and Ra < 1.0 μm for many paint systems.
Lower total cost
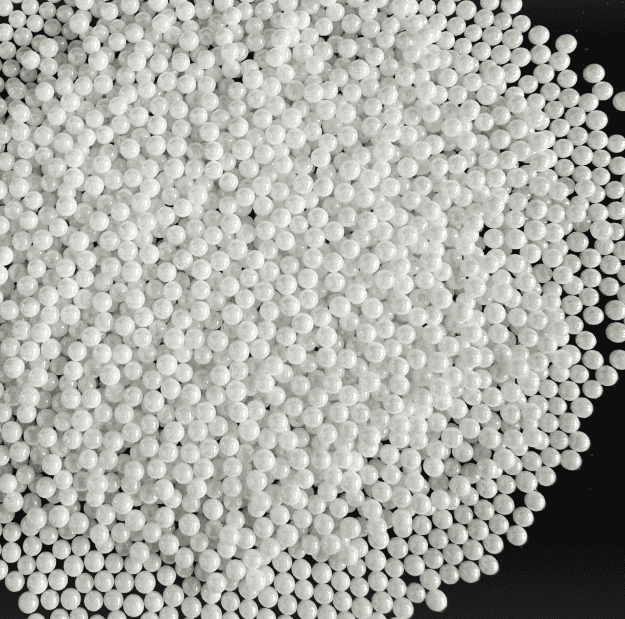
Optimizing throughput and media life reduces cost per part — e.g., switching to longer-life zirconia beads may raise raw media cost but lower cost-per-part by ~20–40% in high-throughput milling.
How to Choose the Right Surface Treatment Process
Decision criteria (practical checklist):
- Substrate material: steel, aluminum, Ti-alloy, brass, plastic — each demands different abrasives/chemistries.
- Part geometry & tolerance: thin walls and precision bores restrict aggressive media and high g-forces.
- Surface requirement: roughness target (Ra), cleanliness class (ISO 8501-1), and maximum allowable dimensional change (mm).
- Throughput targets: parts/hour and batch size — energy-intensive processes might be justified only at scale.
- Downstream process: painting, plating, assembly — they set acceptance criteria (adhesion tests, salt spray, etc.).
Quick mapping (simplified):
| ゴール | Recommended Process Families | Example Parameters |
|---|---|---|
| Rust / scale removal | Aluminum Oxide blasting, mechanical grinding | Blast pressure 3.5–6.0 bar, grit 80–120 µm |
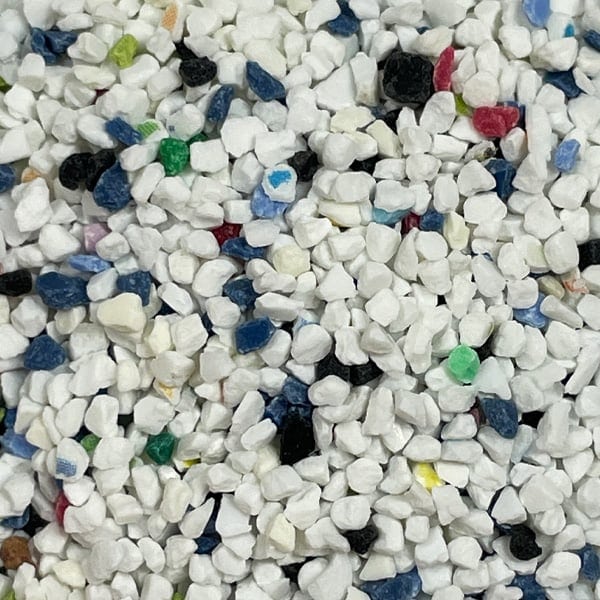
| デバリング | Vibratory/tumbling with ceramic or plastic media | Freq 1200–2200 rpm, media:part 3:1, 10–60 min |
| Fatigue life improvement | Shot peening (steel springs, shafts) | Almen intensity 0.10–0.40 mm A, coverage ≥98% |
| High-purity polishing | Zirconia bead milling / fine ceramic polishing | Bead 0.3–0.8 mm, 1000–1500 rpm, wet dispersion |
Summary of Techniques Covered in This Guide
- Surface Cleaning Guide — mechanical vs chemical cleaning, selection guide, case studies.
- Rust Removal Methods — blasting, acid pickling, phosphating and safety.
- Surface Preparation Guide — grinding, blast profile, adhesion targets.
- Shot Peening Process — parameters, Almen testing, coverage, benefits.
- Coating Removal Techniques — mechanical and chemical strategies.
- Deburring Process Guide — vibratory/tumble, media selection.
- Surface Polishing Guide — polishing sequences, compounds, targets.
- Etching Process & Safety — chemical etching, safety and waste handling.
Pilot Protocol — How to Validate a Process (Engineer-ready)
Below is a repeatable pilot protocol you can run on shop floor to validate any surface treatment.
- Objective & Acceptance Criteria: e.g., remove burr height 0.20 → <0.05 mm; achieve Ra ≤0.8 μm; dimensional change ≤0.05 mm; contamination <10 ppm.
- Sample Size: Run n = 50–200 parts per condition.
- Pre-treatment: De-grease, rinse, dry. Record initial mass and dimensions.
- Vibratory finishing: freq 1500–2200 rpm, media:part 3:1, 10–60 min.
- Blast (Aluminum oxide): pressure 3.5–6.0 bar, nozzle 6–12 mm, stand-off 150–300 mm, grit 80–120 mesh.
- Shot peening: S110–S230 steel or ceramic beads; Almen intensity 0.10–0.40 mm A; coverage ≥98%.
- Chemical etch: ferric chloride / ammonium persulfate, temp 25–35°C, dwell time adjusted.Process Parameters:
- Measurements & Acceptance: Ra, dimensional change, Almen intensity, contamination.
- Reporting: Pilot report with raw data, mean ± s.d., photos before/after, media weight pre/post, recommendations.
Quality Control & Key Metrics
| KPI | Unit | Target | Measurement Method |
|---|---|---|---|
| Surface roughness (Ra) | μm | ≤0.8 | Profilometer |
| Dimensional change | mm | ≤0.05 | CMM / calipers |
| Media wear | % per 1000 parts | ≤supplier spec | Weigh pre/post batch |
| Contamination | ppm | ≤10 | ICP-MS / EDX |
| Process yield | % pass | ≥98% | Inspection records |
Safety, Environmental & Disposal Considerations
- Engineering controls: LEV, sealed booths, HEPA filtration.
- PPE: respirators, gloves, goggles.
- Waste handling: segregate spent abrasive/chemical waste, follow regulations.
Expert FAQs
Q: How much dimensional change should I expect after vibratory finishing?
A: 0.01–0.05 mm for medium-duty ceramic media; thin walls may require lower mass ratio.
Q: How do I verify shot peening intensity?
A: Almen strips and calibrated gauge; adjust nozzle speed/pressure.
Q: When to switch to zirconia media?
A: When cost-per-part and contamination risks justify higher media price.
フィルター

