Surface Preparation Guide – Industrial Surface Treatment
Primary keyword: surface preparation · Secondary: grinding, abrasive blasting, surface profile
Introduction to Surface Preparation
Surface preparation is a critical step in industrial finishing. It ensures optimal adhesion for coatings, improves fatigue and corrosion resistance, and reduces defect risk during downstream processes. For a full perspective on how surface preparation fits into broader surface finishing, which covers cleaning, deburring, shot peening, polishing, and coating removal.

Mechanical Surface Preparation
Mechanical preparation removes rust, oxides, and contaminants while creating a surface profile. Techniques like grinding and wire brushing are often combined with blasting or polishing steps,to ensure comprehensive surface readiness.
- Grinding: Belt or disc grinders for flat surfaces; parameters: 120–400 grit, 1500–3000 rpm.
- Wire brushing: Hand or rotational brushes for edges and small features.
- Sanding / Abrasive wheels: Localized profile creation; avoid overheating substrate.

Abrasive Blasting & Media Selection
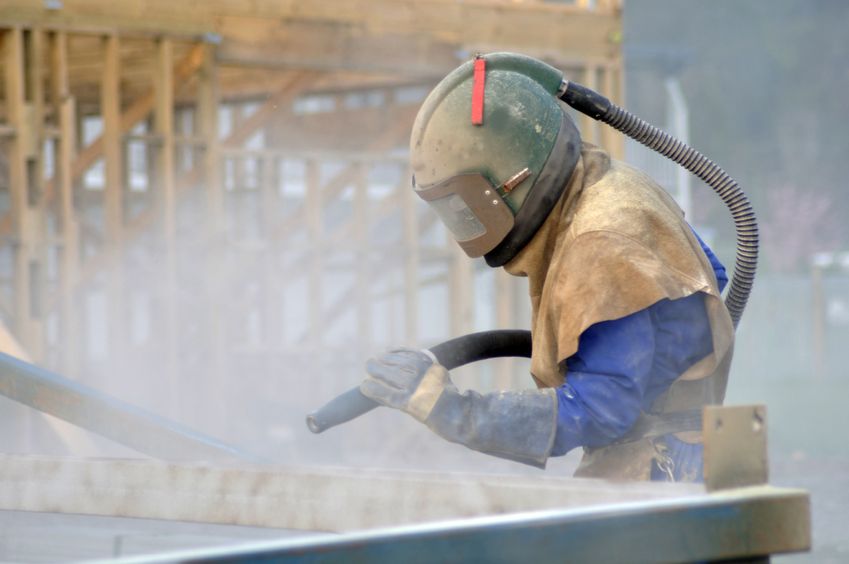
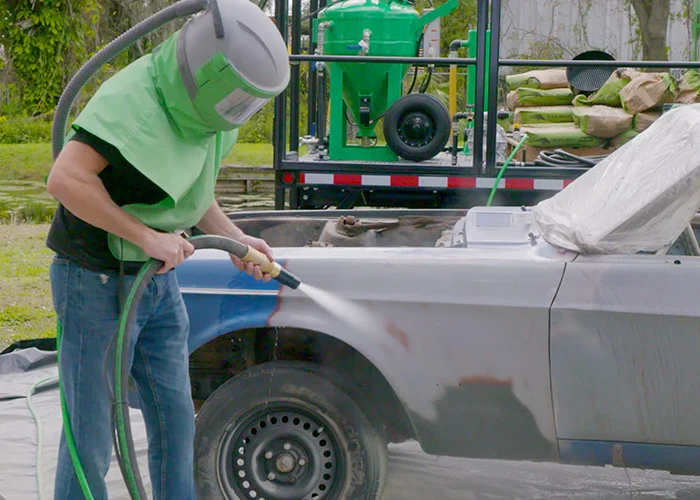
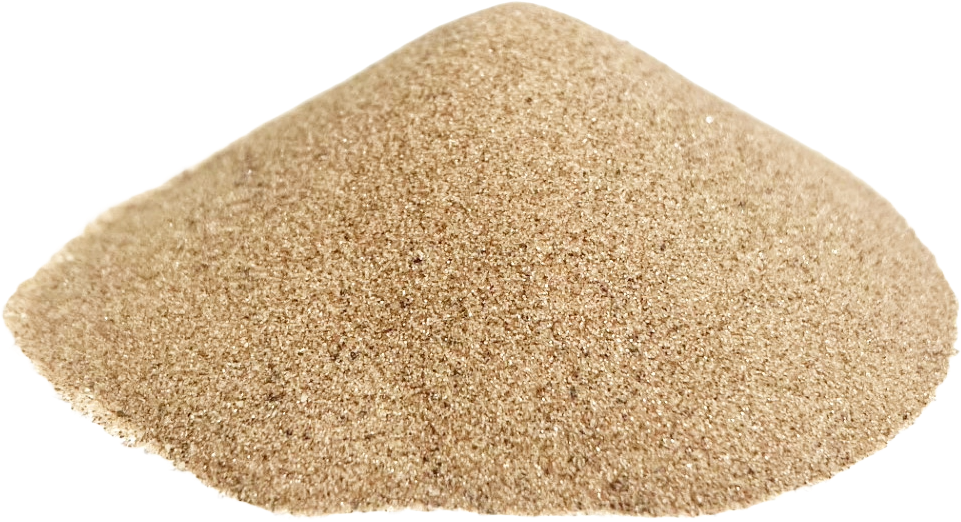
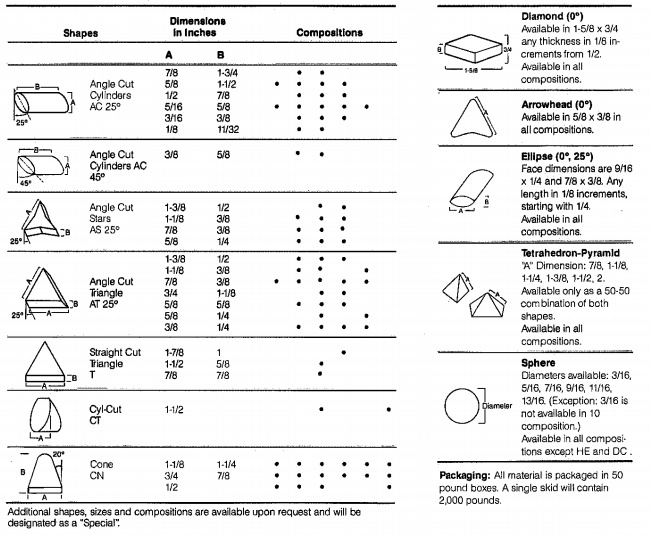
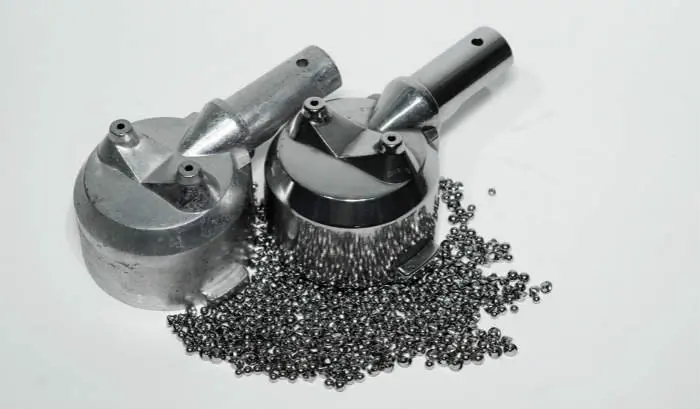
Abrasive blasting ensures controlled surface roughness and adhesion profile. Choosing the right media, size, and pressure is critical. For integration with cleaning, deburring, and peening.
| Media | 粒子径 | Pressure | Application Notes |
|---|---|---|---|
| 酸化アルミニウム | 80–120 µm | 3.5–6 bar | General steel surfaces, moderate rust |
| スチールショット | S110–S230 | 4–7 bar | Fatigue-critical components |
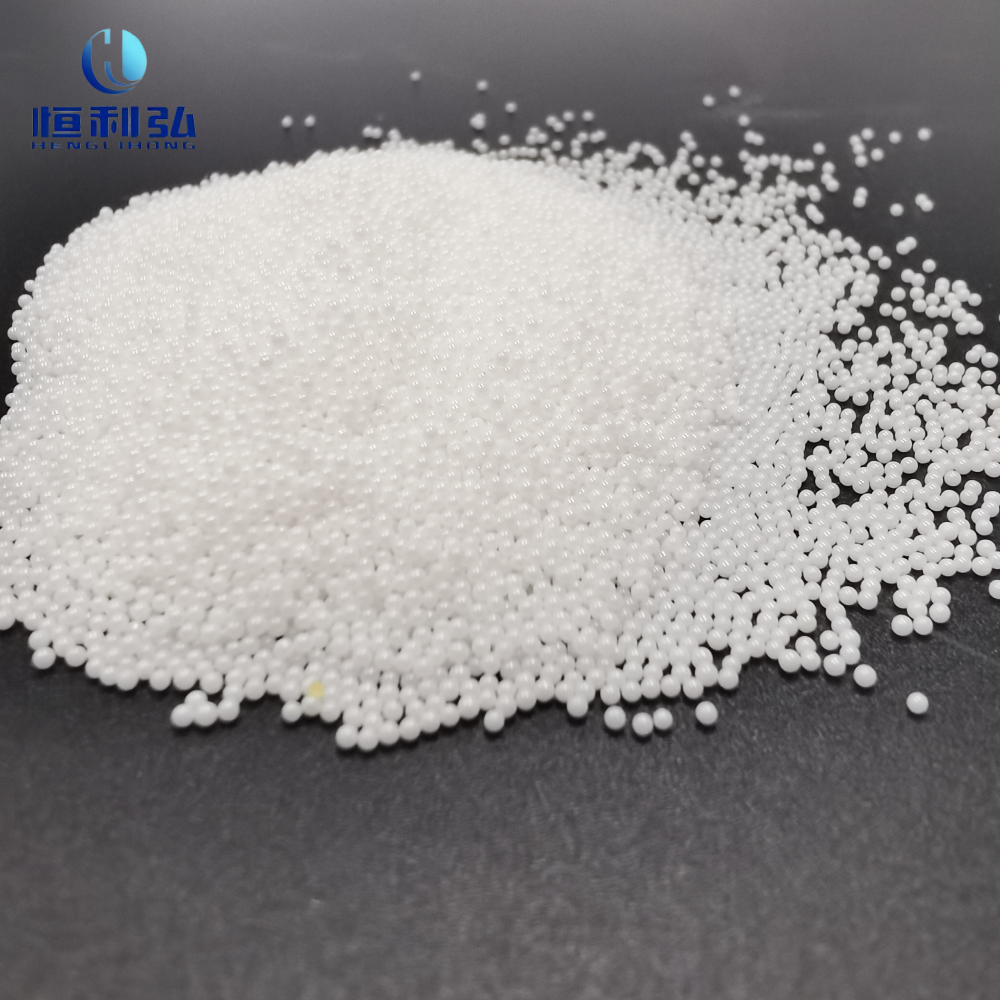
| Plastic beads | 0.5–2 mm | 2–4 bar | Thin or sensitive substrates |

Surface Profile & Measurement
Surface profile (Ra, Rz) is critical for coating adhesion and fatigue performance. Use a profilometer or replica tape to measure. Standard targets: Ra 0.5–2.0 μm for painting, Ra 1.5–4.0 μm for heavy coatings. Integrate these measurements into your pilot protocol (see section below) and compare to reference in metrics.
Chemical Surface Preparation
Chemical treatments remove oxides, grease, or micro-contaminants. Typical methods: alkaline degreasing, acid pickling, phosphating. Always align chemical steps with downstream coating requirements.
Choosing the Right Method
Decision factors:
- Material type (steel, aluminum, Ti-alloy, brass, plastic)
- Part geometry and tolerance
- Required surface roughness and profile
- Downstream process (painting, plating, coating adhesion)
- Throughput and cost constraints
Integration with broader surface treatment workflow is essential for consistent product quality.
Pilot Protocol
- Define targets: Ra, Rz, contamination limits, dimensional change
- Sample size: 30–50 parts per condition
- Pre-treatment: Degrease and clean samples
- Run selected preparation process (mechanical/abrasive/chemical)
- Measure roughness/profile, inspect surface quality
- Record results and compare to acceptance criteria
Quality Control & Key Metrics
| Metric | Unit | Target | Method |
|---|---|---|---|
| Surface roughness (Ra) | μm | 0.5–2.0 | Profilometer / replica tape |
| Profile depth (Rz) | μm | 2–6 | Profilometer |
| Contamination | ppm | <10 | ICP-MS / surface analysis |
| Dimensional change | mm | <0.05 | Caliper / CMM |
Industrial Case Studies
1. Automotive suspension brackets: Abrasive blasting with aluminum oxide achieved Ra 1.8 μm; combined with chemical degreasing, adhesion improved by 25%.
2. Aerospace titanium components: Mechanical grinding followed by plastic bead blasting minimized dimensional change (<0.02 mm) while achieving required profile.
Safety & Environmental Considerations
- Use PPE: respirator, gloves, goggles
- Local exhaust ventilation or sealed booths
- Segregate chemical and abrasive waste per local regulations
- Follow manufacturer SDS for all chemicals
フィルター

