Ceramic Abrasive Media for Dental Instrument Finishing: Benefits and Applications
I’ve walked into shops where operators were fighting the same finishing issues for months—micro‑burrs on abutments that refused to break, drills that looked dull after a single polishing cycle, orthodontic pliers with uneven texture. In nearly every case, switching to the right ceramic abrasive media and adjusting a few work parameters eliminated the headache. Ceramic media aren’t a magic fix, but they handle the specific demands of dental instrument finishing better than most alternatives when you understand what’s under the hood.
This article is written for process engineers, finishing technicians, and dental instrument manufacturers who need more than a datasheet. I’ll walk through the properties that make ceramic media the backbone of many dental finishing lines, the types you’ll actually encounter, how to size and shape them for different instruments, what changes when you go wet or dry, and the maintenance signals that tell you it’s time to swap out a charge. If you’re looking for a broader framework on media selection, the Complete Guide to Abrasive Media for Dental Instrument Finishing sets the stage.
Why Ceramic Media Are Ideal for Dental Instrument Finishing
Dental instruments demand finishes that are smooth, free of microscopic stress risers, and—critically—biocompatible in terms of surface residue. Stainless steel, titanium alloys, and cobalt chrome dominate the material mix. These are hard, often heat‑sensitive alloys that need aggressive deburring yet cannot tolerate surface contamination or excessive rounding of precise edges.
Ceramic abrasive media sit in the sweet spot. They have enough density and hardness to cut 300‑series stainless and titanium grades effectively, but their self‑wearing mechanism exposes fresh abrasive grains slowly, which maintains a consistent cutting action for hundreds of hours. This is not something I rely on manufacturer claims for; you can see it in the gradual mass loss of the media over time. Compare that to preformed plastic media loaded with abrasive grain—they wear out fast and can embed plastic fines into surfaces, which causes cleaning issues in cleanroom environments. Ceramic media leave behind inorganic fines that flush out easily with a standard aqueous rinse.
Another reason ceramic media dominate dental finishing is their thermal and chemical stability. In a wet process, they won’t swell or soften. When you’re running a centrifugal disk machine at high energy, or a vibratory tub for twelve hours straight, the media temperature can climb. Ceramic media hold their shape and don’t degrade into a sticky paste, unlike some bonded media.
I often tell new engineers to think of ceramic media as the constant in a dental finishing system—once you dial in the shape, size and compound, the process repeats cycle after cycle with minimal adjustment.
Types of Ceramic Media: Alumina, Zirconia, and Composites
Not all ceramic media are created equal. In dental instrument finishing, you’ll primarily deal with three families: alumina‑based, zirconia‑based, and engineered composites that blend multiple ceramic phases. Understanding the differences prevents you from choosing a media that’s either too aggressive (scratching precision implant surfaces) or too soft (taking forever to break a burr).
| Тип носителя | Key Composition | Плотность (г/см³) | Твердость по Моосу | Toughness | Best Used For | Typical Cycle Life* | Relative Cost |
|---|---|---|---|---|---|---|---|
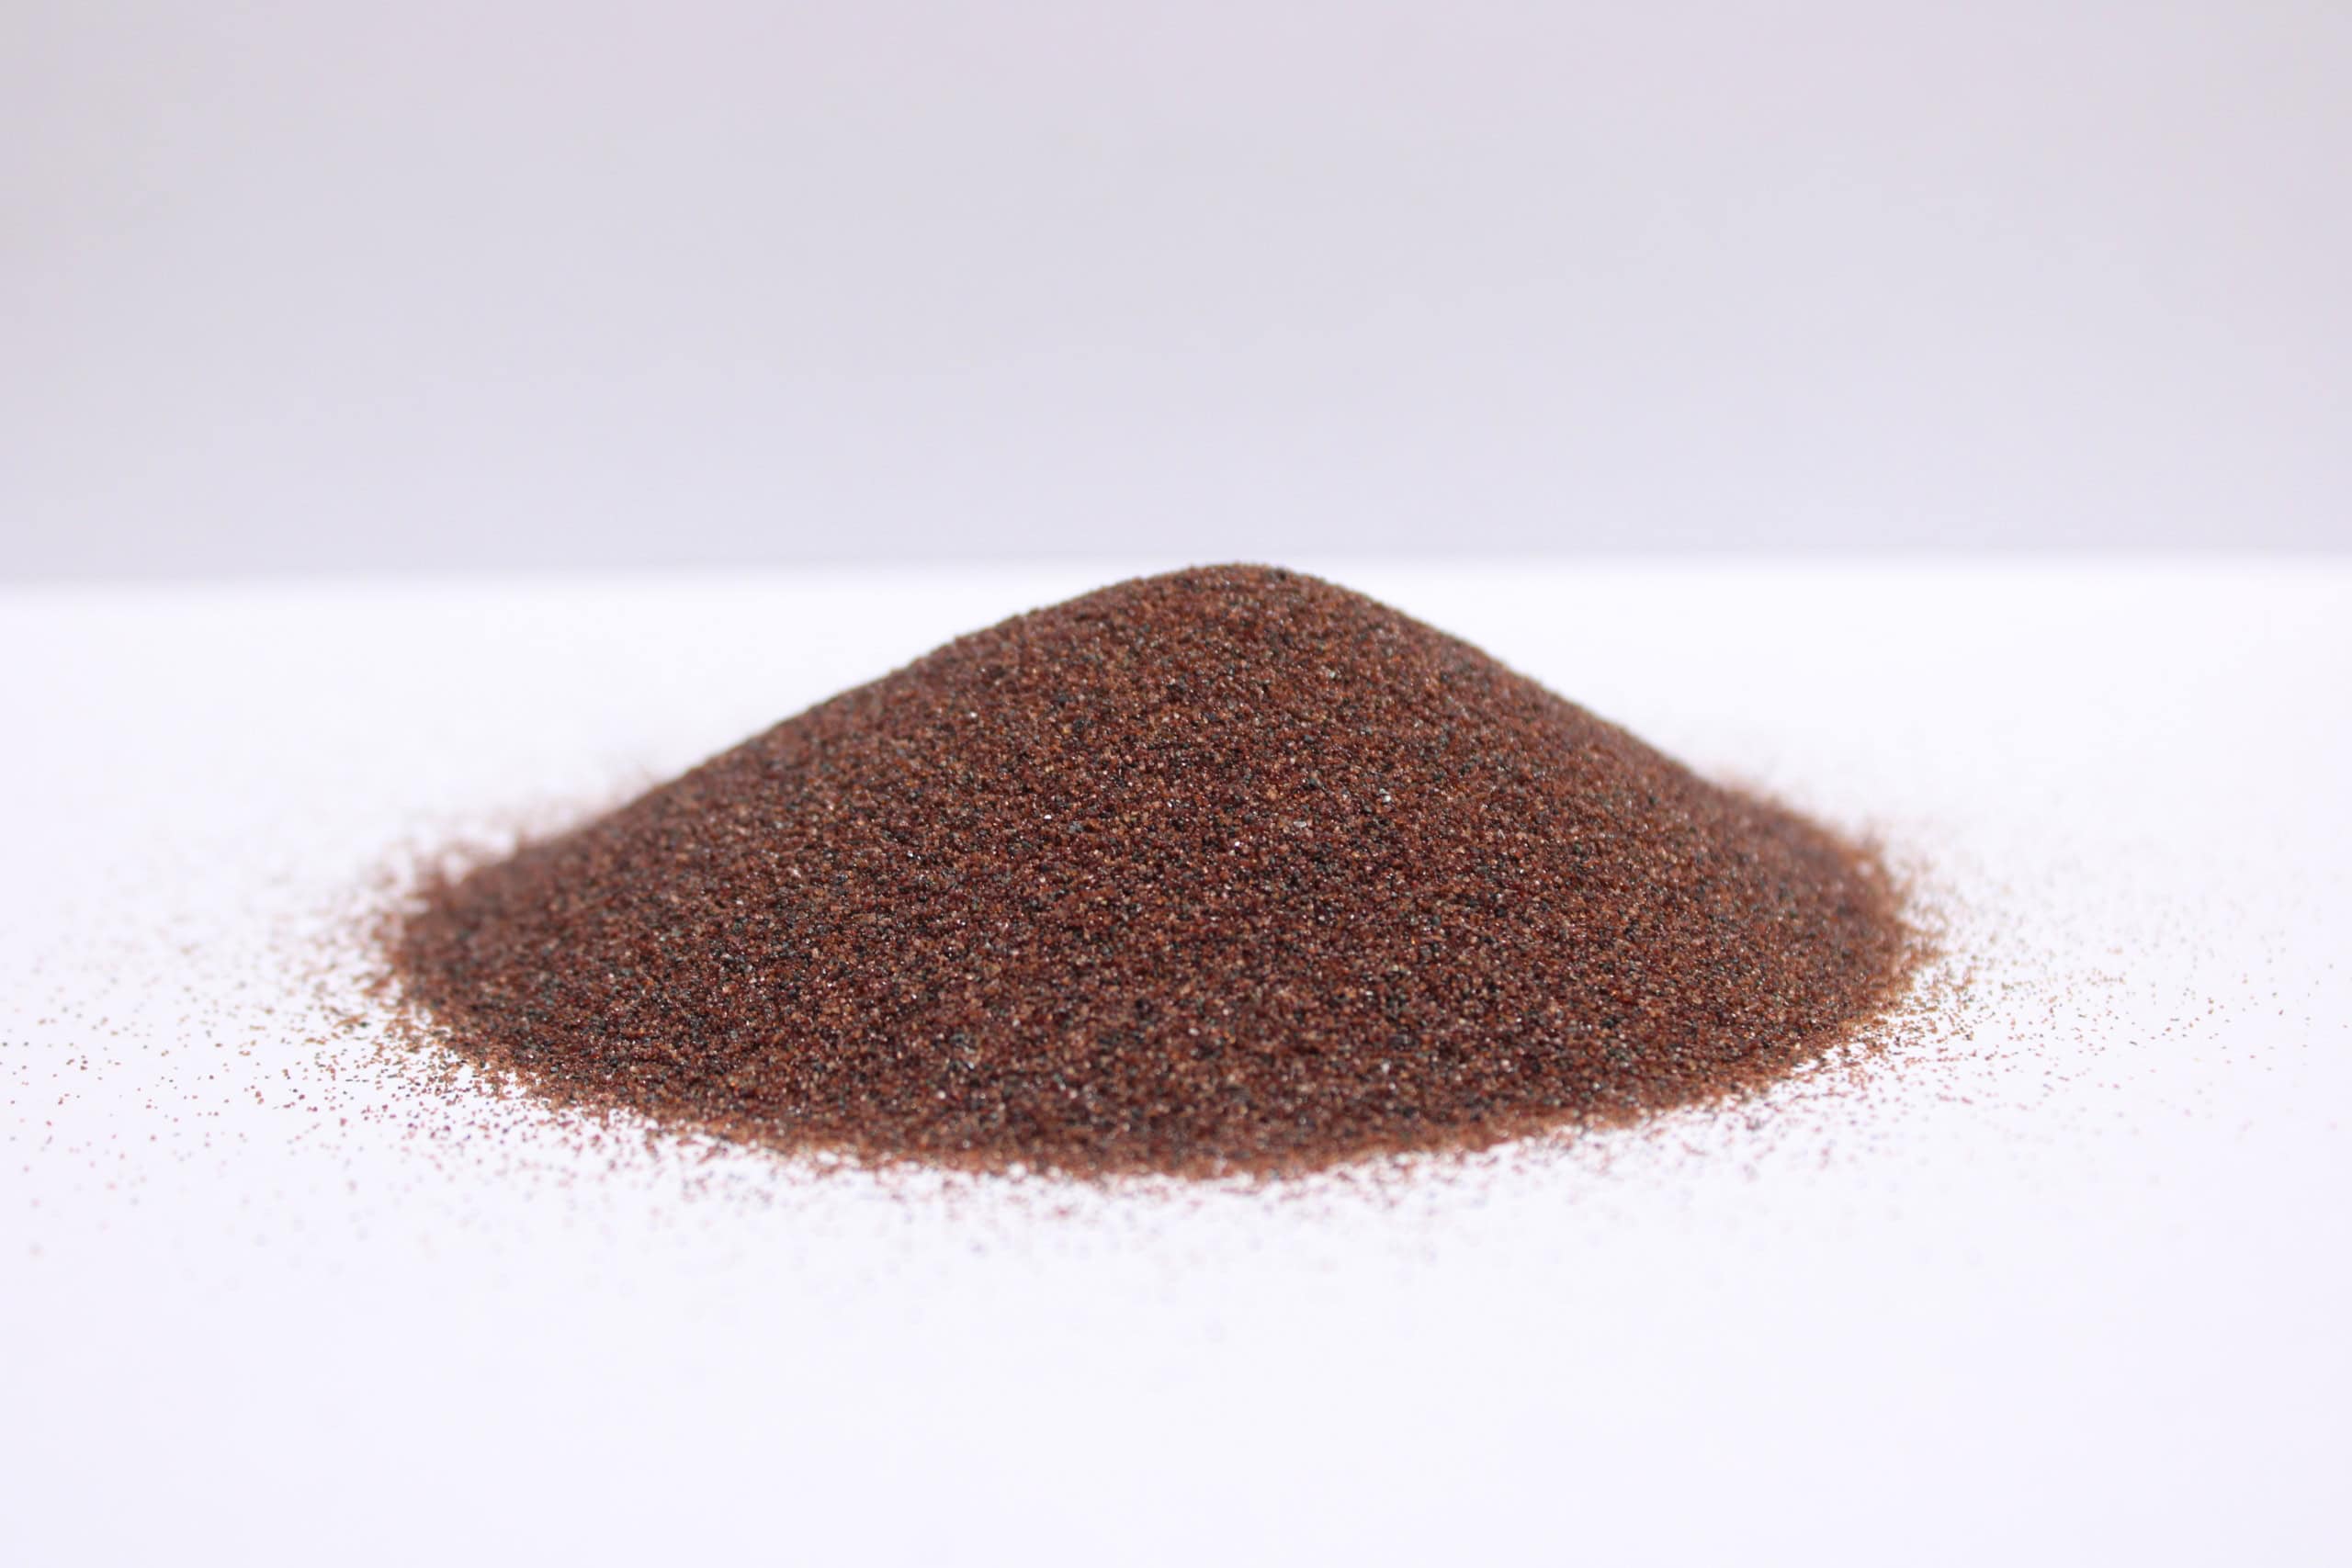
| Alumina (Brown Fused) | 95‑97% Al₂O₃, minor TiO₂, SiO₂ | 3.75–3.95 | 9 | Medium (brittle) | General deburring of stainless steel instruments, removing light tool marks, pre‑polish steps | 600–900 hours (wet vibratory) |
$$ |
| High‑Purity Alumina (White) | 99% Al₂O₃, low impurities | 3.85–3.98 | 9+ | Medium‑low | Implant abutments where minimal contamination is critical; fine finishing | 500–750 hours | $$$ |
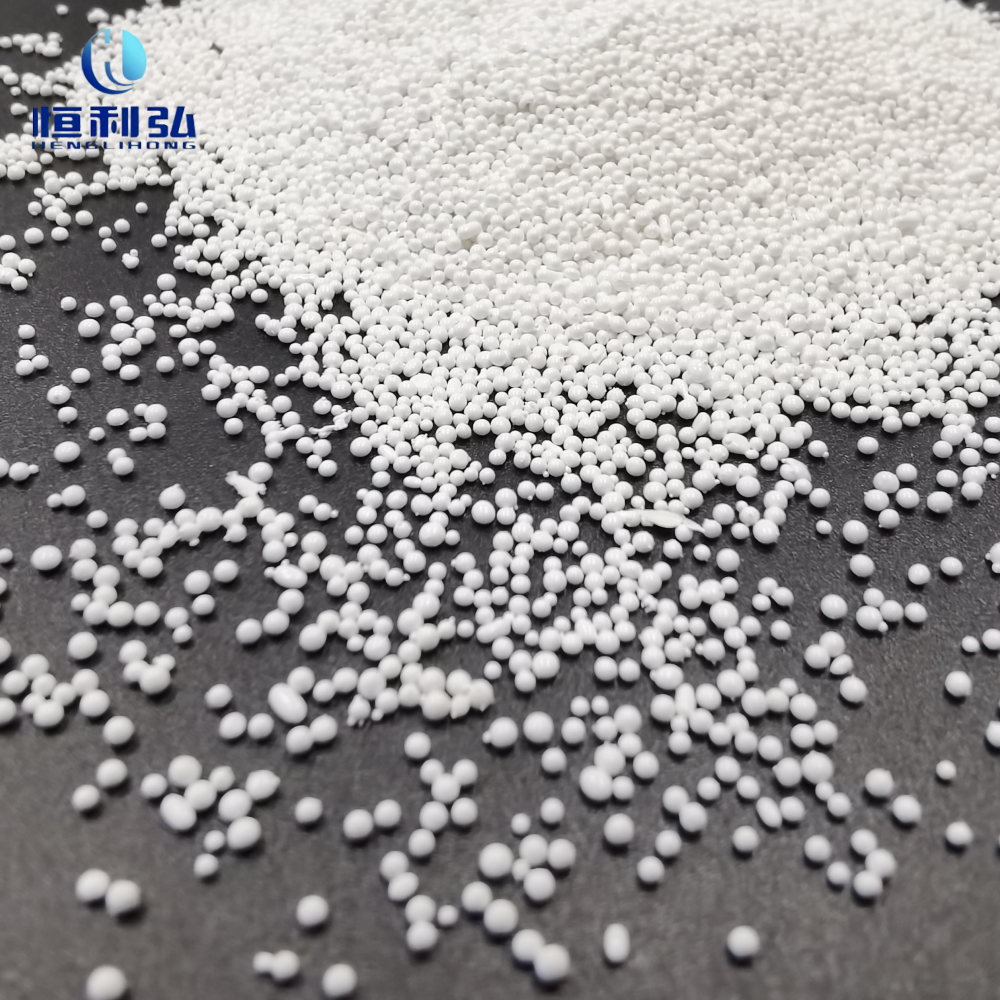
| Zirconia (ZTA blends) | ZrO₂ toughened with Al₂O₃ (10‑30% ZrO₂) | 4.2–5.3 | 8–8.5 | High (tough, fracture‑resistant) | Heavy deburring of titanium drills and orthodontic pliers; high‑energy centrifugal finishing | 800–1,100 hours | $$$$ |
| Ceramic Composite (Economy) | Alumina‑silicate binder with abrasive fillers | 2.8–3.4 | 7–8 | Medium‑high | Polishing and radius blending on less critical stainless instruments, reducing cost per part | 400–650 hours | $ |
*Typical service life under normal wet finishing with 8‑12 hours daily use, compound recirculation and no media abuse (e.g., overloading). Real‑world life varies with machine energy and load ratio.
I tend to use brown fused alumina for about 70% of dental stainless jobs because it delivers dependable cutting without breaking the bank. However, when we need to deburr titanium implant drills that have deep, narrow flutes, we switch to a ZTA ceramic—the extra toughness means fewer media fractures and less risk of a broken media piece lodging in a flute. For high‑purity white alumina, the premium is justified only when surface contamination is part of the validation protocol, which happens increasingly in implant‑grade finishing.
Key Benefits: Aggressive Cutting, Long Life, and Consistent Finish
Ceramic media give you three things that directly affect the cost‑per‑finished‑instrument: material removal rate that stays steady over long production runs, a media lifespan that extends well beyond plastic or natural media, and a finish quality that you can document and replicate.
Aggressive Cutting Without Sacrificing Surface Integrity
A ceramic media charge typically removes material at 2–5 times the rate of similarly sized plastic media on stainless steel parts. I’ve seen line operators complain that plastic media were “polishing” burrs rather than removing them. When you switch to a sharp, angular alumina shape in a properly loaded vibratory bowl, you start seeing burr reduction within the first 20–30 minutes instead of waiting an entire shift. But the “aggressiveness” is tunable: ceramic media can be pre‑broken (run with scrap parts) to dull their edges slightly, which transitions them from heavy cutting to a finer blend action.
Long Life That Offsets Higher Initial Price
Yes, ceramic media cost more per kilogram than polyester or walnut shell media. But when you factor in the number of batches they process, the equation flips. A good ceramic charge can run for 600 to over 1,000 operating hours before the size reduction exceeds your acceptable tolerance band. That often means one ceramic charge lasts 8–14 months in a single‑shift dental finishing operation, compared to 2–4 months for plastic media. The return on investment is clear once you stop buying media every quarter.
Consistency Batch to Batch
Because ceramic media wear predictably, the surface Ra you measure on finished instruments stays within a tight range—often within 10–20% of baseline—throughout the media’s life, provided you maintain the compound concentration. I used to receive complaints about variable roughness on orthodontic brackets; the root cause was degraded plastic media. With ceramic, the root cause shifted to process discipline (load weight, water flow), not media inconsistency.
Typical Dental Applications: Drills, Abutments, and Orthodontic Pliers
Let’s get specific. Dental instruments are not a monolithic group. They have different geometries, risk zones, and finish requirements. Here’s how ceramic media map to the most common categories.
Dental Drills and Burs
Tungsten carbide and stainless steel dental burs have sharp cutting flutes that can trap media fragments. For these, I recommend small‑sized (<5 mm) ZTA or high‑density alumina spheres or cones. The media must flow into flutes without wedging. Wet centrifugal finishing with a media‑to‑workpiece volume ratio of about 4:1 works well. Monitor the bur's cutting edges after finishing—ceramic media should only hit the land areas, not dull the flute edges, if the shape and flow pattern are correct.
Implant Abutments
Abutments—often made of titanium alloy or CoCr—require a satin finish without visible scratch lines. Here, high‑purity white alumina or fine composite media in a 2–4 mm angle‑cut cylinder shape is typical. A pre‑polish step with a ceramic charge of around 100‑grit equivalent, followed by a dedicated fine ceramic compound, yields Ra values below 0.2 µm. The key is preventing cross‑contamination; dedicate a separate machine or at least a separate media charge for implant parts, away from general stainless work.
Orthodontic Pliers and Hand Instruments
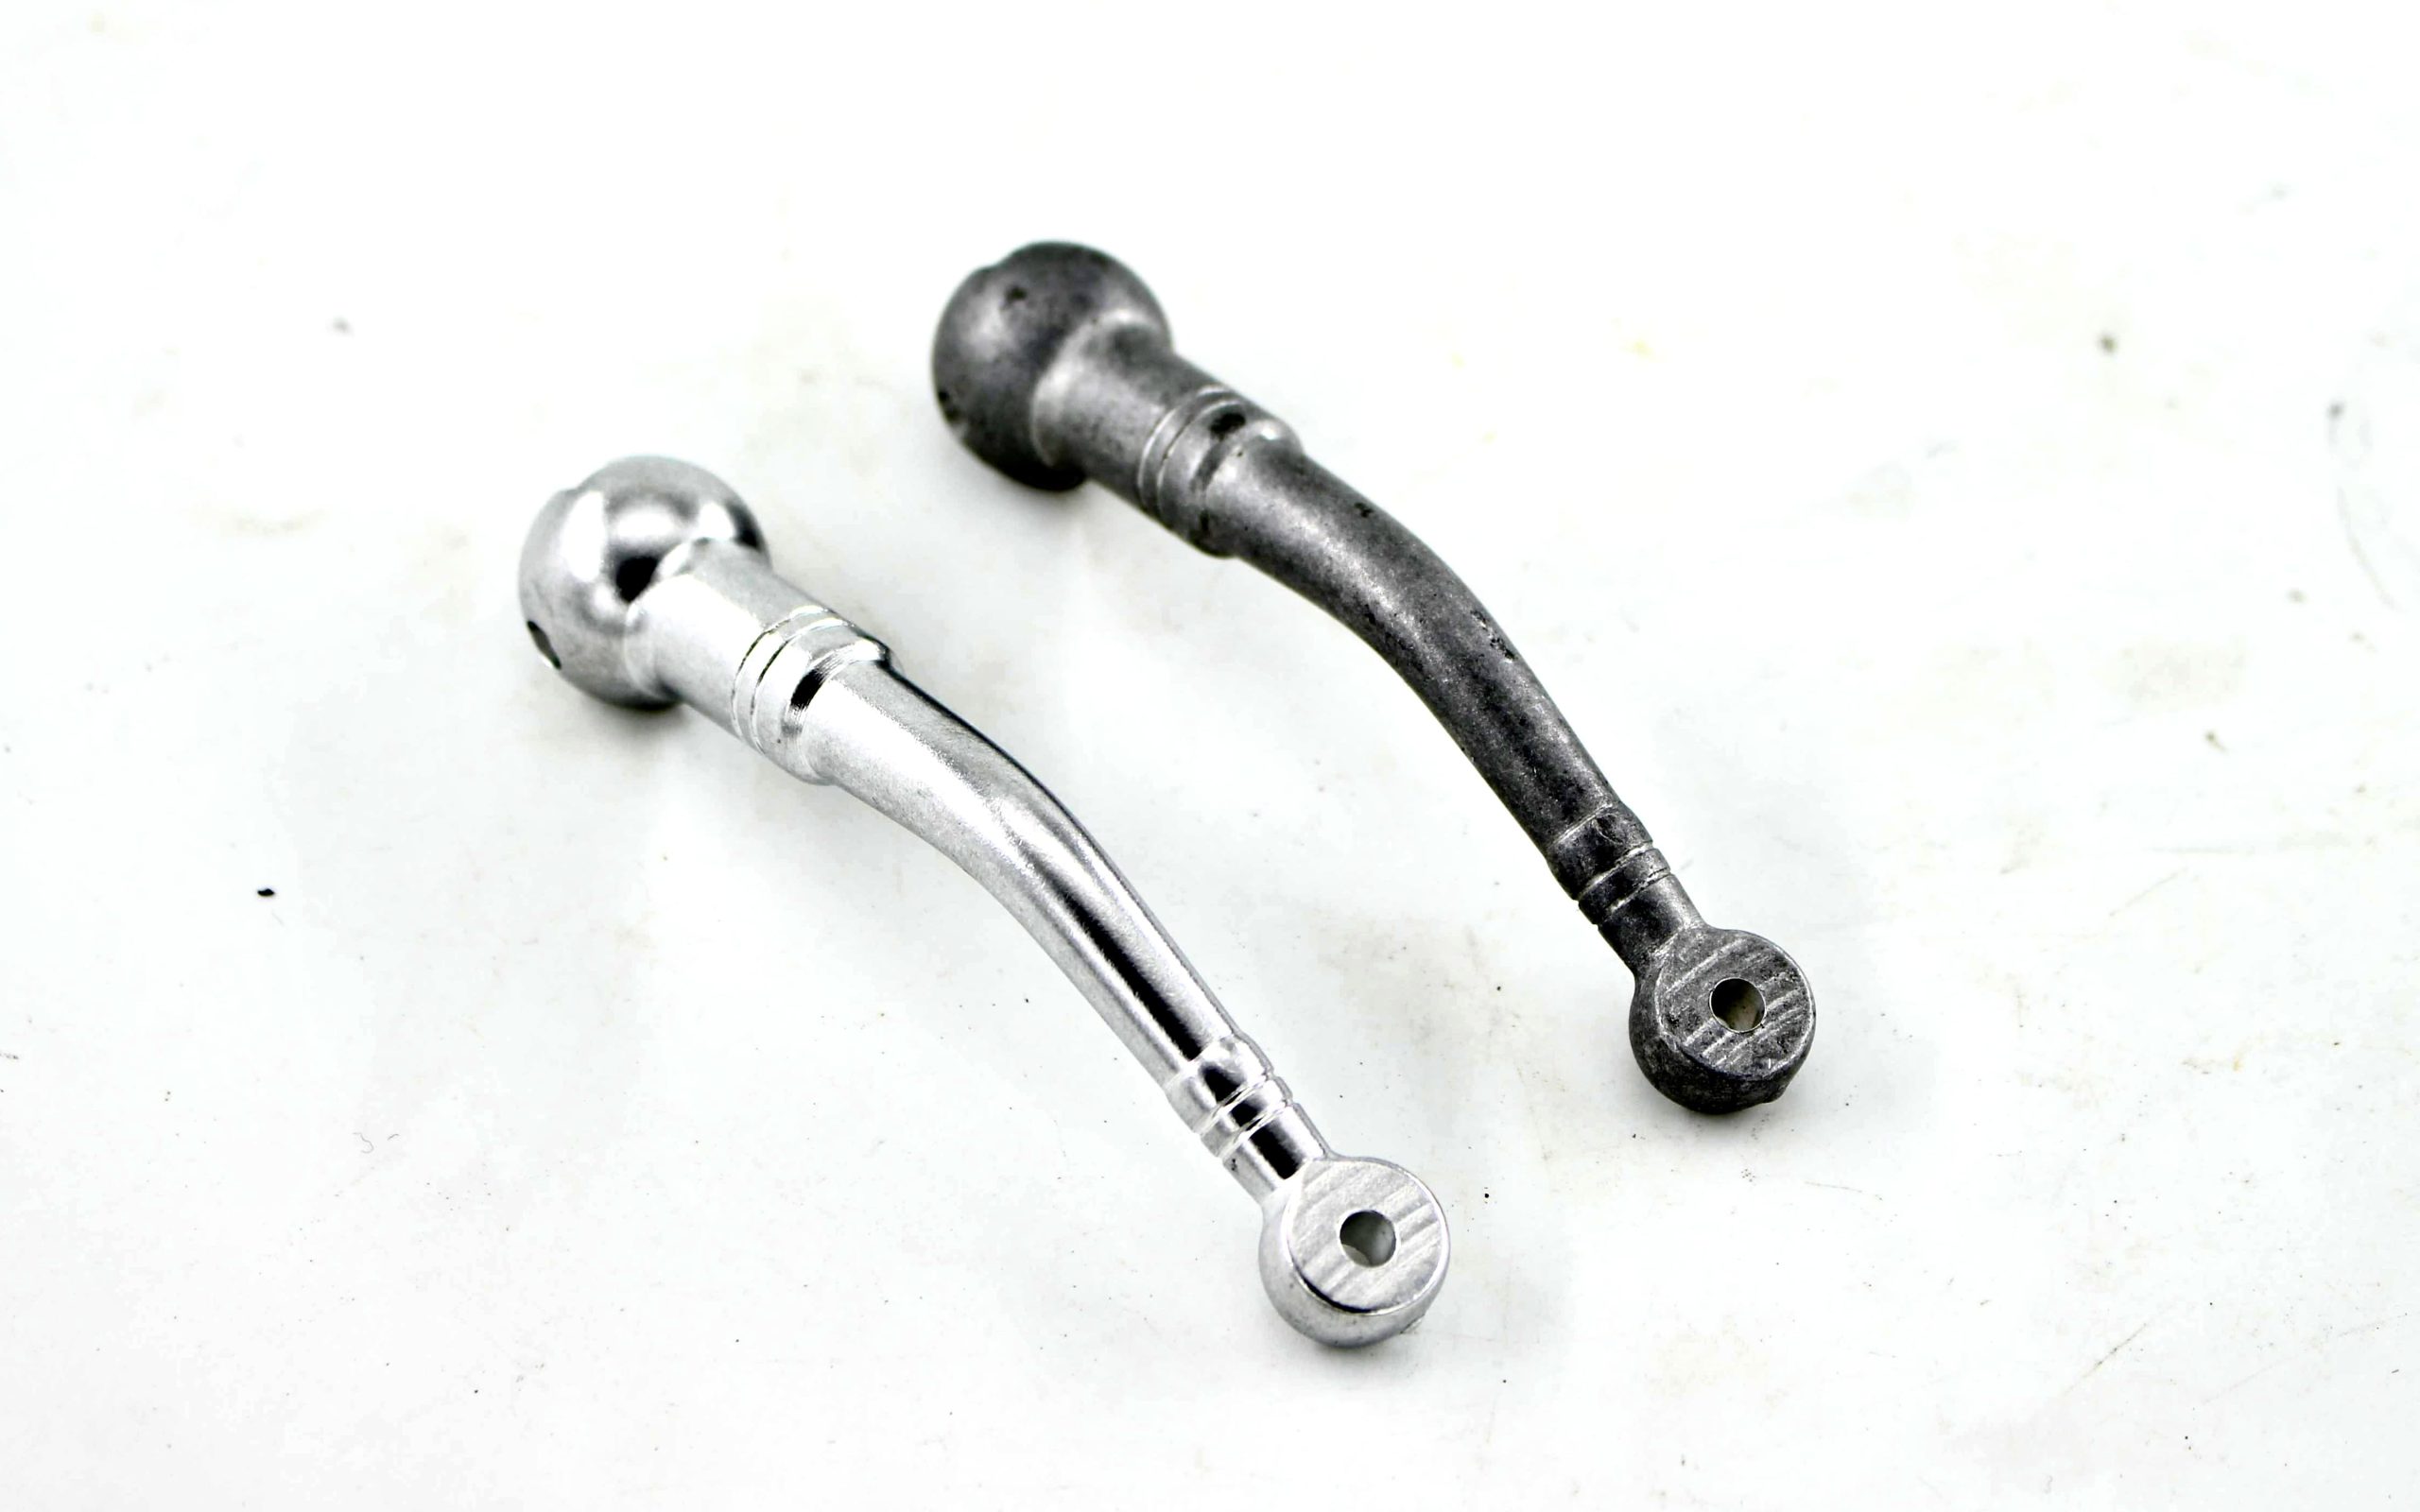
Stainless steel pliers, forceps, and scalers often arrive from machining with sharp edges and machining marks. Medium‑sized (6–10 mm) brown alumina triangles or angle‑cut cylinders in a vibratory tub with a flow‑through compound system knock down those marks efficiently. Watch the hinge areas—media can get trapped. Using a 2:1 media‑to‑part ratio by volume, and checking the pliers every 30 minutes during the initial run, establishes a safe cycle time that prevents over‑radiusing of hinge pins.
Shape and Size Recommendations for Ceramic Media in Dental Work
Shape affects cutting action more than many realize. Angular shapes like triangles and arrowheads cut fast but can lodge in crevices. Rounded shapes like spheres and cones are safer for delicate recesses.
| Shape | Typical Size Range (mm) | Best Suited Instrument Types | Recommended Machine Type | Benefits | Ограничения |
|---|---|---|---|---|---|
| Angle‑cut Cylinder | 3×6, 4×8, 6×12 | General stainless instruments, pliers, scalers | Vibratory bowl or tub | Good edge blending, reaches flat and curved surfaces, predictable wear | Can occasionally wedge in narrow slots if aspect ratio is high |
| Equilateral Triangle | 6, 8, 10 (side length) | Rough deburring of pliers, forceps, large instruments | Vibratory, high‑energy tub | Very aggressive cutting with sharp edges; fast stock removal | Risk of lodging in hinge areas; may scratch softer alloys if not pre‑broken |
| Cone (Tapered) | 3×8, 5×12, 8×20 | Drills, burs, deep narrow recesses | Centrifugal disk or barrel | Good penetration into flutes, tapered shape resists jamming | Less aggressive on flat surfaces; moderate wear rate |
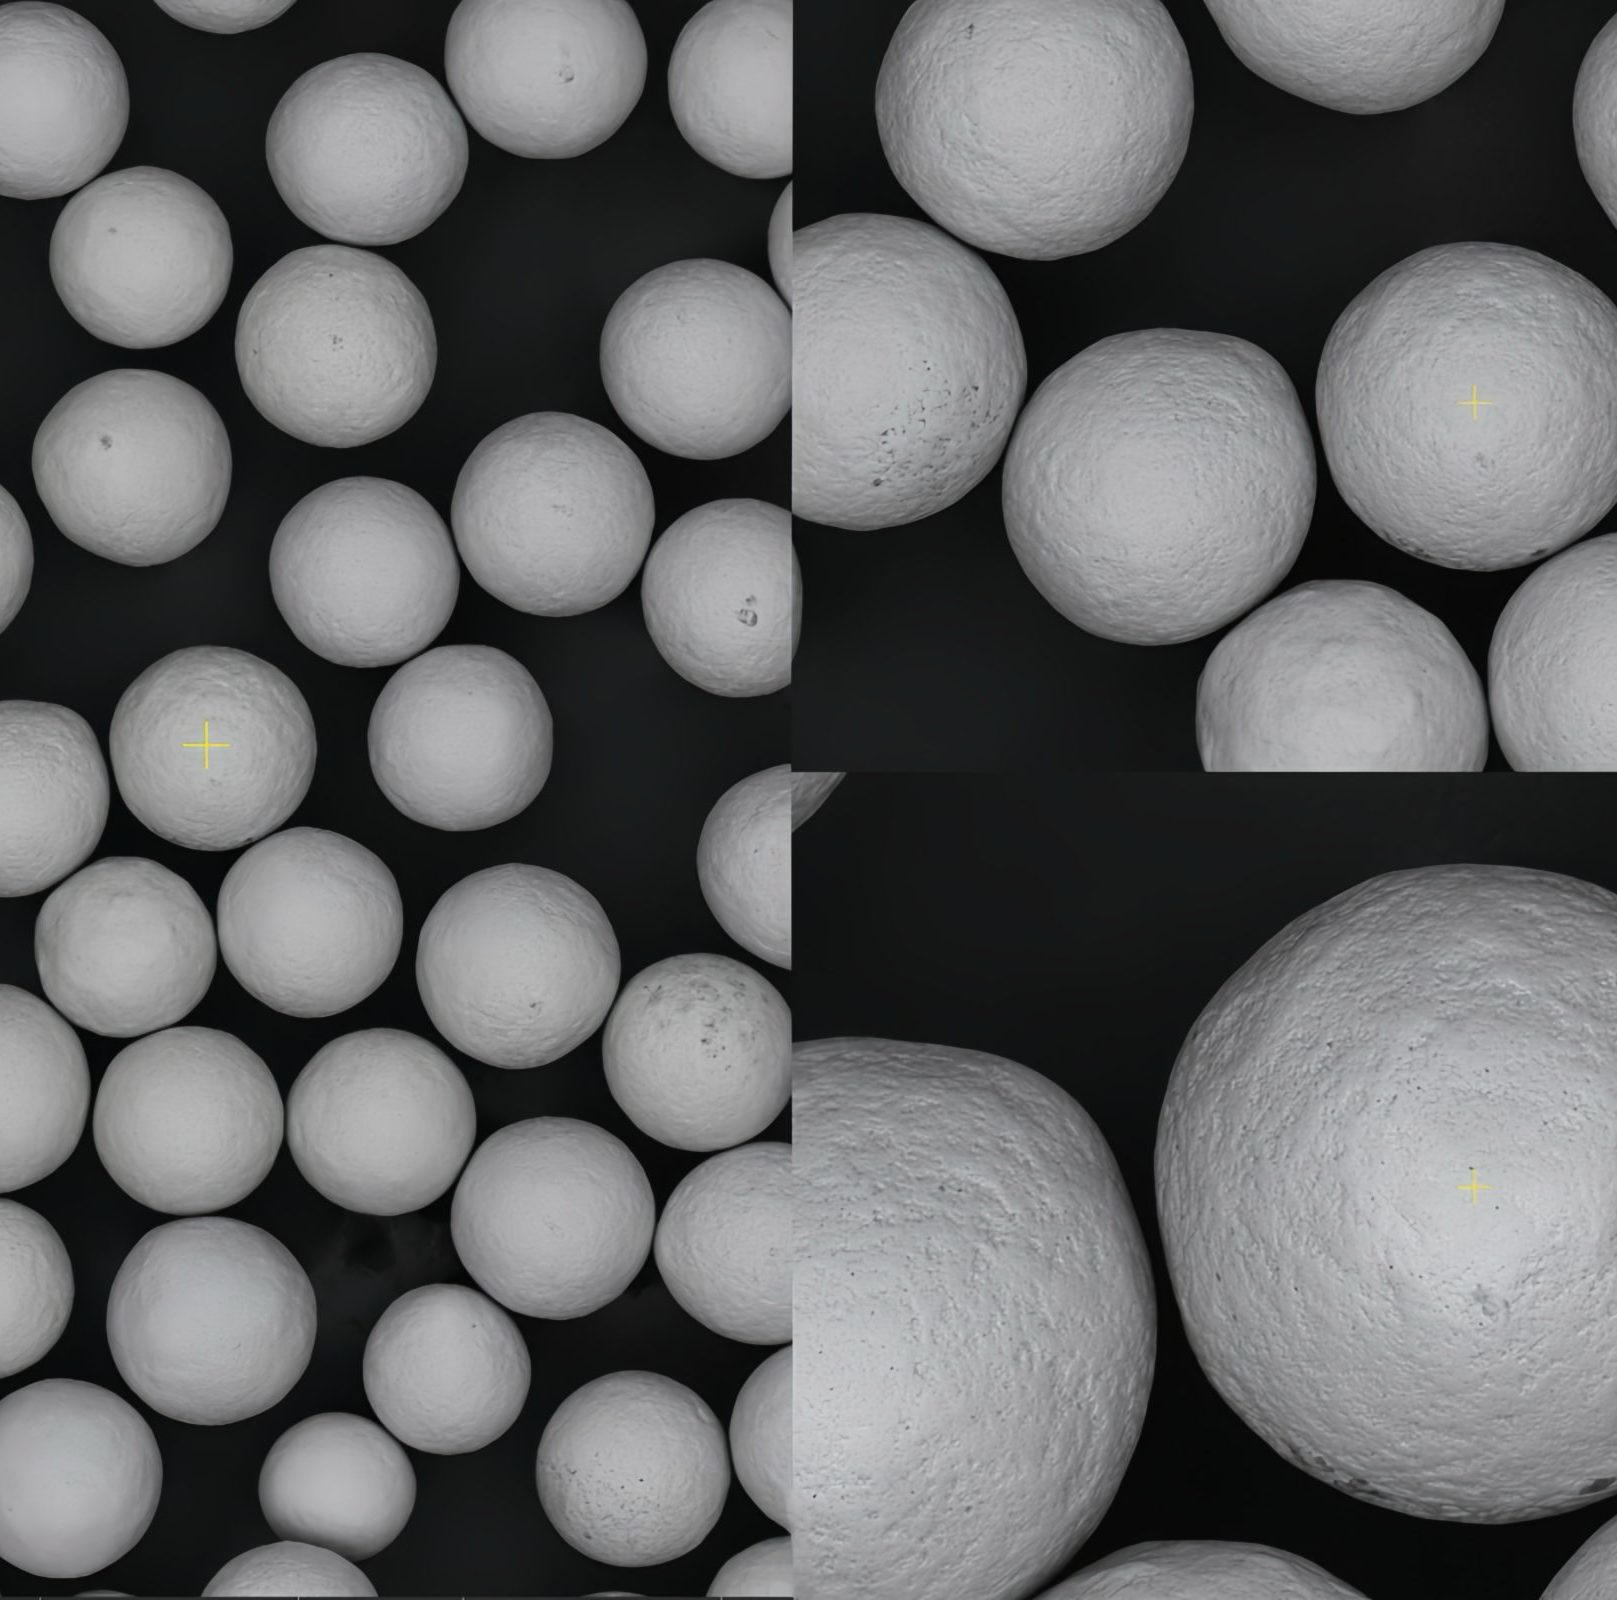
| Sphere / Ball | 2, 3, 4, 5 diameter | Implant abutments, delicate screw‑retained parts | Centrifugal high‑energy | Uniform radius blending, no sharp edges, gentle on fine details | Slower cutting action; less suitable for heavy burr removal |
| Arrowhead / Star | 6–12 (diagonal) | Complex brackets, orthodontic components with deep contours | Vibratory (with careful sieve removal) | Reaches into internal corners and undercuts | Can break if too brittle; risk of lodging, requires frequent media‑part separation |
For dental work, I often start with a 4×8 mm angle‑cut cylinder made from brown alumina as a general‑purpose shape. If after 45 minutes in a vibratory bowl I’m not seeing the burr elimination I need on the critical edges, I’ll either switch to a triangle or increase the media‑to‑work ratio. For implant drills, I’ll go straight to 3×8 mm ZTA cones because I can’t afford a lodged media piece in a five‑figure batch of surgical drills.
Comparing Wet vs. Dry Use of Ceramic Media
Ceramic media can run wet or dry, but the results are not interchangeable. The decision hinges on the target finish, the type of compound you plan to use, and the effort you’re willing to spend on cleaning and drying downstream.
Wet Finishing: The Standard for Dental
Most dental finishing lines I’ve designed or consulted on use wet ceramic processes. Water (or a water‑based compound solution) cools the parts, carries away ceramic and metal fines, and lubricates the cut. This gives a more uniform surface, reduces dust, and helps prevent media from glazing over. Flow‑through systems, where compound is continuously metered into the machine and overflow drains, keep the process chemistry stable.
Typical compound concentration: 2–4% by volume. Too much and you get foam that cushions the cutting action; too little and the media loads up with swarf. I check the effluent conductivity weekly as a proxy for dissolved solids—if it spikes, I adjust the flow rate.
Dry Finishing: When It Makes Sense
Dry ceramic processes are less common in dental instrument work, but they have a place. When you need a matte, almost bead‑blasted look without introducing moisture (e.g., certain orthodontic brackets that are packaged immediately), dry finishing with fine ceramic spheres can work. The main trade‑offs: higher dust generation (requiring dust extraction), more frequent media cleaning because fines don’t wash away, and slightly faster media wear due to higher friction. I’ve seen dry ceramic media life drop by 20‑25% compared to wet, all else equal.
| Factor | Wet Ceramic | Dry Ceramic |
|---|---|---|
| Typical Ra achievable (stainless) | 0.15–0.35 µm (pre‑polish), <0.1 µm with fine compound | 0.3–0.6 µm without secondary polishing |
| Cutting speed | Slightly slower (lubrication reduces friction) | Marginally faster initial cut |
| Media life | Longer (cooler, lubricated) | Shorter by 20‑30% |
| Cleanliness of parts | Requires thorough drying; risk of water spots | Parts exit dry; may need air blow‑off for dust |
| Compound cost | Ongoing compound and water treatment | Minimal compound; some anti‑dust additives |
| Operator exposure | Low dust | Silica/alumina dust risk; needs LEV |
For almost any implant or cutting instrument, I default to wet. If a customer insists on dry, I’ll always pair it with a post‑process ultrasonic clean and thorough drying to remove residual dust, and I’ll plan media changes more frequently.
Tips for Pairing Ceramic Media with Vibratory or Centrifugal Machines
Media selection alone doesn’t fix a poor machine setup. The interaction between the machine type, the media charge, and the dental parts determines how uniform the finishing is.
Vibratory Bowls and Tubs
In vibratory finishing, the media‑to‑parts ratio by volume typically ranges from 3:1 to 6:1 for dental instruments. I aim for 4:1 as a starting point because it gives enough media mass to transmit energy to the parts without crowding. Fill the machine to about 80‑90% of its rated working capacity—too little and parts tumble violently; too full and you lose circulation. With ceramic media (density ~3.5‑4 g/cm³), a tub that holds 100 litres of mixed charge can weigh well over 200 kg, so ensure the machine’s springs and motor are rated for that load.
When running small dental parts like burs, I add a dam or weir plate to the vibratory bowl to control residence time and prevent parts from migrating to the discharge too quickly. Also, I screen the compound return sump weekly to catch any ceramic fines that could clog the pump.
Centrifugal Disk and Barrel Machines
These high‑energy machines are the go‑to for intricate dental instruments like implant abutments and small drills. The high G‑forces compact the media around parts, so the media shape must allow easy separation. Spheres and cones work well. The media‑to‑parts ratio can be lower—around 2:1 to 3:1 by volume—because the energy density is far higher. But the cycle times shrink: what takes 6 hours in a vibratory tub might take 40‑60 minutes in a centrifugal disk. That speed comes with responsibility: monitor the temperature; if the slurry exceeds 55‑60°C, you risk degrading organic compounds and creating a sticky residue. A cooling jacket or intermittent spray bar helps.
One mistake I see repeatedly: operators pour in too much compound because “more is better.” In centrifugal machines, excessive foam acts as a cushion and kills the cutting action. Start with half the compound concentration you’d use in a vibratory setup and adjust upward only if you see dry media surfaces or metal transfer.
Maintenance and Replacement Indicators for Ceramic Media
Ceramic media don’t last forever, but they degrade gradually enough that you might miss the warning signs until finish quality drops. Set up a weekly visual check and document it; this isn’t a “look when something goes wrong” task.
When to Replace Media – Practical Indicators
| Indicator | Observation | Recommended Action | Consequence if Ignored |
|---|---|---|---|
| Media size reduction | Measure 10 random media pieces; if average dimension is <80% of original nominal size | Plan full charge replacement within 20 operating hours | Media flows into critical gaps, risk of jamming and part damage |
| Excessive roundness / loss of edges | Angular shapes appear pebble‑like; cutting rate has dropped >30% (assessed by test part weight loss) | Replace affected shape fraction; if >40% are rounded, full charge change | Cycle times stretch, burrs remain, finish variability increases |
| Surface glazing or discoloration | Media look shiny, dark grey, or have a metallic sheen; swarf not rinsing off | Check compound concentration and flow rate; run an empty cycle with a heavy‑duty cleaning compound; if glaze persists, discard | Reduced cutting; possible metal transfer to instruments |
| Cracking / fragmentation | Visible cracks or broken pieces in the charge; unexpected debris in sieve | Screen entire charge, remove all cracked pieces; identify root cause (overload, wrong shape for machine) | Media fragments lodge in instruments, reject batches |
| Odour or biological growth | Musty smell (wet process); slime in compound sump | Drain, clean and disinfect the machine; replace media if it has absorbed organic residues | Contamination risk for medical devices; poor surface finish |
Weekly Maintenance Checklist
☑ Ceramic Media Health Check
- Screen media on a 2 mm mesh to catch broken pieces. Document weight of rejects.
- Measure 10 randomly selected media pieces with a caliper; record min, max and average.
- Inspect compound concentration with a refractometer (target 2–4 Brix for typical wet compound).
- Check machine water flow rate; clean any clogged nozzles.
- Run a test part (or scrap part) and measure edge condition or Ra. Compare to control sample.
- If media charge age exceeds 80% of expected life, order replacement media proactively.
- Log all observations in a shift report; review trends monthly.
When I notice that a charge that used to finish 300 abutments per cycle now needs 45 minutes instead of 35 to reach the same Ra, and the media dimensions are below 85% of original, I replace the charge. The cost of a new media charge is trivial next to the cost of reworking or scrapping a batch of implant components.
Часто задаваемые вопросы
Can I use the same ceramic media for titanium and stainless steel instruments?
You can, but cross‑contamination is a real concern. Titanium can pick up iron from stainless, causing corrosion issues or visible stains. Keep separate media charges for implant‑grade titanium and for general stainless, or dedicate a machine to each material group.
How do I break in new ceramic media for dental finishing?
Run the new media for 1‑2 hours with a mild compound and no parts, or with scrap stainless pieces, to dull any excessively sharp edges. This prevents initial scratching on delicate surfaces.
What’s the best way to separate small dental parts from ceramic media?
Use a dedicated vibrating sieve with a mesh opening 30‑40% smaller than the smallest part dimension. For burs and screws, magnetic separation isn’t always applicable, so a two‑stage sieve system (coarse to screen out media, fine to catch parts) works reliably.
Фильтры