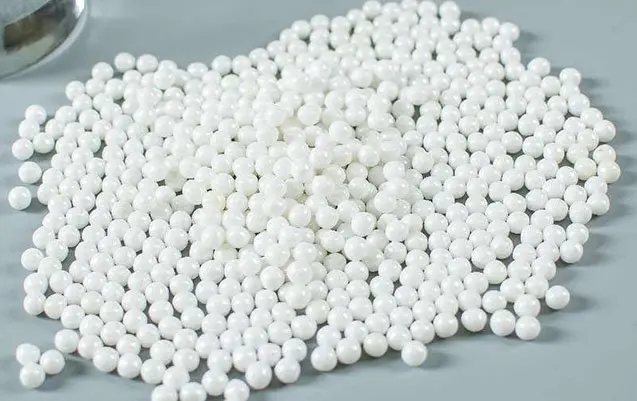
Quick answer: A useful ceramic bead blasting specification names the aluminum alloy, the surfaces to be treated, the ceramic media grade, the intended finish, areas to mask, and the method for accepting the result. “Bead blast all over” leaves too many decisions open: two shops can use different beads and produce visibly different parts.
This guide is for engineers and buyers specifying a controlled satin finish or light cleaning on machined aluminum parts. It also gives production teams a practical trial and inspection checklist. Final settings must be qualified on the actual alloy and geometry; a drawing note alone cannot guarantee a finish.
Decide what the blast is meant to do
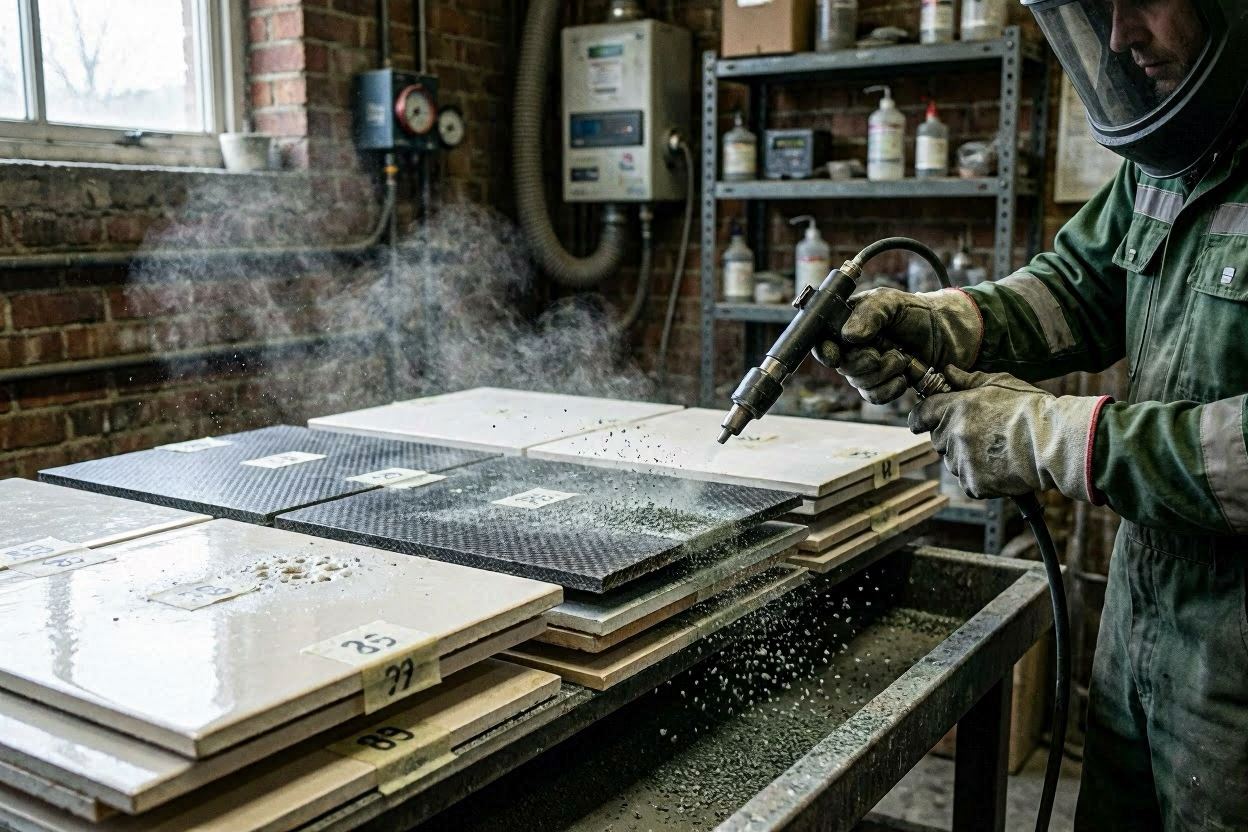
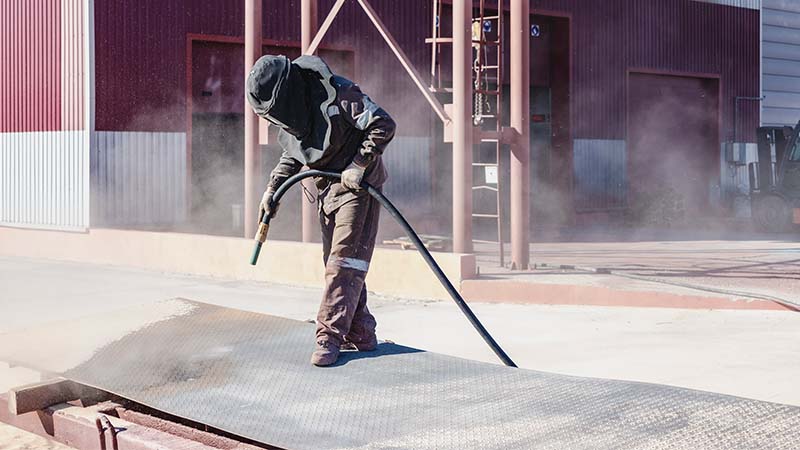
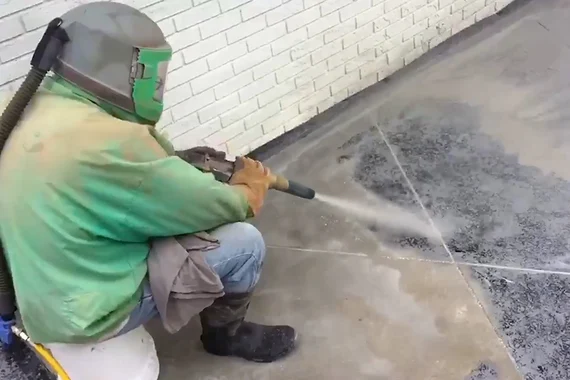
Start with the purpose. Is the job to blend machining marks, remove light residue, create a uniform cosmetic finish, or prepare the surface for another operation? Those are related but different outcomes. If the part needs heavy scale or coating removal, an angular abrasive may be a better starting point than round ceramic beads. If the goal is a controlled satin appearance, review our Series B ceramic beads for surface finishing.
Keep cosmetic blasting separate from shot peening. Shot peening is a controlled process with its own media, intensity, coverage, and verification requirements. A satin finish does not prove a fatigue improvement. When peening is specified, use the appropriate ceramic shot peening media and a separate approved process specification.
The seven items an aluminum blasting specification should contain
1. Aluminum alloy and initial condition
Record the alloy and temper, whether the part is machined or cast, and any existing coating or conversion layer. Identify oils, oxide, weld discoloration, or previous blast marks. A sample made from another alloy may not be a reliable appearance reference.
2. Media identity and size
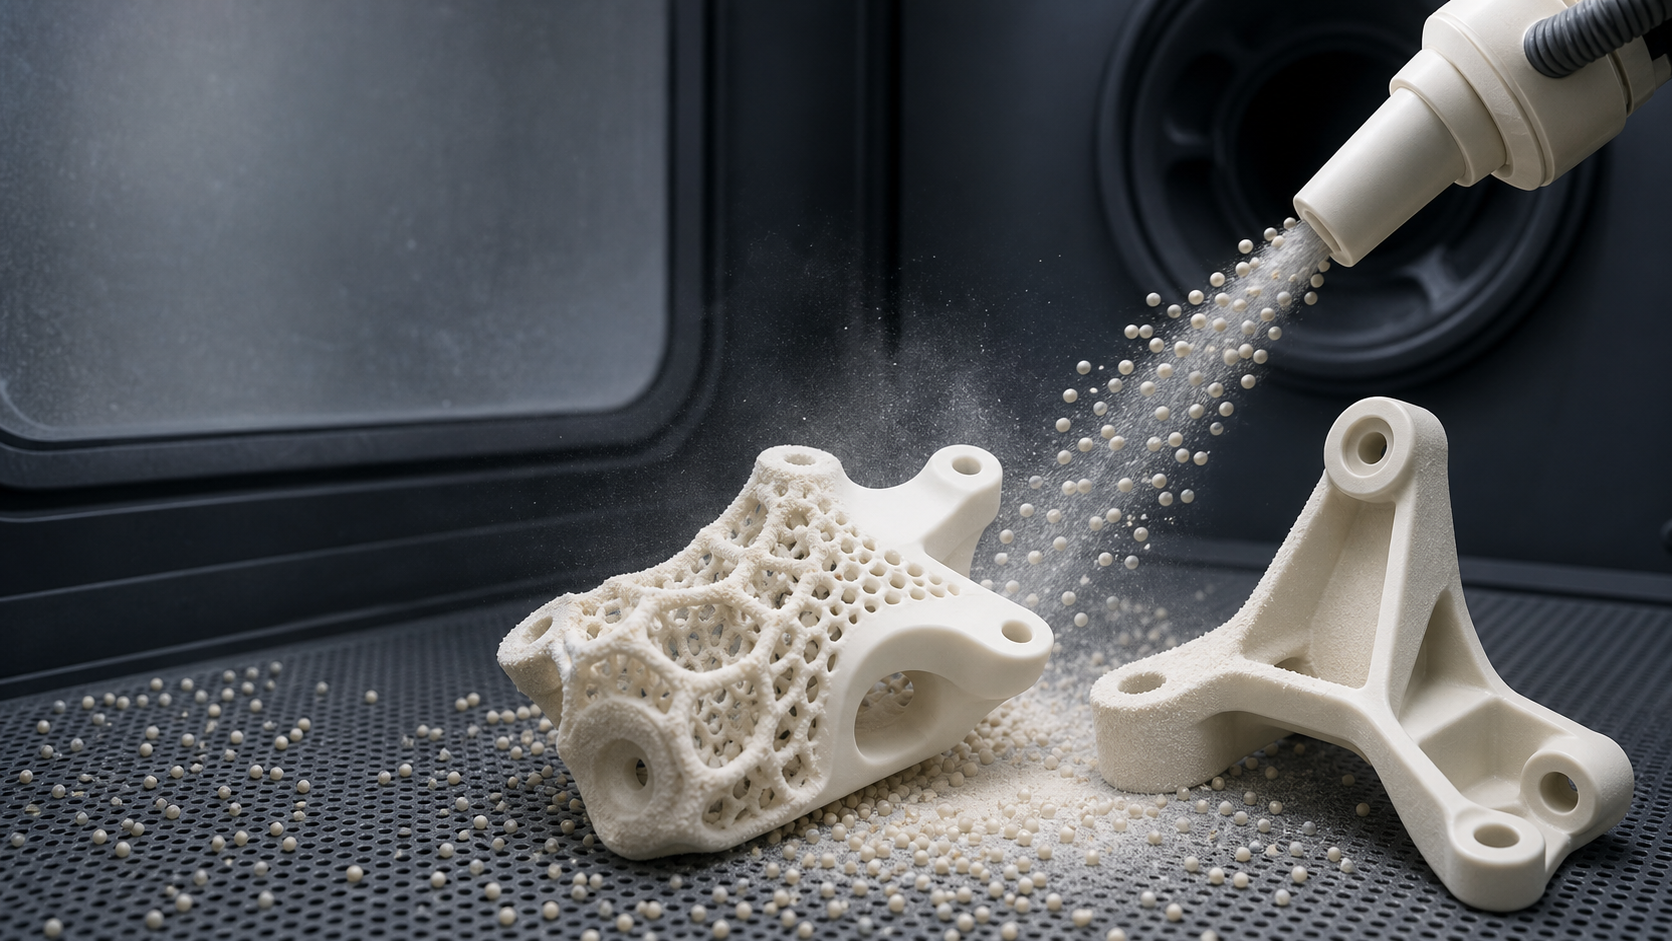
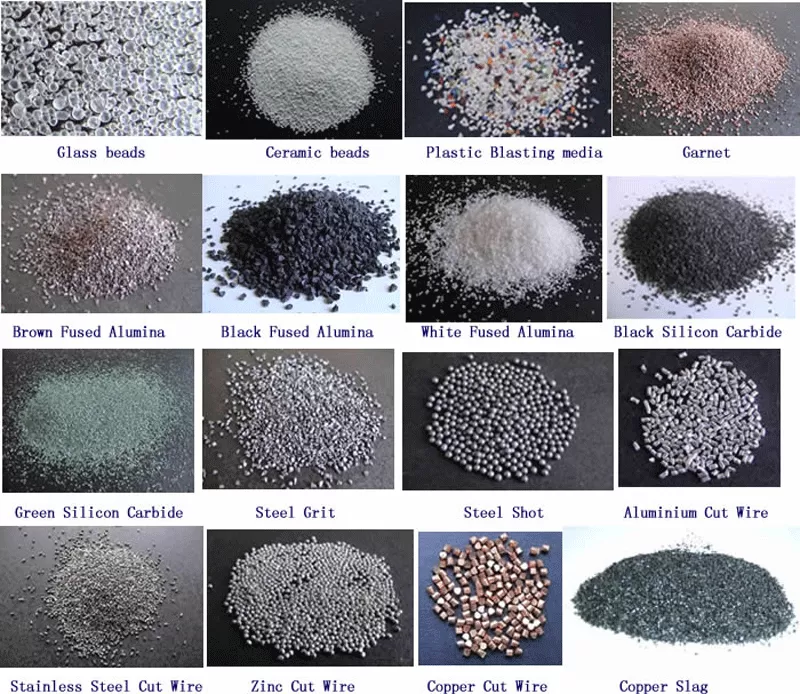
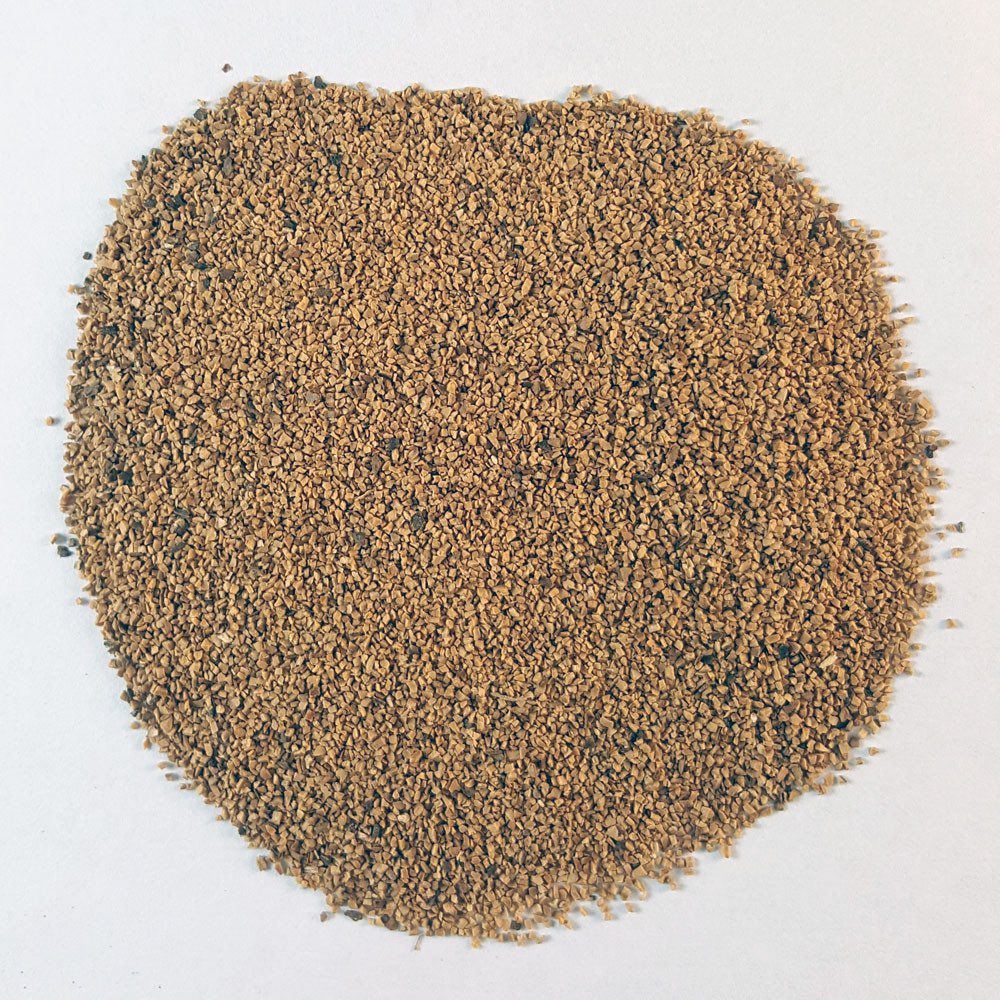
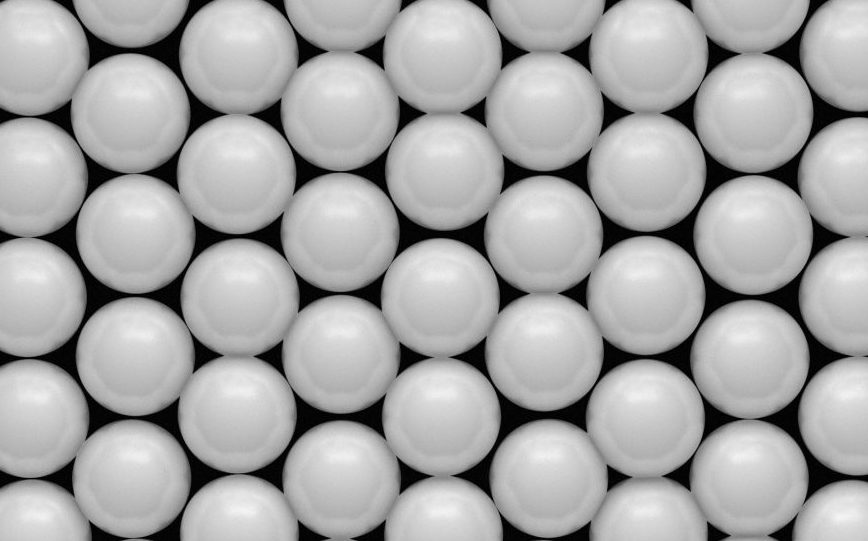
State “ceramic blasting beads” and the supplier grade or verified particle-size range. “Fine beads” is not precise enough when appearance must match across lots. Ask the supplier for the product data sheet and size distribution, and record the approved media lot during qualification. Do not silently substitute glass beads, ceramic shot for peening, or angular aluminum oxide.
3. Surfaces to blast and surfaces to protect
Mark the cosmetic faces on the drawing. Identify sealing lands, bearing fits, threads, electrical contact areas, sharp functional edges, and small holes that must be masked or kept free of trapped media. For deep pockets, state whether incomplete direct-line access is acceptable or requires another method.
4. Appearance and roughness target
For a visible part, approve a physical boundary sample under agreed lighting before production. If roughness matters, state the parameter, limit, measurement locations, and method rather than relying on “smooth” or “matte.” Ra alone does not describe color, gloss, or every visual defect. Surface texture terminology can be referenced to ISO 21920-2, while the drawing or quality plan should define the actual acceptance method.
5. Process boundaries
During the sample trial, record blast pressure, nozzle type and condition, stand-off distance, angle, pass speed, media flow, and exposure. These are qualification records, not universal settings. A pressure copied from a different part can overwork a thin wall or leave a recessed feature untouched.
6. Cleaning and contamination controls
Specify removal of loose media and dust after blasting, including from blind holes and threaded features. Where later coating, anodizing, or bonding is planned, follow the downstream processor’s cleaning and handling requirements. Keep the blast cabinet and media stream free of incompatible residues from previous jobs.
7. Inspection and records
Define what inspectors will check: full coverage of designated faces, uniform appearance against the sample, dimensional protection, cleanliness, and any measured roughness. Keep the approved sample, media grade, trial settings, and inspection results with the work instruction so that repeat orders can be compared to the same reference.
Example drawing note to adapt
Example only: Ceramic bead blast the designated external aluminum surfaces using approved Series B media, grade [supplier grade/size range]. Match approved boundary sample [sample ID] for satin appearance. Mask surfaces identified on the drawing, including [critical features]. No visible unblasted patches, embedded media, or loose residue. Verify roughness at [locations] to [customer-approved limit and method], where specified. Clean and inspect before [next process]. Any media or process change requires requalification.
Fill in the bracketed fields with your own drawing and quality requirements. If the finish is purely cosmetic, an agreed boundary sample may be more useful than inventing an Ra number. If the surface supports a functional coating or fit, the downstream specification and dimensional tolerances control.
A practical qualification trial
- Choose representative parts. Include the actual alloy, the thinnest section, the most visible face, and the hardest-to-reach feature.
- Document the starting surface. Photograph machining marks and record any roughness or dimensional values that matter.
- Test one change at a time. Start with a candidate ceramic bead grade and a conservative process window. Adjust media or exposure only after inspecting the previous result.
- Inspect both appearance and function. Check under agreed lighting; measure designated roughness and dimensions; inspect holes, edges, and masked areas.
- Run the next process. If parts will be anodized or coated, have the downstream supplier evaluate a blasted sample. The finish before treatment may not predict the final appearance.
- Freeze the approved method. Record the media grade, lot, equipment settings, cleaning method, and acceptance sample for repeat production.
For parts going to anodizing, see our related guide to pre-anodizing bead blasting of aluminum. For the broader process, see surface finishing solutions.
Common mistakes that make repeat orders inconsistent
- Using “bead blast” without naming the media and approved size.
- Approving only a photograph, with no agreed lighting or physical sample for cosmetic parts.
- Measuring one easy flat area while ignoring pockets, corners, and edge damage.
- Changing the bead grade or reusing a contaminated media charge without rechecking the finish.
- Writing a roughness target but omitting measurement locations and downstream treatment requirements.
Frequently asked questions
Will ceramic bead blasting remove deep CNC tool marks?
It may soften the appearance of light marks, but it should not be specified as a guaranteed repair for deep grooves. Machine or polish the defect to an acceptable starting condition, then qualify the blast finish on a sample.
Can the same ceramic bead grade be used on every aluminum alloy?
No single grade is guaranteed to produce the same result on every alloy, temper, or starting surface. Evaluate the actual part and approve a reference sample for each materially different finish requirement.
Should every aluminum part have an Ra target?
No. For purely visual surfaces, a boundary sample and clear defect criteria may be the better acceptance method. Use a measured roughness requirement when the design or subsequent process needs one, and define where and how it is measured.
Is ceramic bead blasting the same as shot peening?
No. Both can use round ceramic media, but shot peening requires its own controlled intensity and coverage verification. Specify the intended process explicitly.
What to send when requesting a sample
Send the alloy and temper, photos or a drawing with blast and mask areas marked, the desired appearance, any roughness or dimensional limits, the next treatment step, and your expected quantity. Henglihong can then recommend a starting ceramic media family and arrange a trial through the contact page. Approve the result on real parts before releasing production.
Фильтры