Plastic Tumbling Media for Aluminum Parts Finishing
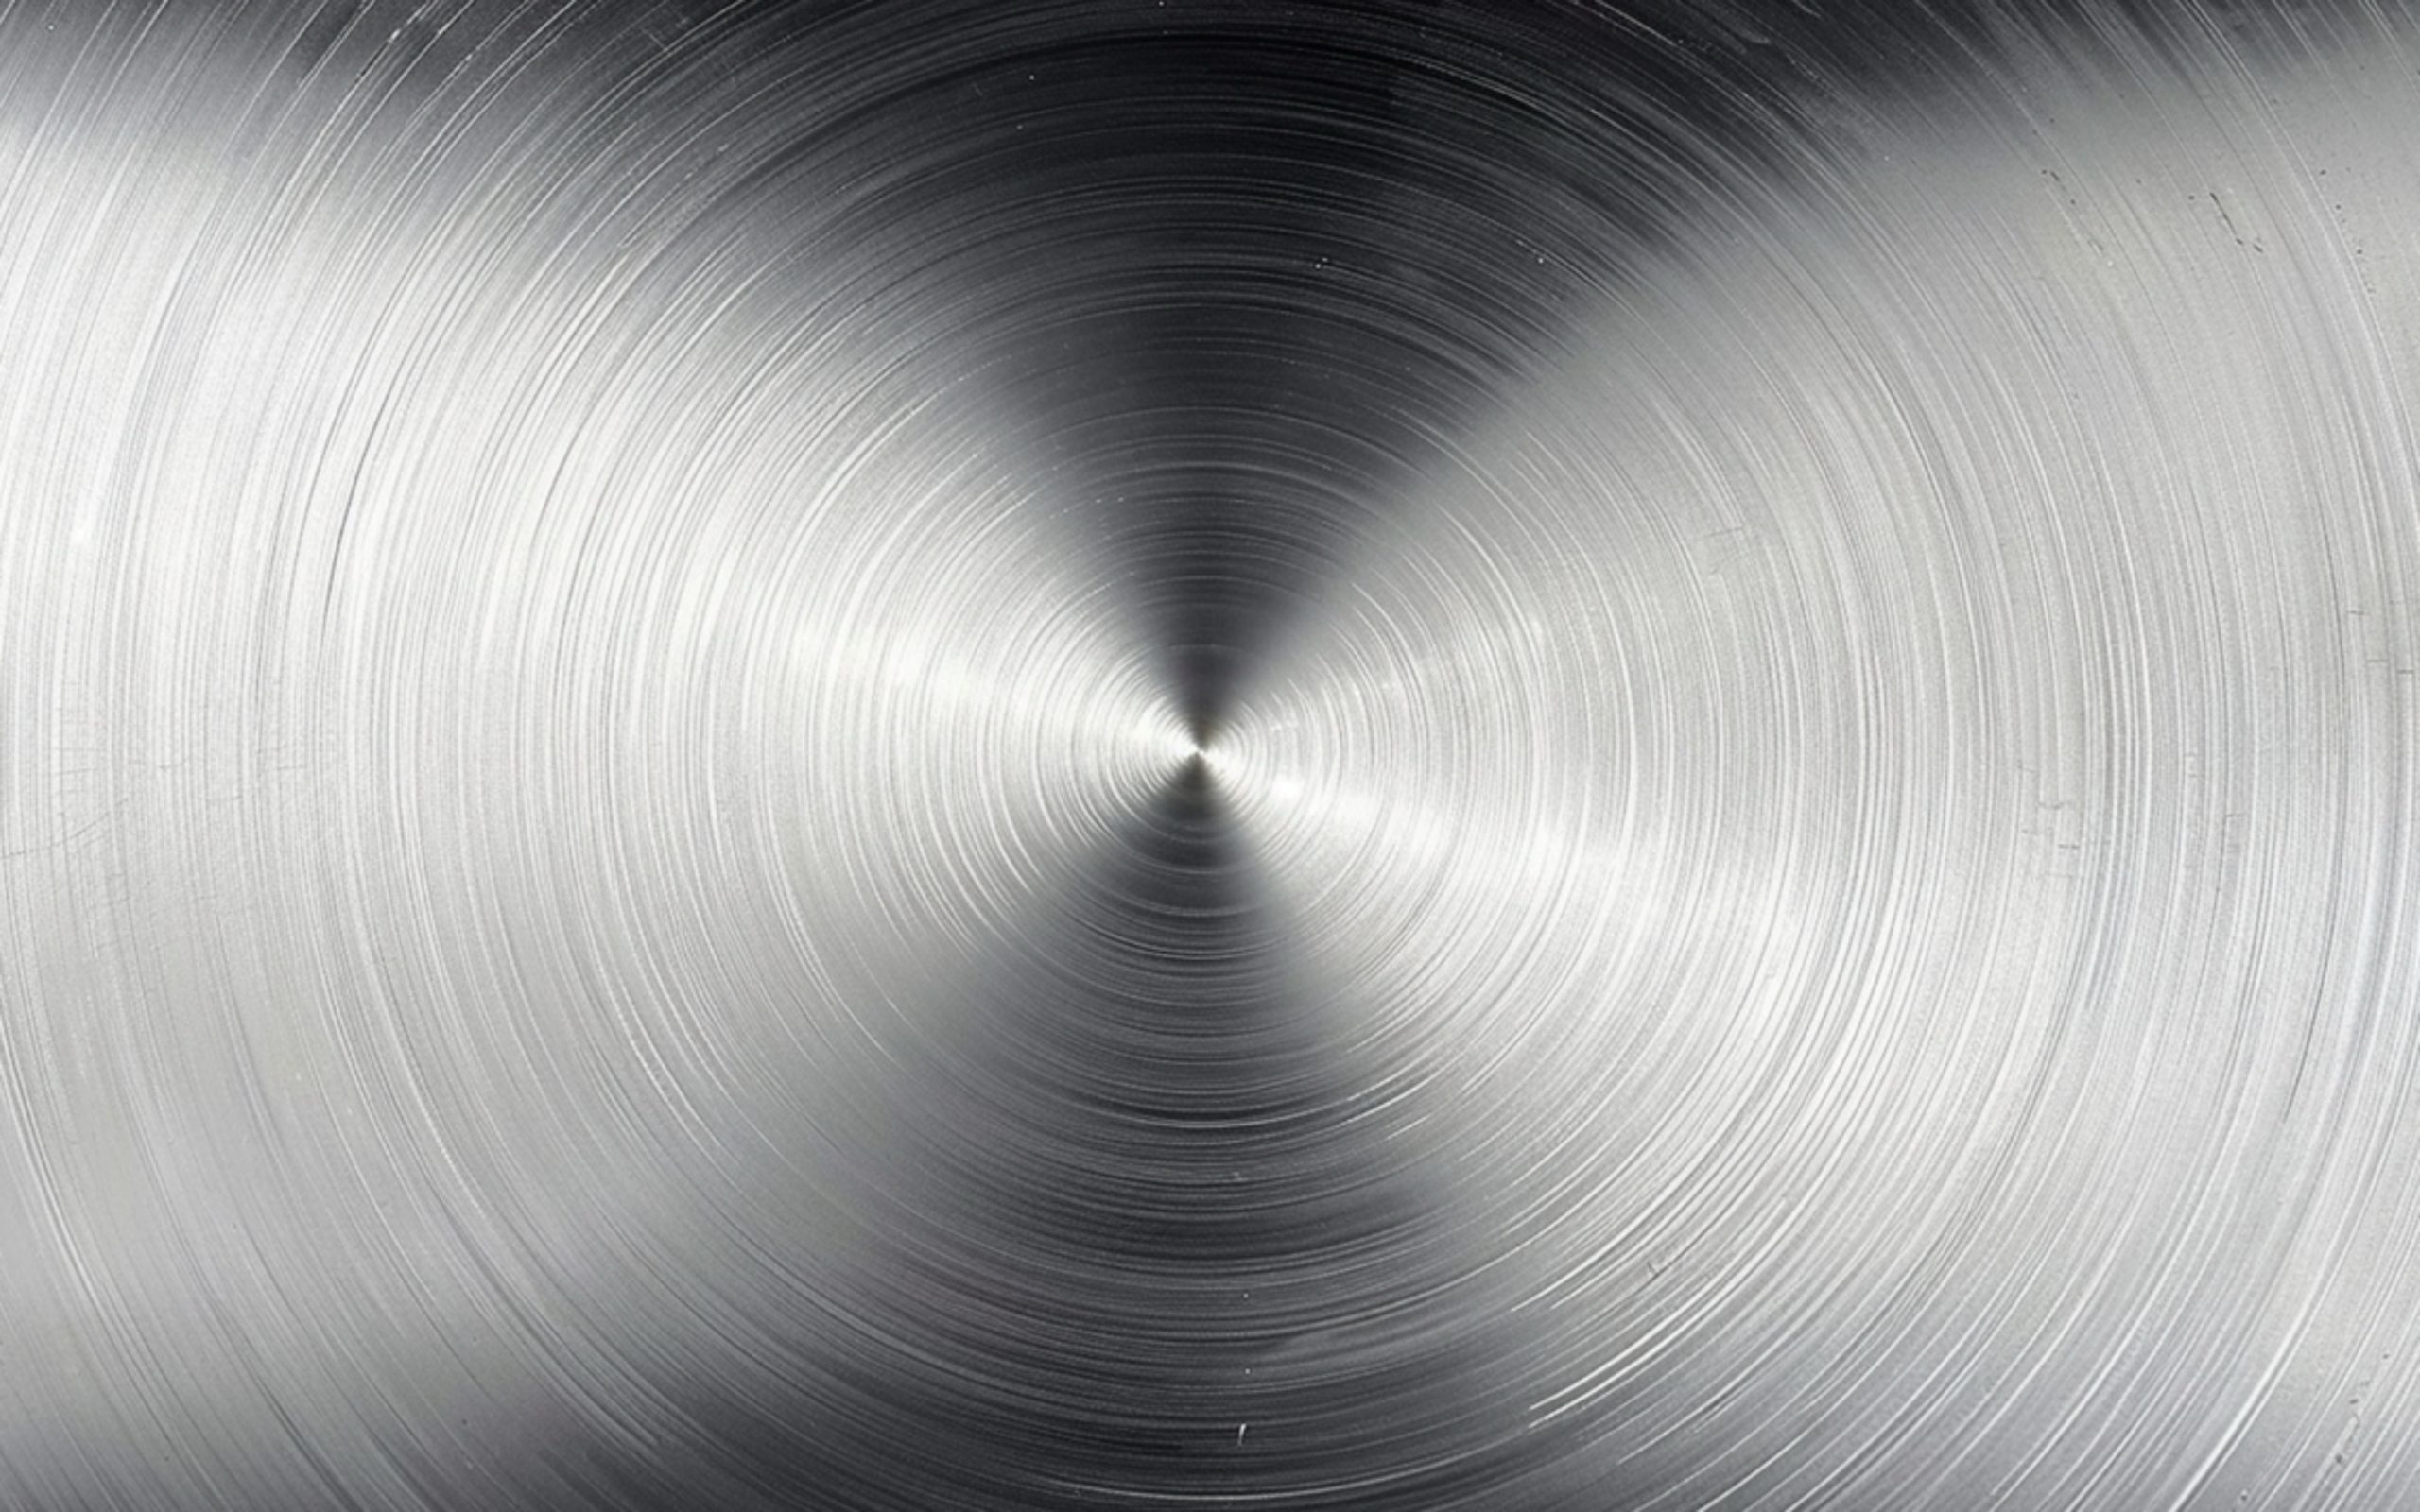
Aluminum is the workhorse alloy of precision manufacturing — light, machinable, thermally conductive, and responsive to a wide range of surface treatments. It is also, in its as-machined or as-cast state, a surface that rarely meets the functional or cosmetic requirements of its final application without some form of mechanical finishing. Machining leaves tool marks. Die casting leaves parting line seams and flash. Stamping and forging leave burrs, sharp edges, and scale. Extrusion leaves die lines and surface roughness from the extrusion die.
Plastic tumbling media — precision-shaped polymer pieces processed in vibratory bowls, centrifugal disc machines, and barrel tumblers alongside aluminum parts — addresses all of these as-processed surface conditions in a single automated batch operation. It deburrs, edge-radiuses, descales, and smooths aluminum parts simultaneously, without the chemical hazards of acid etching, the dimensional imprecision of hand finishing, or the part-damage risk of more aggressive abrasive tumbling media.
This guide is the definitive technical reference for plastic tumbling media applied to aluminum parts finishing: how to select the right media shape and compound for the specific finishing objective, how to set up and run the process for different aluminum alloys and part geometries, how to achieve the surface finish specifications required for anodizing, plating, painting, and assembly applications, and how to troubleshoot the most common problems in aluminum vibratory finishing. For a foundational comparison of tumbling vs. blast media, see: Plastic Tumbling Media vs Blast Media: What’s the Difference?.For a broader overview of the full plastic media category, see: What Is Plastic Media? The Complete Guide.
Why Plastic Media for Aluminum Tumbling?
Aluminum presents a specific set of finishing challenges that plastic tumbling media is uniquely suited to address. Understanding why plastic media outperforms ceramic and steel shot alternatives on aluminum parts begins with the alloy’s physical properties.
Aluminum is soft — Mohs hardness 2.5–3.5 depending on alloy and temper, roughly one-third the hardness of mild steel. This softness is an asset for machinability but a liability in finishing: the same quality that makes aluminum easy to cut also makes it easy to scratch, embed foreign particles into, and contaminate with iron from steel-based finishing media. Ceramic tumbling media — the most common general-purpose mass finishing media — operates at Mohs 6–9, well above aluminum’s hardness. The result of ceramic-on-aluminum contact is predictable: surface scratching, smearing at edges, and the risk of ceramic particle embedment in the soft aluminum surface. Iron contamination from steel shot media creates galvanic corrosion sites that compromise any subsequent anodizing or coating.
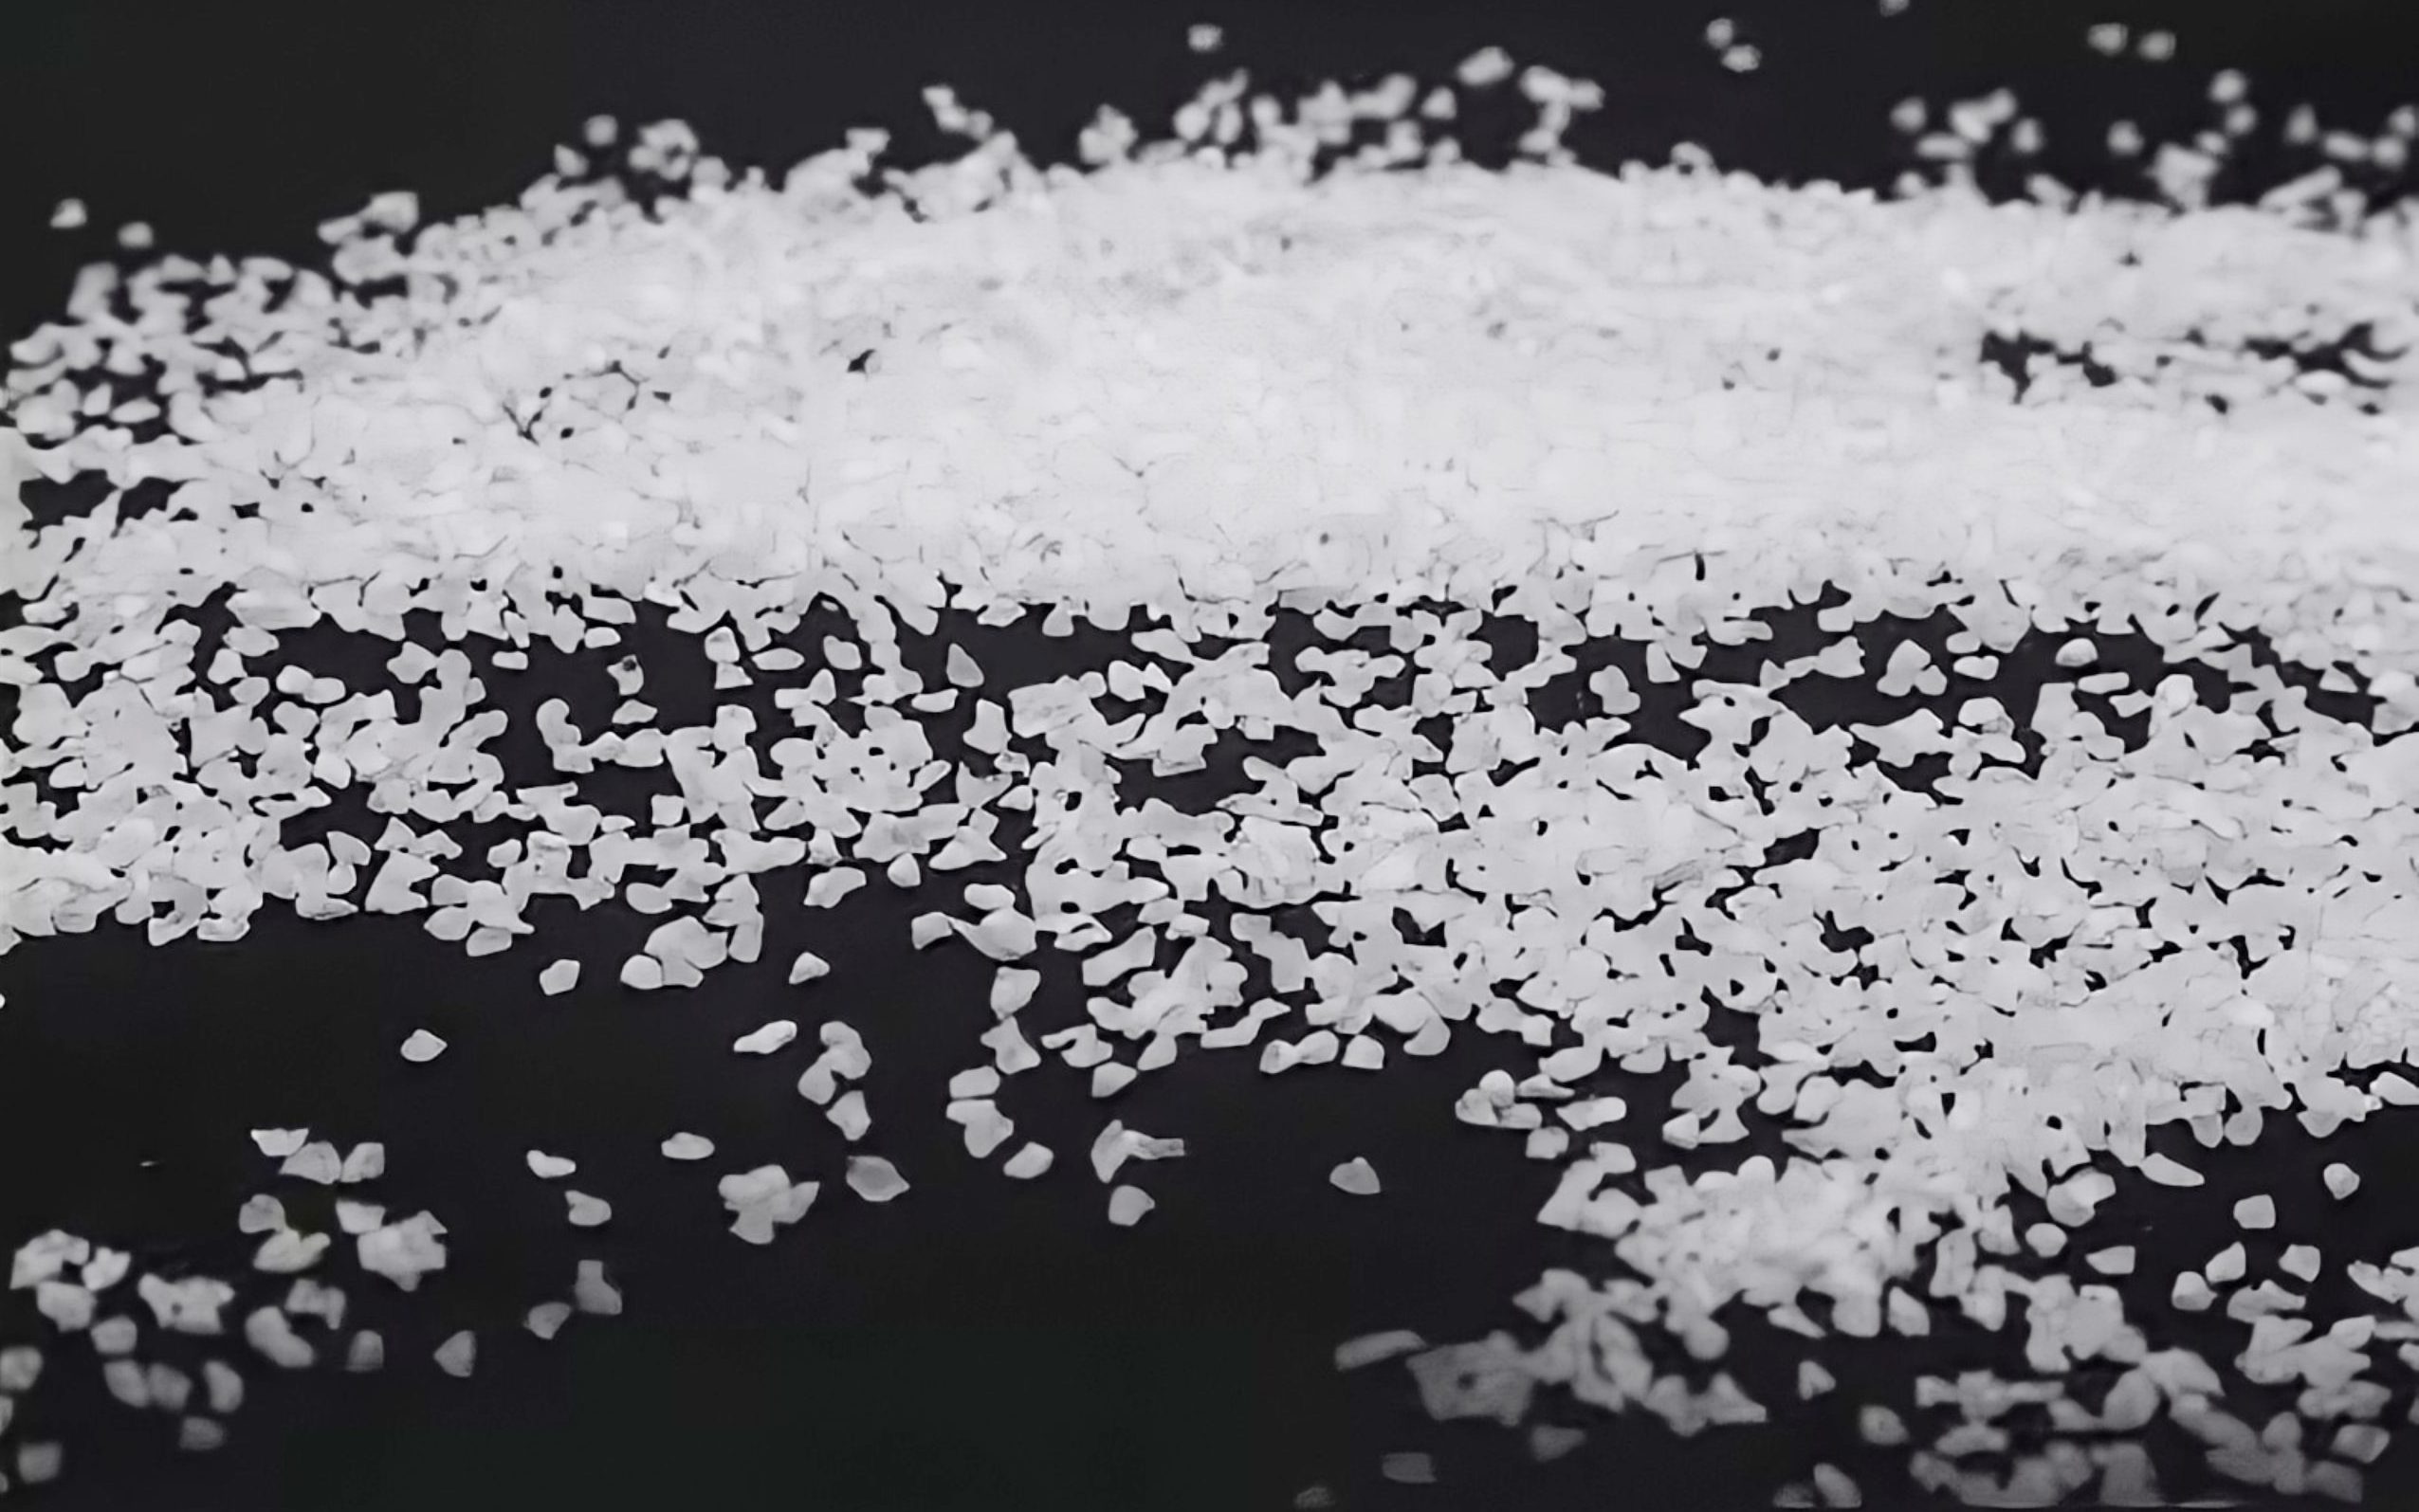
Plastic tumbling media — typically thermoset polyester, urea, or melamine compounds at Mohs 2.5–4.0 — operates in the hardness range of and slightly above aluminum. The media is hard enough to cut the aluminum surface progressively, removing tool marks and burrs, while soft enough that it does not embed particles in or mechanically score the aluminum beyond the intended surface finish change. And because plastic media contains no iron or metallic compounds, it introduces no contamination risk for aluminum parts that will be anodized, chemically treated, or used in electrochemically active environments.
Aluminum Alloy Guide: Properties That Affect Finishing
Not all aluminum alloys respond identically to plastic tumbling media. Alloy composition, temper, and microstructure all influence how the surface responds to abrasive contact — the rate of material removal, the surface finish achievable, and the risk of smearing or edge distortion.
Matching Process to Finishing Objective
The media and process parameters that optimize for deburring are different from those optimizing for pre-anodize smoothing, which are different again from those optimizing for pre-plate burnishing. Define the objective first; then select the process.
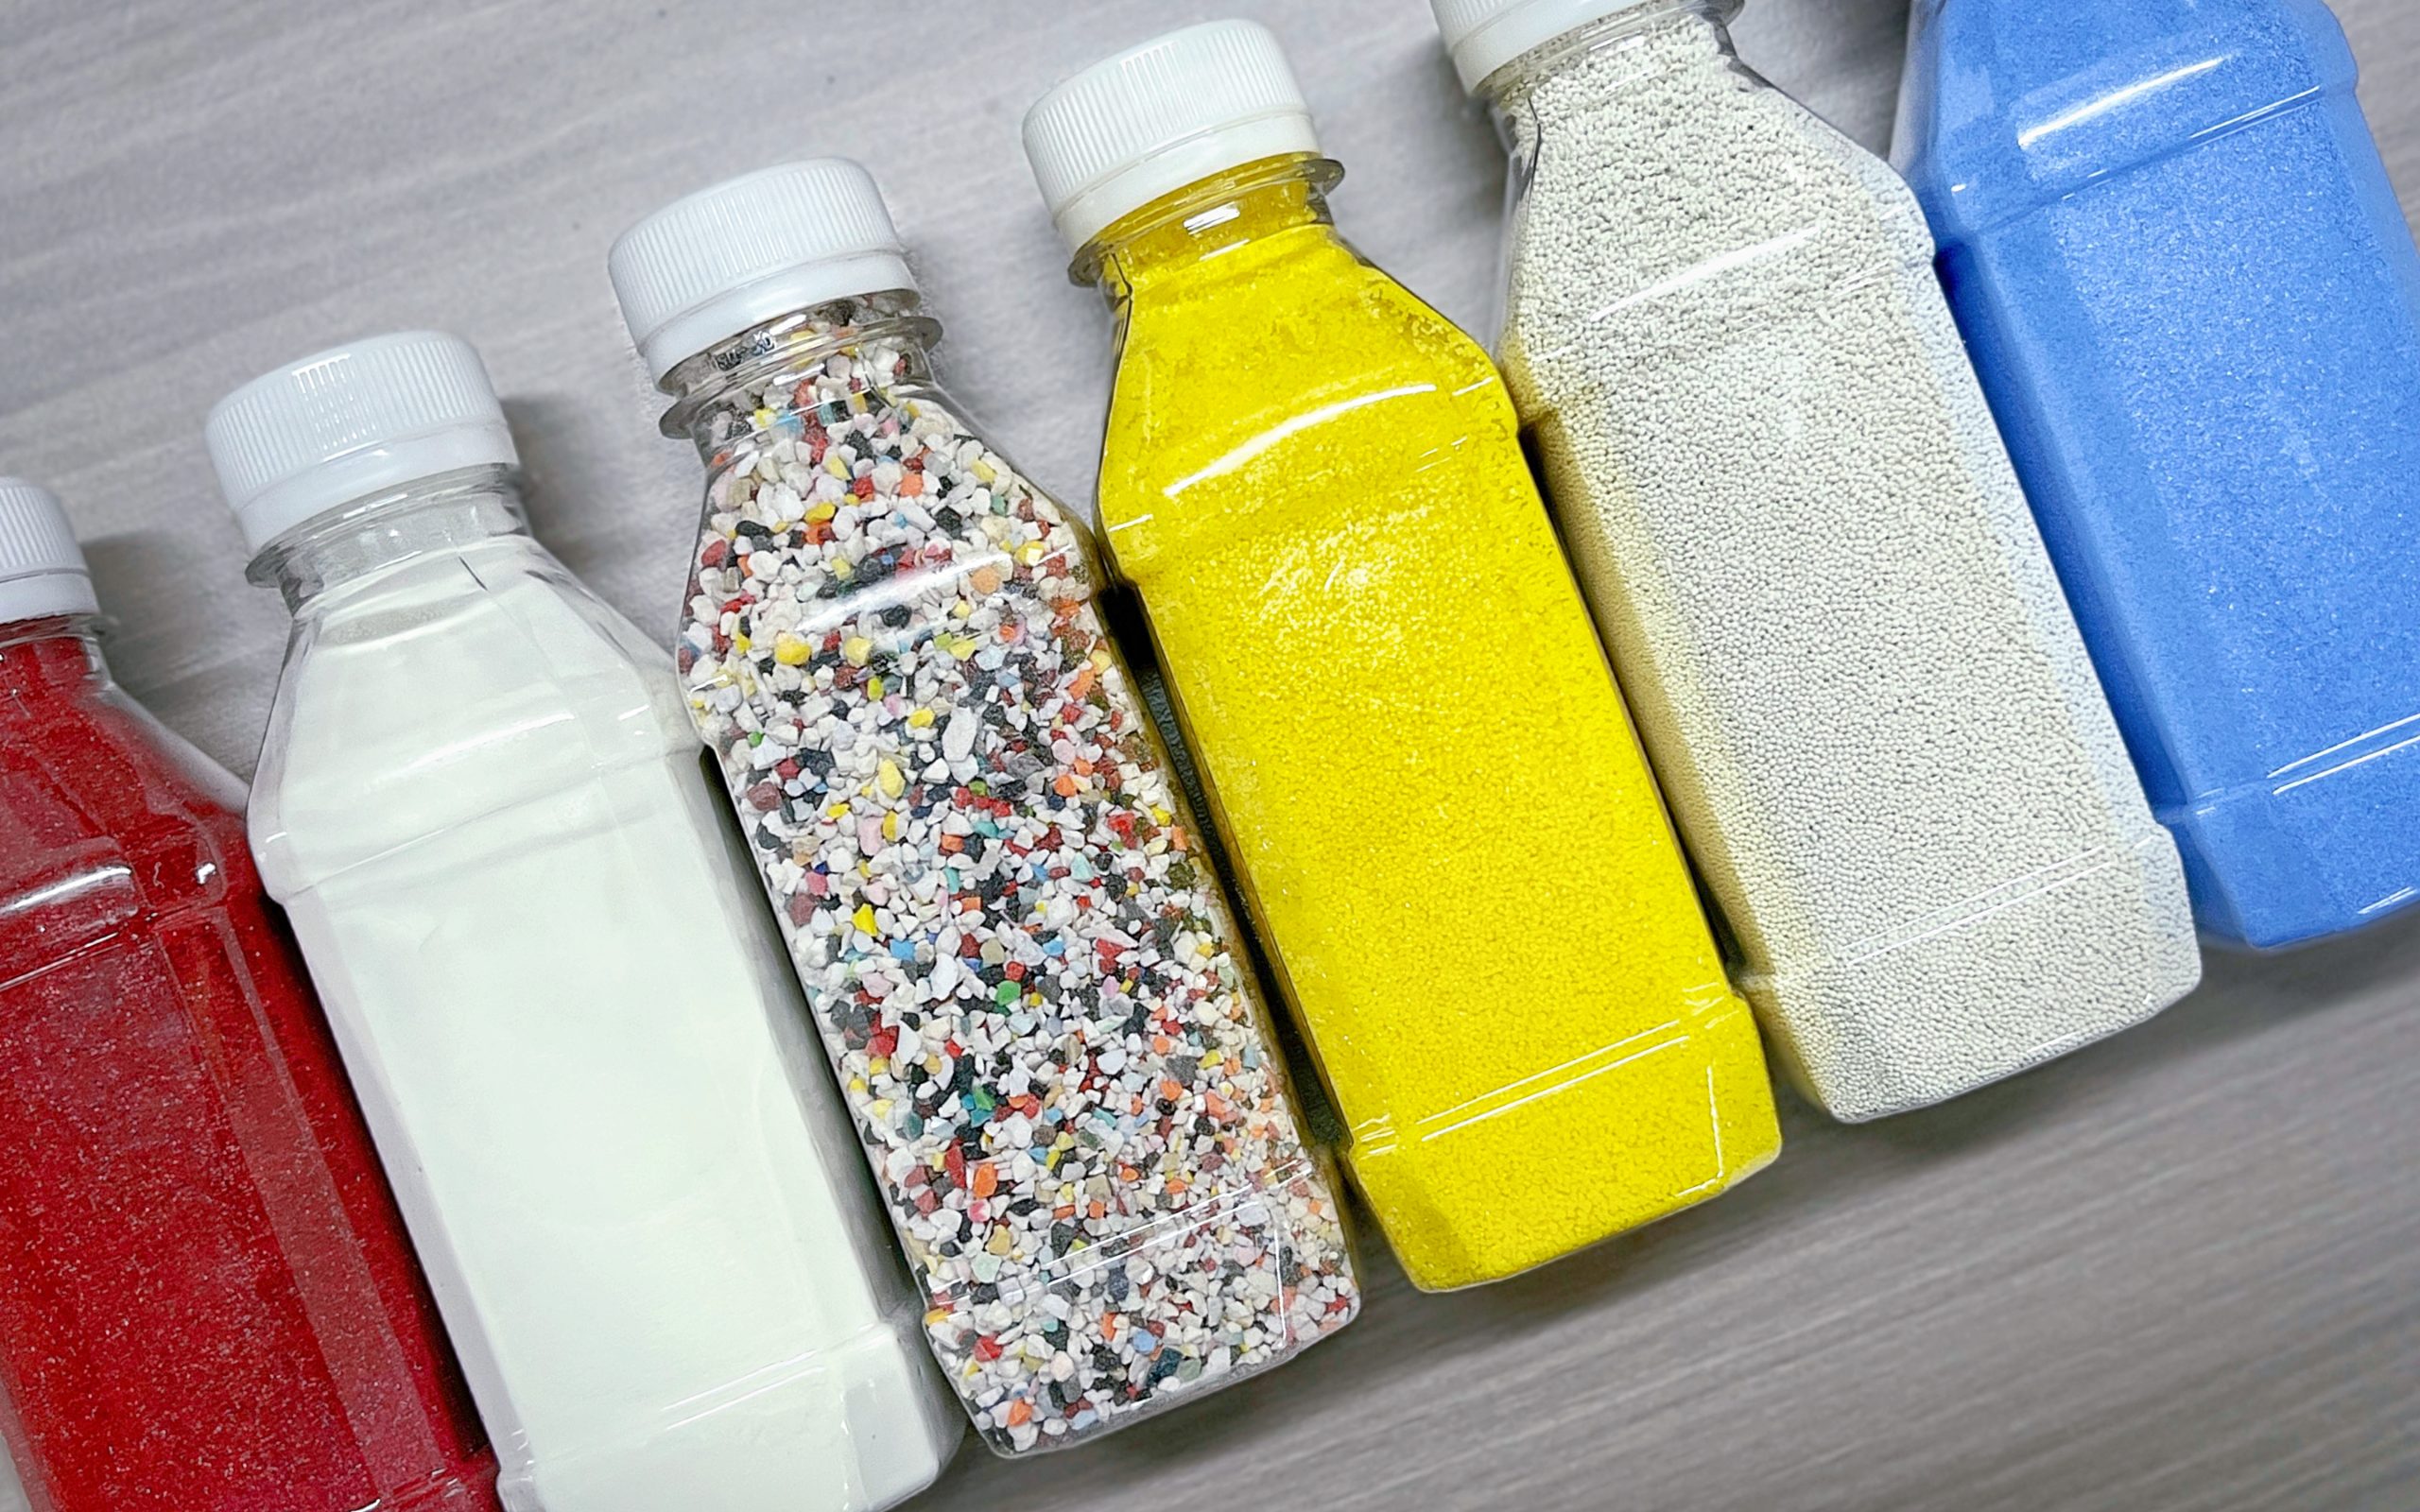
Media Shape Selection for Aluminum
Each media shape provides a specific pattern of contact that determines where material is removed, how aggressively edges are addressed, and whether the media can reach internal features. Shape selection is driven primarily by part geometry and the location of features requiring finishing action.
Compound Selection: Chemistry for Aluminum
In wet vibratory finishing, the liquid compound actively participates in the surface chemistry — it removes fine aluminum swarf, prevents redeposition, adjusts pH to control surface chemistry, and in burnishing applications creates a bright, uniform surface. Compound selection for aluminum has specific requirements different from steel or brass finishing.
Alkaline Degreasing Compound
pH 8–11General cleaning compound. Removes machining oil, coolant, and light oxide. Must be “aluminum-safe” — highly alkaline compounds (pH >12) etch aluminum rapidly. Check for “non-etching” designation.
Neutral Burnishing Compound
pH 6.5–7.5Mid-range finishing compound for standard deburring and Ra reduction. Lubricating film reduces friction while allowing controlled abrasive action. Good for standard anodize preparation.
Acidic Brightening Compound
pH 3–5Dilute acid (citric, phosphoric, or proprietary) that deburrs, cleans, and creates a bright micro-etched surface ideal for anodize or plate. Essential for gummy alloys (5052). Monitor pH to maintain effectiveness.
Corrosion-Inhibiting Compound
pH 7–9Contains organic inhibitors to prevent water staining and surface oxidation between finishing and subsequent processing. Essential for parts that will sit before anodizing. Removed in anodize pre-treatment.
Pre-Plate Bright Compound
pH 4–6High-performance acidic compound for the final burnishing stage before electroplating. Contains brightening agents and leveling surfactants. Used with sphere or ellipse media. Short exposure — prevent over-etching.
Dry Compound (Powder)
Dry processBurnishing powder for dry vibratory finishing where water contact is undesirable. Less effective than wet compounds for Ra reduction. Suitable for light cleaning and burnishing only.
Machine Types and When to Use Each
| Machine Type | Best Aluminum Application | Преимущества | Ограничения | Typical Cycle |
|---|---|---|---|---|
| Vibratory Bowl (round) | General deburring, Ra reduction, pre-anodize finishing of small-to-medium parts. Most versatile machine for aluminum. | Gentle action; low part damage risk; easy loading/unloading; 1–50 ft³ sizes | Slower than centrifugal; large parts limited by bowl diameter | 30–180 min |
| Vibratory Tub (linear) | Larger aluminum castings, extrusions, and machined housings up to 24 inches long. | Accommodates longer parts; continuous or batch feed; high capacity | Less uniform action at edges than round bowl; higher part-on-part risk with long parts | 30–120 min |
| Centrifugal Disc Finisher | High-volume small aluminum components: machined hardware, small die castings, turned parts. | 5–20× faster than vibratory; excellent consistency; tight cycle times | Higher part-on-part collision risk; not for thin-wall or fragile aluminum; higher capital | 5–30 min |
| Centrifugal Barrel | Precision aluminum parts requiring tight Ra specification and controlled edge radius. Aerospace, orthopaedic. | Highest consistency; very uniform media pressure; excellent Ra control | Smallest batch size; highest capital cost per unit capacity; slower loading | 20–60 min |
| Drag / Spindle Finisher | Individual high-value aluminum components: turbine blades, medical devices, optical housings. | Each part individually fixtured; best for complex 3D geometry; most controlled process | Very low throughput (1 part per cycle); expensive fixturing; not economical for volume | 3–20 min per part |
| Barrel Tumbler | Robust aluminum parts, simple deburring, low-volume operations where cycle time is not critical. | Lowest capital cost; simple operation | Highest part-on-part damage risk; slowest and least consistent; not for precision aluminum | 60–480 min |
Multi-Stage Finishing Sequences
The highest-quality aluminum finishing results are rarely achieved in a single process step. Most applications requiring cosmetically consistent surfaces for anodizing, plating, or Class-A appearance use a defined multi-stage sequence where each stage accomplishes a specific finishing objective, and the output of each stage is the correctly prepared input for the next.
Sequence A: Deburr-to-Anodize (Most Common)
Heavy Deburr
Remove all machining burrs, die cast flash, and sharp edges. Target: burr-free edges with initial Ra reduction from as-machined condition.
Ra Reduction
Progressive surface smoothing from post-deburr Ra to target pre-anodize Ra. Removes coarser texture left by Stage 1 and produces more uniform micro-topography that anodizes evenly.
Final Rinse and Inspection
Thorough rinse with clean water removes all compound residue and aluminum swarf. Do not allow parts to dry with compound film. Inspect for any remaining burrs before transferring to anodize.
Sequence B: Full Pre-Plate Brightening (Highest Quality)
Aggressive Deburr
Full burr removal with coarse plastic media and alkaline compound. Target Ra at end of stage: 60–120 µin.
Medium Smooth
Transition from coarse surface texture to medium-smooth. Removes Stage 1 media marks, uniformizes surface topography across all part faces.
Fine Smooth
Aggressive Ra reduction using finest available plastic media with acidic brightening compound. Target Ra: 16–32 µin. No visible machining marks under 10× inspection.
Burnish
Final compressive burnishing with smooth spherical plastic media and pre-plate brightening compound. Achieves sub-microinch Ra. Surface appears semi-bright to bright.
Surface Finish Ra Targets by Application
| Final Application | Target Ra (µin) | Stages Needed | Final Stage Media |
|---|---|---|---|
| Powder coat (industrial) | 32–125 | 1 (deburr only) | Angle-cut cylinder |
| Liquid paint (automotive / consumer) | 16–63 | 1–2 | Fine cylinder + neutral compound |
| Standard anodize (clear or color) | 16–32 | 2 | Fine cylinder + acidic compound |
| Architectural / cosmetic anodize | 8–16 | 2–3 | Fine ellipse + brightening compound |
| Hard anodize (Type III) | 16–32 | 2 | Fine cylinder — note: hard coat amplifies Ra ~2× |
| Nickel or chrome electroplate | 4–16 | 3–4 | Plastic sphere/ellipse + pre-plate bright compound |
| Sealing / gasket interface | 16–32 | 2 | Fine cylinder; Ra consistency more important than absolute value |
| Bearing surface / sliding interface | 4–8 | 3–4 | Fine plastic + final burnish; validate with profilometer |
Preparing Aluminum for Anodizing
The relationship between plastic tumbling media finishing and anodizing is one of the most important topics in aluminum parts finishing, because the surface condition delivered by the finishing process determines the cosmetic quality and consistency of the anodize layer in ways that the anodizing process itself cannot correct.
Why Pre-Anodize Surface Condition Matters
Anodizing is an electrochemical process that converts the aluminum surface into aluminum oxide (Al₂O₃) in a controlled acid bath. The anodize layer grows from the aluminum surface outward and inward simultaneously — roughly half the thickness penetrates into the original aluminum, half builds above it. This growth mechanism means that every surface feature present before anodizing — every scratch, tool mark, smear, contamination spot, and Ra variation — is faithfully reproduced and often optically amplified in the anodize layer. Scratches visible at 10× magnification before anodize become clearly visible to the naked eye after anodize on cosmetic parts. Aluminum swarf smeared onto the surface by ceramic finishing media shows as dark spots in the anodize — different oxide growth rate, different shade.
What Plastic Tumbling Media Provides for Anodize
The combination of fine plastic tumbling media and aluminum-specific acidic brightening compound produces a surface that is: uniformly Ra-matched across all faces with no patchwork zones from different cutting operations; free of directional tool marks that telegraph through thin anodize; free of iron contamination from media that would create dark spots in the anodize bath; and clean of machining oil and coolant residue that would cause adhesion failure or uneven coating.
The Pre-Anodize Timing Window
After plastic tumbling media finishing, transfer freshly finished aluminum parts to the anodize facility within 4–8 hours of completing the tumbling process and final rinse. Do not handle bare finished aluminum surfaces with ungloved hands. Package in clean poly bags or VCI paper if there will be any delay. For best results on architectural or cosmetic anodize, use deionized water for the final rinse — hard water minerals deposit on the aluminum surface and create white haze after anodizing.
Preparing Aluminum for Plating
Electroplating aluminum requires a specialized adhesion layer (typically zincate treatment or electroless nickel strike) between the aluminum and the electroplated deposit, because aluminum’s native oxide layer prevents direct electrochemical bonding. The plastic tumbling media preparation for plated aluminum must therefore deliver a surface that is clean, uniformly Ra-matched, and free of any contamination that would cause the zincate adhesion layer to form non-uniformly.
Non-uniform zincate leads to plating adhesion failures — blistering, peeling, and picture-framing (poor adhesion at part edges) — that are expensive to diagnose and correct after plating. The four-stage burnishing sequence (Sequence B) is the minimum pre-treatment for decorative electroplating on aluminum. The final Ra target of 4–16 µin is necessary because thin decorative plates (nickel at 0.0002 inch, chrome at 0.0001 inch) conform precisely to the substrate surface, and every imperfection in the substrate appears as an imperfection in the final plated surface.
Process Setup and Operating Parameters
| Параметр | Light Deburr / Clean | Standard Deburr + Ra | Pre-Anodize | Pre-Plate Burnish |
|---|---|---|---|---|
| Media type | Fine plastic cylinder or ellipse | Medium plastic cylinder or angle-cut | Fine plastic cylinder → ellipse | Fine plastic → plastic sphere |
| Media-to-part ratio (volume) | 5:1 to 8:1 | 3:1 to 5:1 | 5:1 to 8:1 | 8:1 to 12:1 |
| Compound type | Alkaline degreasing | Neutral or alkaline | Acidic brightening | Pre-plate bright (acidic) |
| Machine amplitude | Low (50–60% of max) | Medium (60–75% of max) | Low-medium (50–65%) | Low (40–55% — gentle burnish) |
| Cycle time | 15–30 min | 30–90 min | 45–120 min per stage | 30–60 min (final stage) |
| Water temperature | Ambient | Ambient or 100–110°F | Ambient (acidic compound more effective cool) | Ambient to slightly warm |
Media-to-Part Ratio and Loading
The media-to-part ratio — ratio of media volume to part volume in the machine — directly controls finishing rate, uniformity, and part-on-part damage risk. At low ratios (below 2:1), insufficient media between parts causes direct part-on-part contact. For aluminum, which is soft and easily dented, this creates impact marks worse cosmetically than the original surface condition. At high ratios (above 10:1), the process becomes gentler but slower — ideal for burnishing, but inefficient for deburring.
| Application / Part Type | Recommended Ratio | Причина |
|---|---|---|
| Robust die castings, heavy deburr | 3:1 to 4:1 | Higher contact rate; casting tolerates vigorous action; throughput priority |
| Machined aluminum housings, standard deburr | 4:1 to 6:1 | Balance of speed and part protection; typical starting ratio for new applications |
| Thin-wall aluminum extrusions | 6:1 to 8:1 | Thin walls distort easily; high media ratio cushions part-on-part contact |
| Pre-anodize smoothing, precision parts | 6:1 to 8:1 | Gentle progressive action; avoid any impact marks on anodize-bound parts |
| Pre-plate burnishing, high-value parts | 8:1 to 12:1 | Maximum part protection; gentlest action; parts too valuable to risk any contact damage |
| Small precision turned parts (<25 mm) | 8:1 to 15:1 | Very small parts at low ratio tumble erratically and impact each other; high ratio stabilizes movement |
Process Control: Monitoring and Adjustment
Ra Measurement
Measure surface Ra at defined check intervals (end of each stage or every 30 minutes). Record at the same part location each time. If Ra is not decreasing at expected rate, check compound pH, media condition, and machine amplitude before extending cycle time.
Compound pH Monitoring
Check pH at shift start and midpoint of long cycles. Acidic brightening compounds are consumed during processing — pH rises as aluminum dissolves, reducing effectiveness. Top up per manufacturer protocol. Log pH trends over time.
Media Wear Monitoring
Measure media piece dimensions monthly. Replace when dimension has reduced more than 30% from original — smaller pieces lodge more easily and provide less effective edge radiusing. Top-up with 10–20% fresh media to extend charge life.
Machine Amplitude Check
Verify amplitude at shift start with calibrated vibration meter at the bowl rim. Amplitude drift from worn eccentric weights or spring fatigue changes the contact energy and alters Ra reduction rate. Service when amplitude varies more than ±10% from qualified value.
Water Quality
For pre-anodize and pre-plate applications, use deionized or reverse-osmosis water for compound dilution and final rinse. Hard water leaves calcium and magnesium deposits that show as white haze after anodizing. Target <50 µS/cm conductivity for final rinse on anodize-bound parts.
First Article Inspection
Inspect the first parts removed after one complete cycle: check burr removal completeness, Ra match to target, absence of part-on-part damage marks, and no media lodging. Document results vs. the qualification baseline before committing the full batch.
Общие проблемы и решения
| Problem | Most Likely Cause | Решение |
|---|---|---|
| Aluminum smearing on part surface (gray/dark smudges) | Media too aggressive for alloy softness; compound pH too high; insufficient compound flow allowing swarf re-deposition | Switch to finer plastic media; change to acidic brightening compound that keeps aluminum swarf in suspension; increase compound flow rate. Critical for 5052 alloy. |
| Part-on-part impact marks (dents, scratches) | Media-to-part ratio too low; machine amplitude too high; batch overloaded | Increase ratio to minimum 5:1; reduce amplitude 10–15%; reduce batch load by 20%. Add separator media (non-abrasive plastic pieces) for delicate parts. |
| Media lodging in part features | Media piece size too small relative to feature opening; incorrect shape for geometry | Increase media piece size so it cannot enter the feature; change to a shape designed not to lodge. Verify with lodging test before production run. |
| Inconsistent Ra across part faces | Complex geometry creating unequal media contact on different faces; cycle time insufficient | Extend cycle time; use a combination of two media shapes with complementary geometry reach. For critical parts, use drag/spindle finishing for individual part control. |
| Burrs remaining after full cycle | Burrs too large for media cutting action; media too fine; amplitude too low | Increase amplitude; extend cycle time; switch to angle-cut cylinder shape. For very large burrs, hand-remove gross flash before tumbling. |
| Water staining after rinse (white film) | High mineral content in rinse water; parts allowed to dry slowly in still air | Use DI or RO water for final rinse; dry with compressed air immediately after rinse; add dilute citric acid rinse step before final DI rinse if staining persists. |
| Mottled appearance after anodize despite good pre-finish | Iron contamination from non-plastic media contact; fingerprints on finished parts; 7075 alloy variability | Verify no steel tooling contact after tumbling; handle with clean gloves only; evaluate alloy batch consistency. 7075 inherently shows some anodize mottling — set appropriate acceptance criteria. |
| Ra target not achieved within expected cycle time | Media worn below effective cutting size; compound depleted; amplitude drift; starting Ra higher than expected | Check media size vs. wear limit; measure and replenish compound; verify amplitude calibration; measure starting Ra — variation between production lots significantly affects finishing time. |
Часто задаваемые вопросы
Can plastic tumbling media be used on aluminum parts with anodize already applied?
Plastic tumbling media can be used on anodized aluminum for very light cleaning and burnishing, but it cannot remove or significantly modify the anodize layer. Anodize (aluminum oxide, Al₂O₃) has a Mohs hardness of approximately 9 — far harder than any plastic tumbling media. Plastic media can only polish the surface of the anodize and remove light contamination. If you need to remove anodize for rework or re-anodizing, chemical stripping with sodium hydroxide or phosphoric acid solutions is required. For simply restoring gloss or cleaning an anodized surface without removing the coating, fine plastic burnishing media with a neutral or mildly acidic compound is appropriate and effective.
How do I prevent impact marks when finishing cosmetic aluminum parts in a vibratory bowl?
Part-on-part contact marks on aluminum are prevented through three techniques used together: first, maintain a media-to-part ratio of at least 5:1 — sufficient media between parts prevents direct contact; second, use separator media — non-abrasive plastic pieces mixed into the batch to physically space parts within the media mass; third, reduce machine amplitude to the minimum that still achieves the required finishing action, since higher amplitude increases part velocity through the media and therefore impact energy when contact occurs. For very high-value parts where any mark is unacceptable, drag or spindle finishing — where each part is individually fixtured and drawn through stationary media — eliminates part-on-part contact entirely at the cost of lower throughput.
What is the difference between plastic tumbling media and ceramic tumbling media for aluminum finishing?
The fundamental difference is hardness and contamination risk. Ceramic media operates at Mohs 6–9, far above aluminum’s Mohs 2.5–3.5. This hardness mismatch means ceramic media cuts aluminum aggressively — faster deburring, but greater risk of scratching, smearing of aluminum into surface features, and ceramic particle embedment in the soft aluminum. Embedded ceramic particles create pitting and adhesion problems in anodize baths. Plastic tumbling media at Mohs 2.5–4.0 cuts more gently and uniformly, with no particle embedment risk and no iron contamination. For aluminum parts destined for anodizing, plating, or cosmetically sensitive finishing, plastic media is almost always the correct choice. Ceramic media may be justified for rapid rough deburring of robust die castings where speed is the priority, with plastic media used in subsequent stages.
How long does plastic tumbling media last when processing aluminum, and when should I replace it?
Plastic tumbling media life in aluminum finishing is measured in months to years — far longer than blast media which fractures per cycle. Media wears gradually as pieces reduce in size through contact with parts and other media. The wear rate depends on compound aggressiveness (acidic compounds accelerate media wear), machine amplitude, and part hardness. Replace media when average piece size has reduced by 30–40% from original dimensions — at this point, pieces lodge more easily in part features, provide less effective edge radiusing geometry, and deliver inconsistent results. The practical production signal: if cycle time must be increased significantly to achieve the same Ra target as before, check media wear first. Top-up with 10–20% new media periodically to extend the charge before full replacement is needed.
Can I use the same plastic tumbling media for both aluminum and steel parts?
Using the same plastic tumbling media for both aluminum and steel parts is strongly inadvisable for any aluminum that will be anodized, plated, or used in a corrosion-sensitive application. When plastic media processes steel parts, microscopic iron particles from the steel surface transfer to and become embedded in the media pieces. When that same media then processes aluminum, iron particles transfer to the aluminum surface, creating galvanic corrosion sites and anodize adhesion problems that appear as dark spots, pitting, or mottling. Maintain dedicated media sets for aluminum and for ferrous metal processing and never cross-contaminate them. If your operation processes both materials, the investment in separate media charges protects product quality in a way that shared media cannot — and aluminum, being softer than steel, wears media less aggressively, so the aluminum-dedicated media set will last significantly longer.
Фильтры


 Plastic Media")