Rock Tumbling Abrasive Grit: From Coarse Grind to Polish
Rock tumbling transforms rough, dull mineral specimens into smooth, polished gemstones through a systematic four-stage abrasive progression. Each stage uses a different abrasive grit — progressively finer from the coarse initial grind through medium and pre-polish stages to the final mirror polish — and each stage must be completed fully before the next begins. Skipping a stage, using the wrong grit, or failing to thoroughly clean the barrel and stones between stages produces a final surface with residual scratches that cannot be corrected by the polish stage alone.
Choosing the right abrasive grit supplies for each stage is as important as the tumbler hardware itself — the grit selection determines how fast material is removed, how smoothly stages transition into each other, and whether the final polish achieves a genuine gemstone-quality mirror or merely a semi-glossy approximation. This guide covers every stage of the rock tumbling process and the abrasive grit options for each. For the full context of abrasive media types, see the Abrasive Media Supplies Buyer’s Guide.
The Four-Stage Tumbling Process
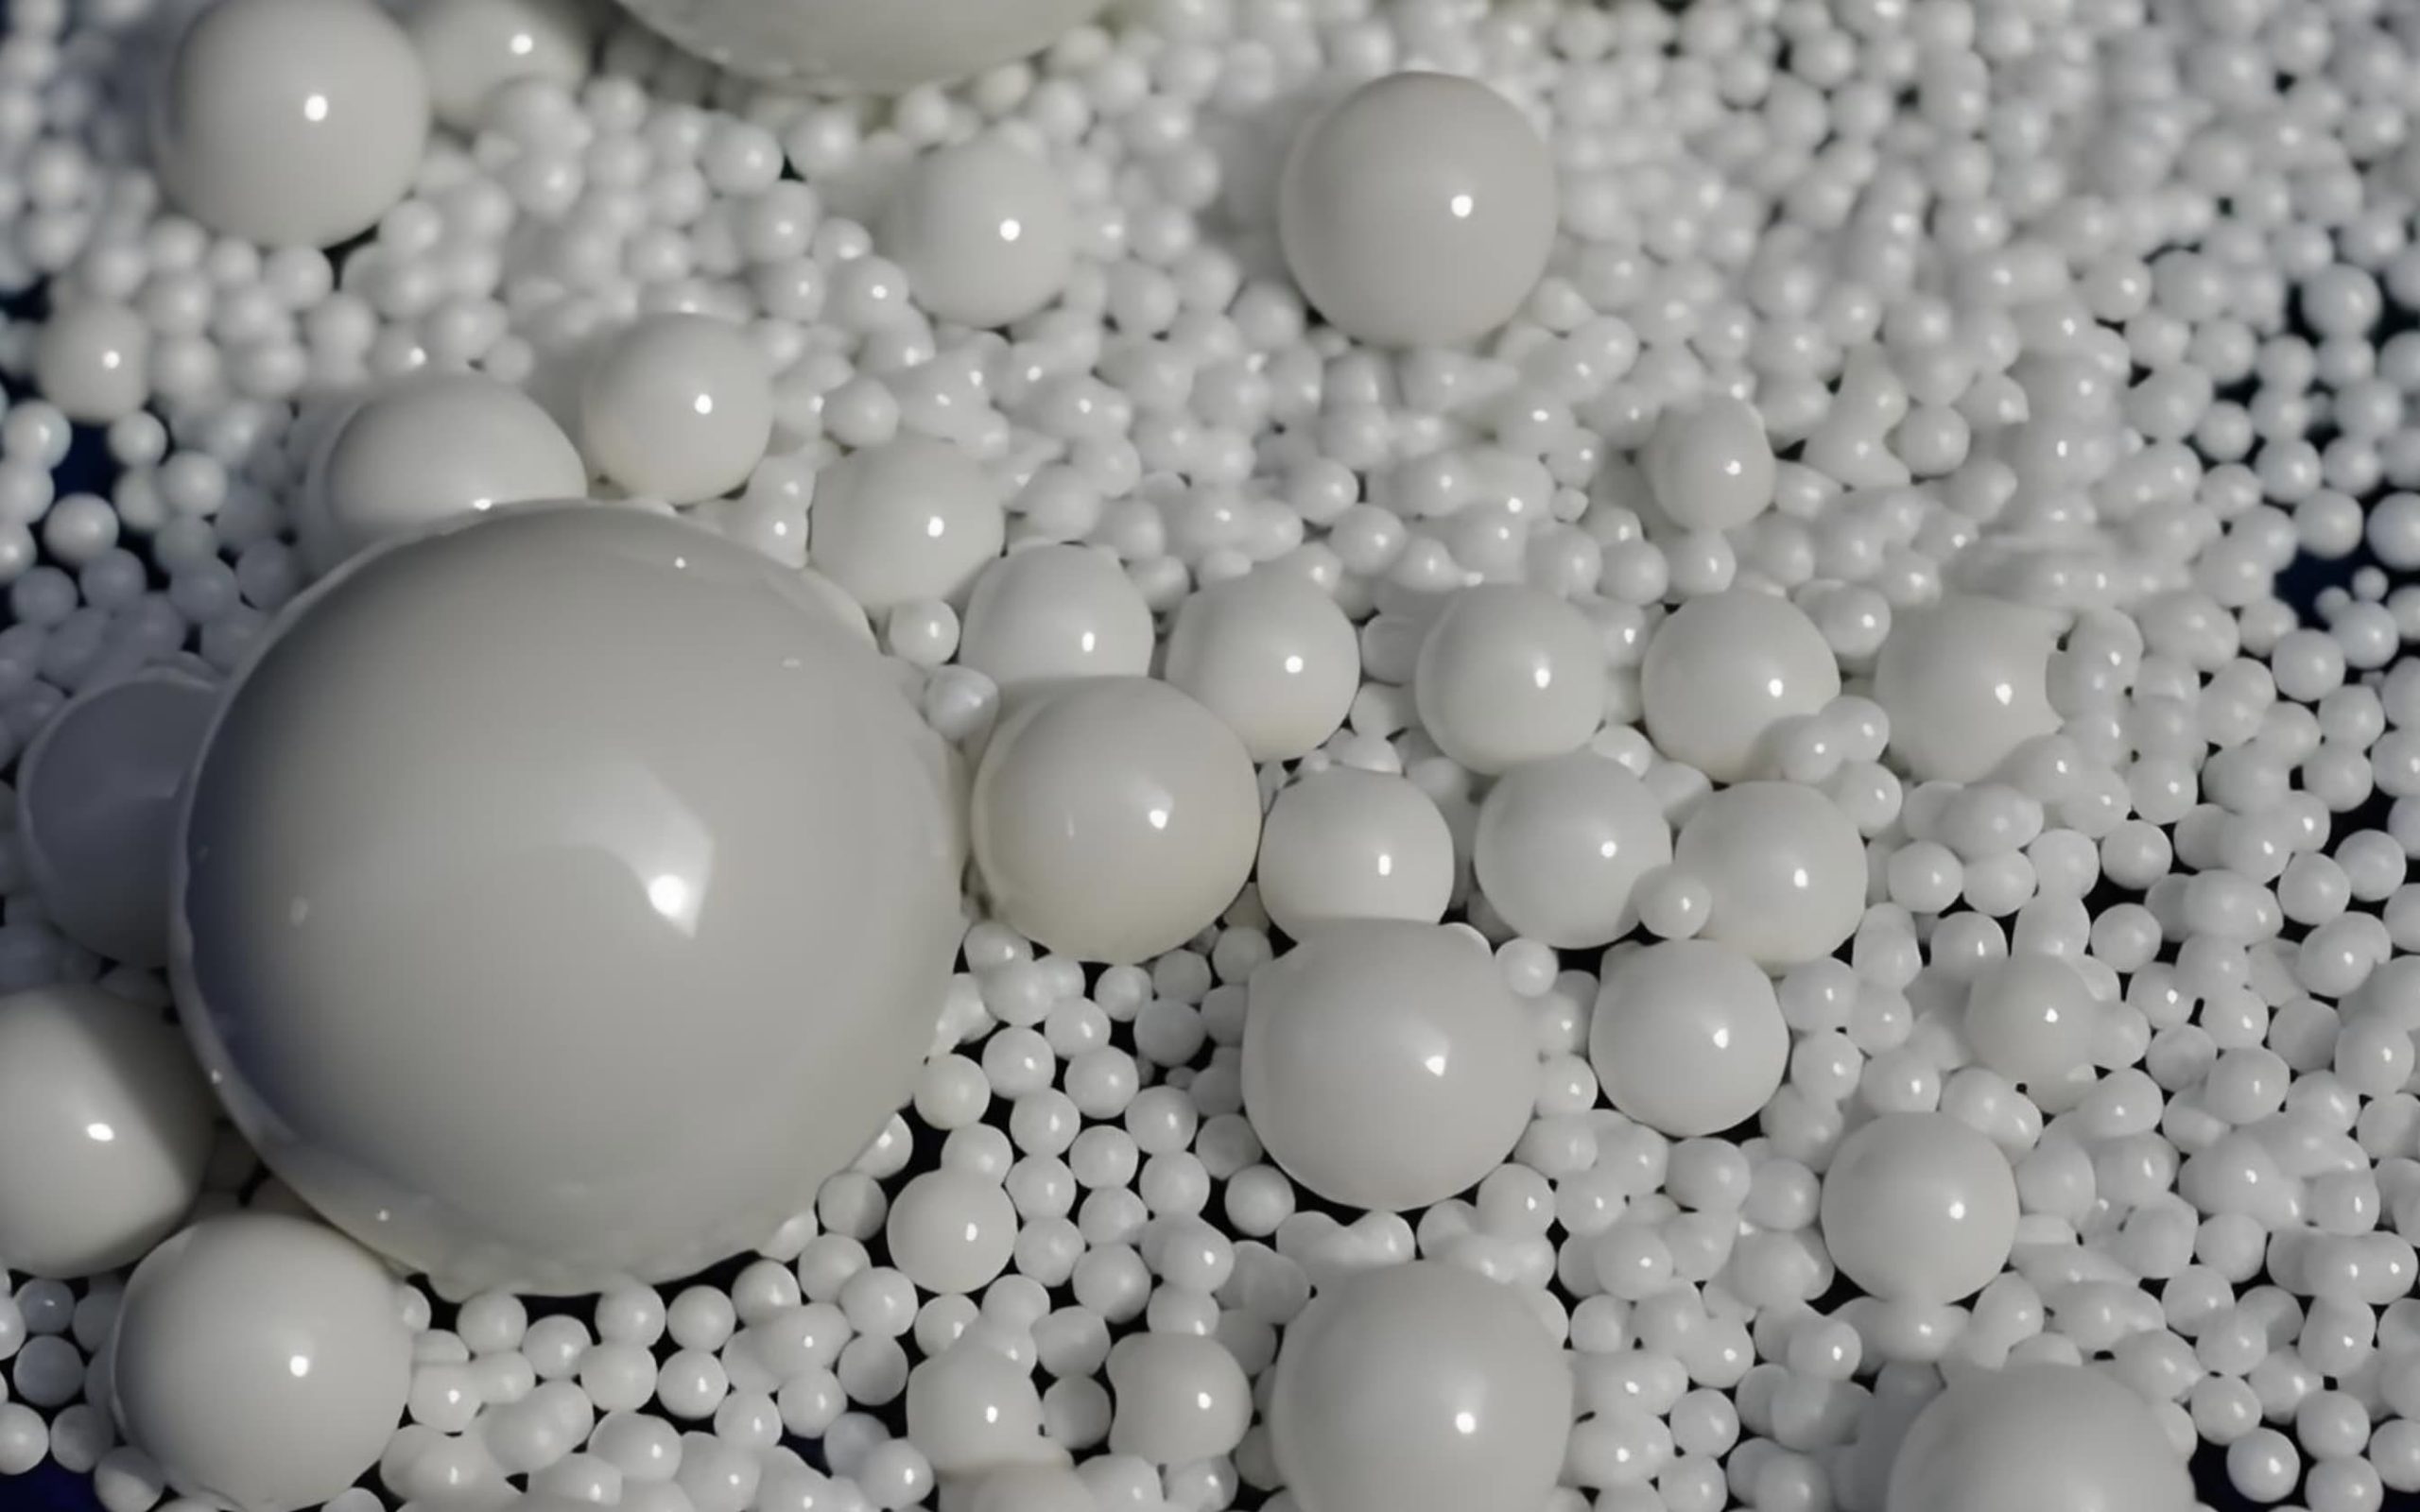
Rock tumbling in a rotary barrel tumbler works by loading rough stones with water, abrasive grit, and sometimes a burnishing medium into a sealed rubber barrel that rotates continuously on a motorized axle. The tumbling action causes stones and grit to slide, grind, and impact against each other, with the abrasive grit acting as the cutting medium between stone surfaces. The process is slow — each stage typically runs for 7–14 days for a rotary tumbler — but requires minimal supervision once the correct grit load is established.
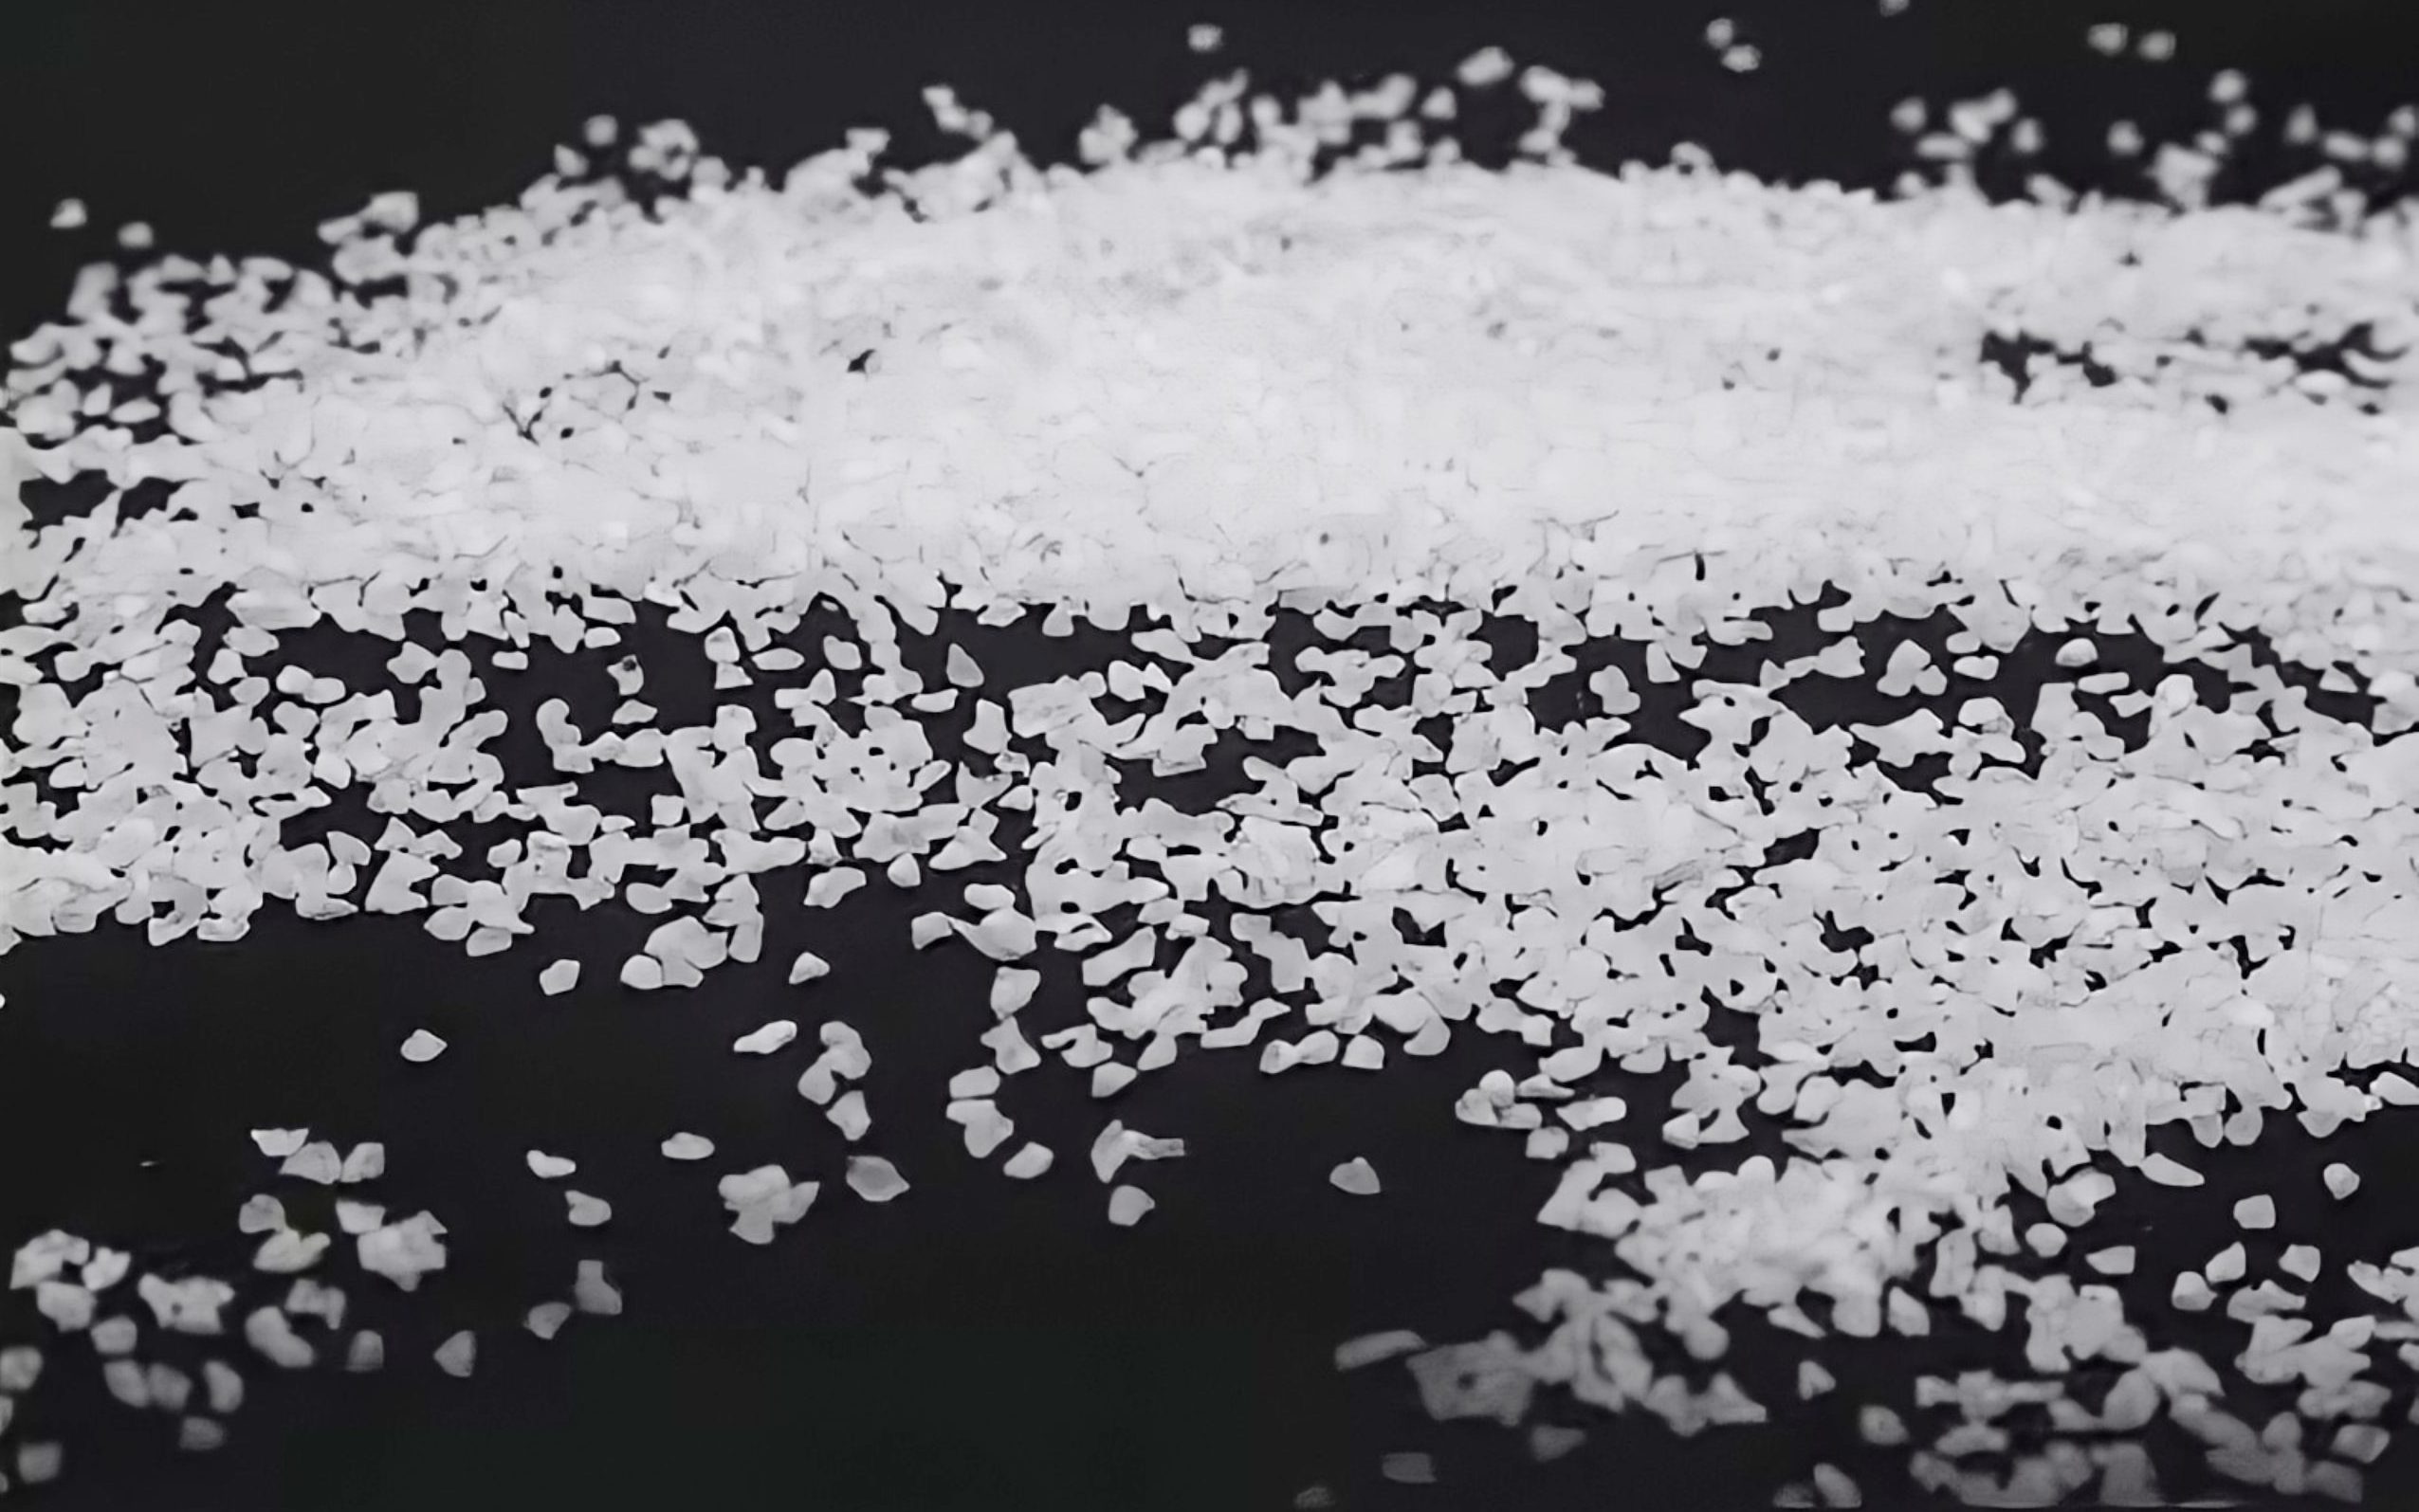
Coarse Grind — 60 or 80 Grit Silicon Carbide
Shapes rough stones, removes sharp edges and pits, and begins surface smoothing. Duration: 7–10 days for most medium-hardness stones. Heaviest material removal stage.
Medium Grind — 120 or 220 Grit Silicon Carbide
Refines the shape, removes coarse scratches from Stage 1, and prepares a smooth foundation for pre-polish. Duration: 7–10 days. Critical transition stage.
Pre-Polish — 400–600 Grit SiC or Aluminum Oxide
Removes medium scratches from Stage 2 and creates a near-smooth surface ready for polish. Duration: 5–7 days. Determines the ceiling quality of the final polish.
Final Polish — Cerium Oxide, Tin Oxide, or Al₂O₃ Polish
Brings the surface to a mirror finish. Duration: 5–7 days. The polish step only works if Stage 3 pre-polish was completed correctly — no shortcuts.
Critical Rule: Thoroughly wash the barrel, lid, and every stone under running water between each stage. A single grain of coarse grit carried into a finer stage will introduce scratches that the finer grit cannot remove — ruining the batch. Many experienced lapidaries also wash stones in a separate bucket of water before the final barrel wash to remove grit trapped in surface pores.
Stage 1: Coarse Grind (60–80 Grit SiC)
The coarse grind stage has the most work to do: transforming irregular, angular rough rock with surface pitting, saw marks, and mineralogical surface heterogeneity into rounded, smooth-faced stones with a consistent matte surface. Silicon carbide 60-grit is the standard for most medium-hardness stones (quartz family, jasper, agate, petrified wood — Mohs 6.5–7.0) because its 9.5 Mohs hardness provides an effective cutting margin that produces productive material removal in the 7–10 day run time. For softer stones (calcite, sodalite, obsidian — Mohs 3–5.5), 80-grit or even 120-grit may be more appropriate as the starting coarse stage to avoid excessive material removal and loss of stone size.
Grit loading for Stage 1: approximately 2 tablespoons of 60-grit SiC per pound (450g) of stones, with enough water added to create a slurry that coats all surfaces — the barrel should feel “slushy” when rocked, not dry. Overfilling the barrel with stones (above 2/3 capacity) reduces the effectiveness of the tumbling action and can stall smaller tumblers.
Stage 2: Medium Grind (120–220 Grit SiC)
The medium grind stage removes the coarse scratches left by 60-grit and creates a smoother surface that will respond to pre-polish. The transition from Stage 1 to Stage 2 is often where hobbyists make their first critical error: moving to Stage 2 before Stage 1 is truly complete. A stone is ready for Stage 2 when it is smoothly rounded with no flat spots, pitting, or visible coarse scratch patterns — hold each stone wet under good lighting and inspect closely. Any surface that still shows the pitting or deep scratches of the rough rock needs more time in Stage 1.
Silicon carbide 120-grit is the most commonly used Stage 2 grit for the quartz and agate family stones that dominate most hobbyist tumbling. For harder stones (corundum varieties, topaz — Mohs 8–9), 120-grit remains appropriate; for softer stones that used 80-grit in Stage 1, 220-grit is the correct Stage 2 choice to maintain an appropriate grit progression. Grit loading: 2 tablespoons per pound of stones, same slurry consistency as Stage 1.
Stage 3: Pre-Polish (400–600 Grit or Aluminum Oxide)
The pre-polish stage is the most critical in determining the quality of the final mirror polish. Its job is to remove the fine scratches left by 220-grit medium grind and create a surface so smooth that the polish compound in Stage 4 can bring it to a reflective finish. If Stage 3 is rushed or the surface still carries visible 220-grit scratches, the final polish will produce a stone with a hazy, non-reflective surface that cannot be corrected without returning to Stage 2.
Options for Stage 3 pre-polish:
- Silicon carbide 400–600 grit: Continues the SiC progression, fast-cutting but slightly coarser feel at stage end. Good for harder stones.
- Aluminum oxide 400 grit: Slightly softer cutting than equivalent SiC, producing a smoother intermediate surface — preferred by many experienced lapidaries for the quartz family specifically because it leaves fewer micro-scratches that the cerium oxide polish stage must remove.
- Tin oxide pre-polish: An ultra-fine option for very hard stones (corundum, topaz) where a finer pre-polish improves the quality of the final mirror.
Stage 4: Final Polish (Cerium Oxide / Tin Oxide)
The polish stage uses ultra-fine abrasive compounds rather than grinding grit — the particle sizes are sub-micron (0.5–5 µm), and the cutting mechanism shifts from mechanical abrasion to a combination of chemical-mechanical interaction between the polish compound and the stone surface. The result, when Stage 3 was completed correctly, is a mirror-smooth surface with gemstone-quality reflectivity.
Polish compound selection by stone type:
- Cerium oxide: The universal choice for glass, agate, jasper, quartz, and most silicate minerals — delivers a bright, clear mirror on most tumbler-polishable stones
- Tin oxide: Preferred for calcite, marble, sodalite, and softer carbonate minerals that do not respond as well to cerium oxide chemistry
- Aluminum oxide (P 2000–P 3000): An alternative pre-polish and light polish for hard silicate stones
- Chrome oxide: Used for nephrite and bowenite jade, where the green compound chemistry interacts favorably with the serpentine mineralogy
Matching Grit to Rock Hardness
| Stone Type | Твердость по Моосу | Stage 1 | Stage 2 | Stage 3 | Polish |
|---|---|---|---|---|---|
| Agate, Jasper, Quartz | 6.5–7.0 | 60 SiC | 120 SiC | 400–600 SiC or Al₂O₃ | Cerium oxide |
| Obsidian, Labradorite | 5.5–6.5 | 80 SiC | 220 SiC | 400 SiC | Cerium oxide |
| Sodalite, Calcite | 3.0–5.5 | 120 SiC | 220 SiC | Al₂O₃ 400 | Tin oxide |
| Corundum (Ruby/Sapphire) | 9.0 | 60 SiC | 120 SiC | 220 SiC + tin oxide | Diamond paste |
| Petrified Wood | 6.5–7.5 | 60 SiC | 120 SiC | 400 SiC | Cerium oxide |
Часто задаваемые вопросы
The standard loading guideline for rotary tumblers is 2 tablespoons (approximately 30 g) of grit per pound (450 g) of stones, with enough water to create a slurry that coats all surfaces when the barrel is gently rocked. This ratio applies to both silicon carbide and aluminum oxide grit stages. For vibratory tumblers, the manufacturer’s specific loading guidelines should be followed as the tumbling dynamics are different. Using too much grit can actually slow cutting by creating a thick paste that cushions impacts; too little leaves stones running partially dry, which can cause scratching without cutting.
You can mix stone types in the same load, but only if all stones in the batch are within approximately 1.5 Mohs hardness of each other. Mixing hard and soft stones (for example, agate at Mohs 7 with calcite at Mohs 3) causes the harder stones to abrade and damage the softer ones during tumbling, resulting in a batch where harder stones finish well and softer stones are pitted and scratched. Size matching is equally important — a single large stone in a batch of small ones will chip and fracture the small stones. Use rough stones of similar hardness and similar size in each batch for best results.
The most common cause is incomplete Stage 3 pre-polish — microscopic scratches from the 220-grit medium grind stage are still present on the stone surface when it enters the polish stage, and no polish compound can eliminate these in a tumbler. Return the batch to Stage 3 and run a full 5–7 day pre-polish cycle before attempting polish again. The second most common cause is grit contamination: a single grain of coarse grit carried into the polish barrel will leave fresh scratches throughout the batch. Thorough cleaning of barrel, lid, and every stone between stages is non-negotiable for high-quality results.
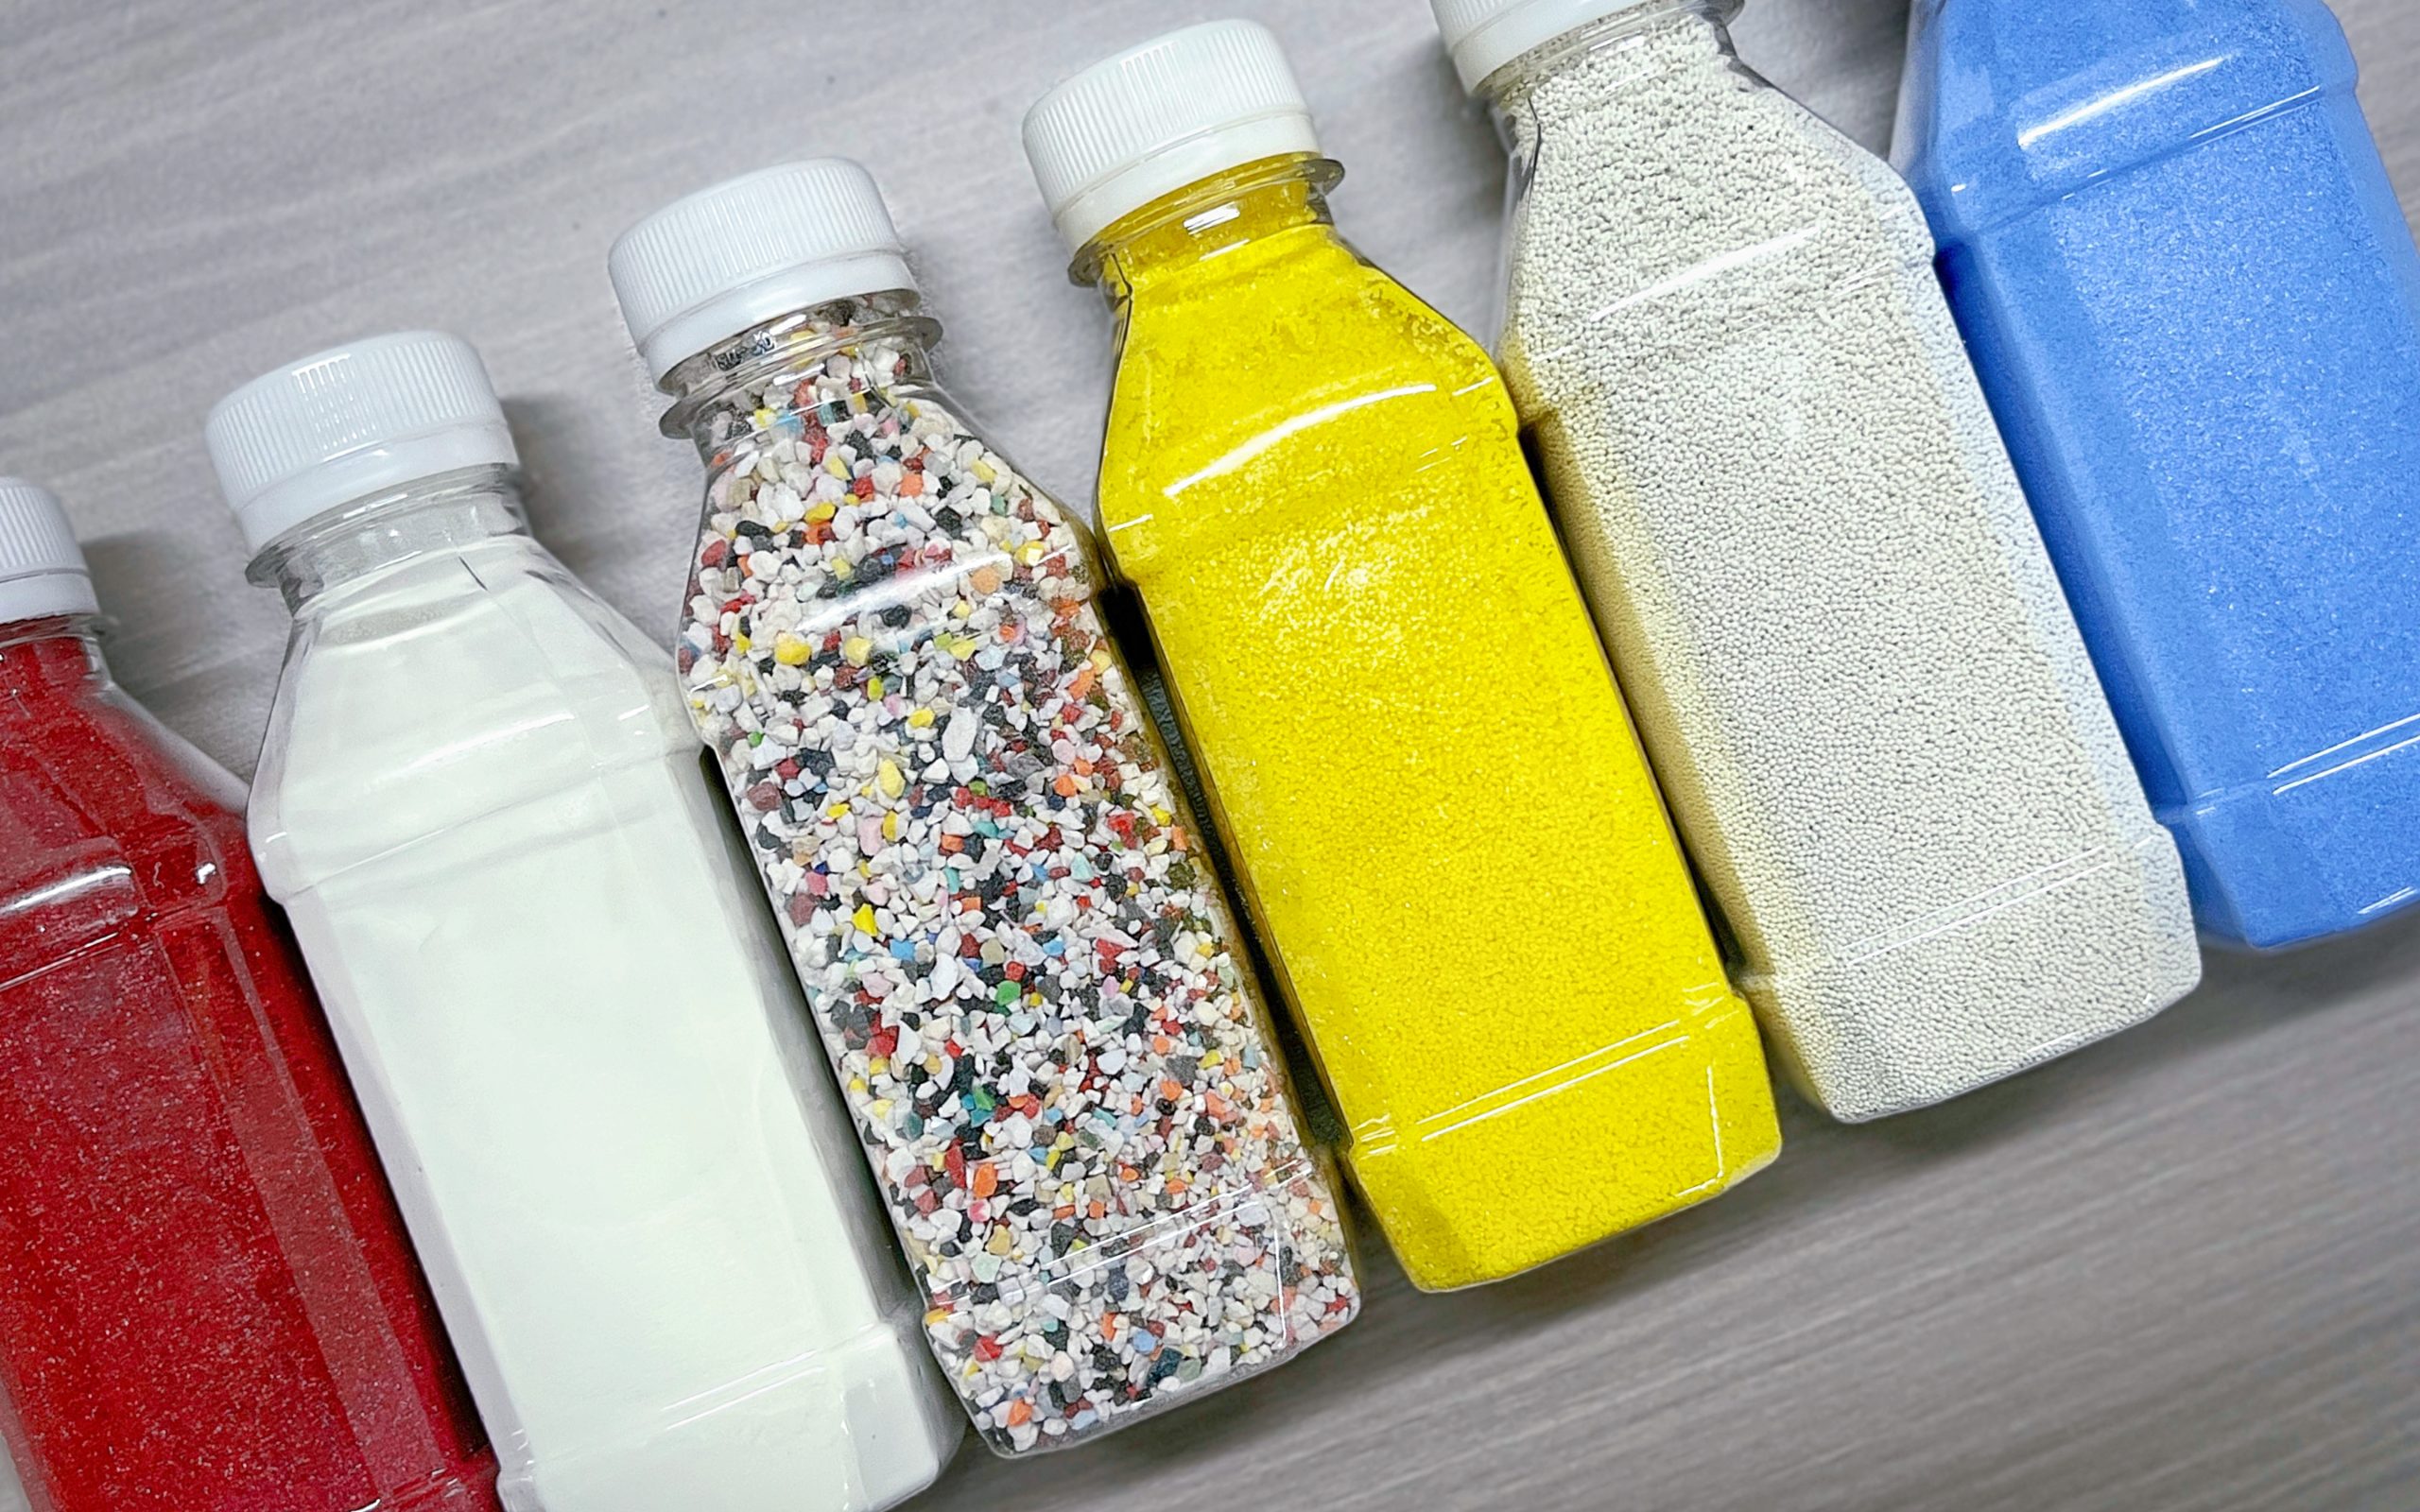
Rock Tumbling Grit Supplies from Henglihong
Silicon carbide and aluminum oxide in lapidary grit sizes — 60, 80, 120, 220, 400, 600 grit. Consistent particle size distribution for predictable stage-to-stage tumbling results. Factory-direct pricing.
Get a Free QuoteФильтры

")